 Well last weekend I saw it - the first sign of autumn in New England. I was riding my motorcycle up route 100 in Vermont and there on the side of the road, I spotted the first yellow and almost orange leaves on a few trees. The return of the cooler air is always bittersweet for me. As the long, golden, carefree summer days come to a nostalgic end, the cool fresh crispness of fall brings with it new beginnings. I remember this time of year from my childhood - the smell of newly sharpened pencils and shiny wax crayons, new teachers and classmates, the crackle of new book bindings and the snap of binder rings closing though a new pack of blank loose leaf paper, a flashy new lunch box with matching thermos bottle proudly showcasing my favorite character that year, brand new episodes of my favorite TV shows, and my favorite of all the new things - new leather shoes and new clothes in my favorite fall colors.
As the old worn out summer clothes were thrown out or given away, the idea of a fresh new start always filled me with resolutions of getting perfect grades, having neater handwriting, keeping my book covers clean and fresh, and even getting along better with my little sister and brother. I have always loved getting brand new school clothes, and my Mom always saw to it that we started school with a new wardrobe, even though we had very little money.
The fall season has been my favorite fashion season for as long as I can remember, despite my passion for spring dresses and strappy sandals. Now that I have seen the yellow leaves, and it has been rainy and cold for a couple of days in a row, I have started dreaming about silk and tweed, wool and cashmere, suede and leather. My thoughts turn to big purses with shiny hardware, long leather boots with stack heels, chunky buttons, crystal zippers, pleated trim, velvet ribbon, plush scarves and wraps with fringe, huge sparkly baubles and bangles, buttery soft leather gloves, felted wool coats, capes and hats, oversized sunglasses, red lipstick and thick lashes. I find myself craving cappuccino and pumpkin pie...
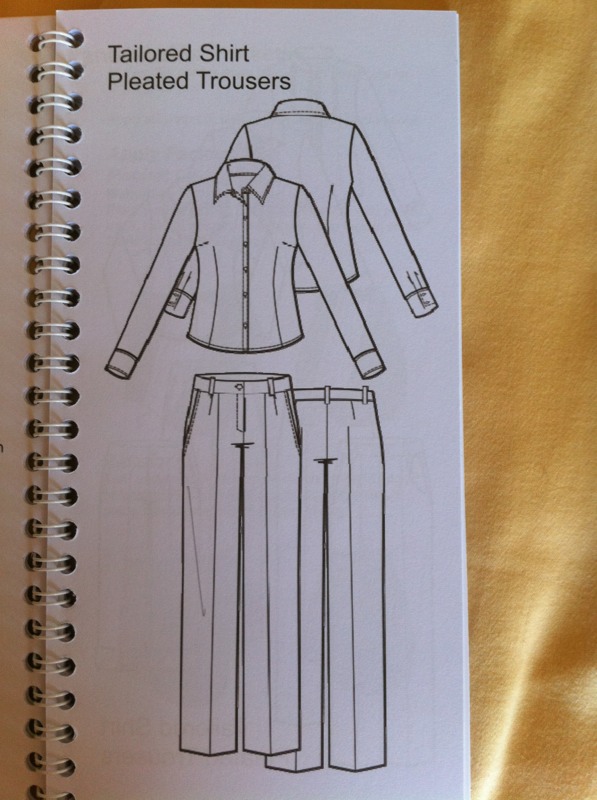
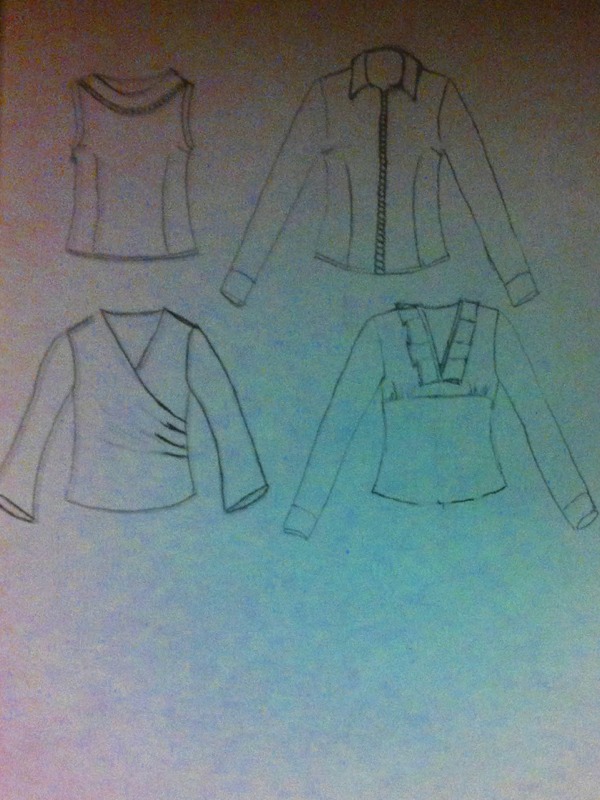
I am so excited that my sewing has FINALLY gotten to a level where the things I make fit me well enough that I can focus on style instead of fit. I can't stop thinking about what to make! I have some gorgeous fabric in my stash that I have been afraid to cut. Now, I can't wait to stitch it up. In an attempt to formalize my fall wardrobe plan, I have sketched a couple of variations of the tailored shirt pattern included with My Label. I plan to make a woven silk print shell to wear under a jacket, a woven silk tailored shirt with a crystal zipper up the center, a stretch knit silk print wrap top, and a woven silk print blouse with pleated self fabric trim, as well as three more pairs of pants from wool crepe, stretch tropical wool, and a beautiful fine menswear pin stripe - all from my stash! CoLoR mE HaPpy!!
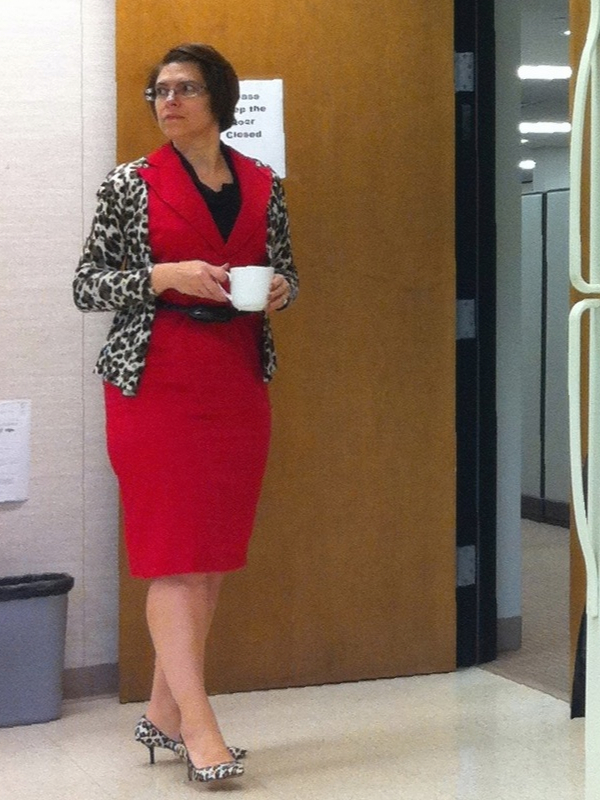
On another happy note, my daughter joined me for lunch today and complimented my outfit. When I told her I made the dress myself, she was delighted and asked me if I could make one for her as well. YES!! Life is good.
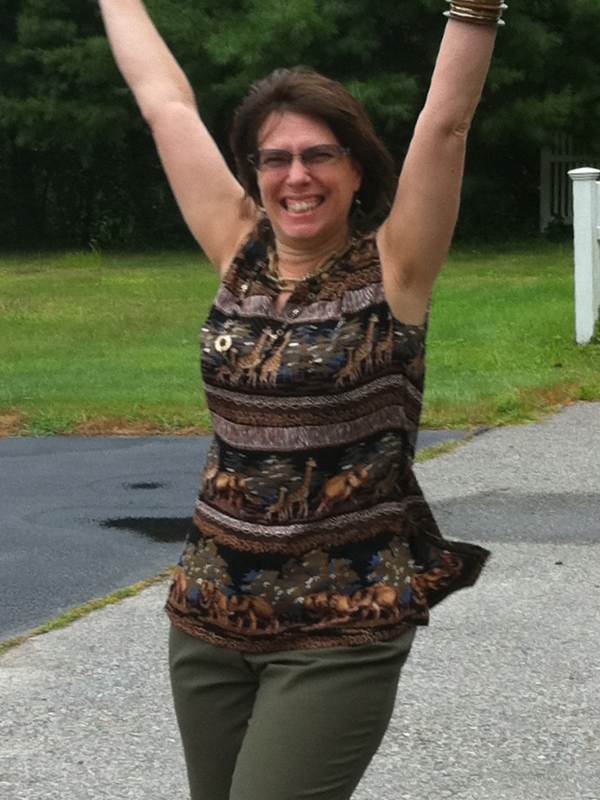
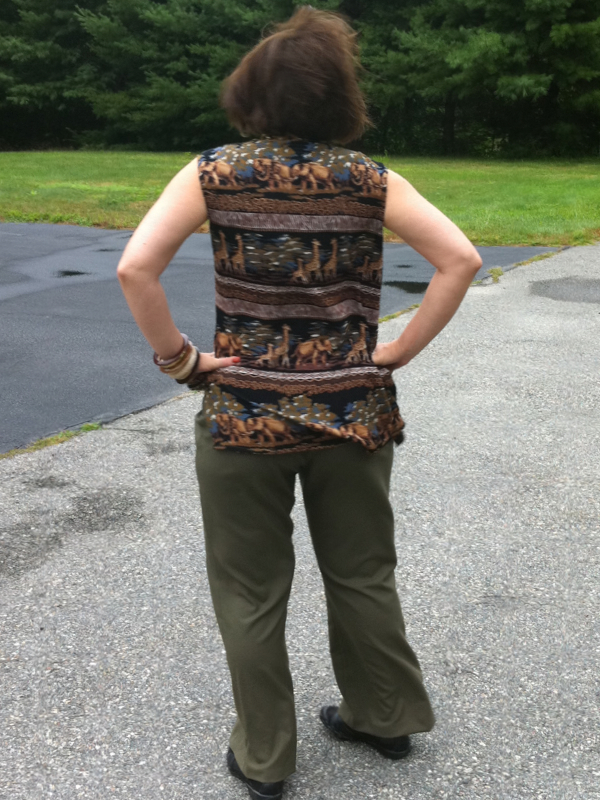
 I sewed this weekend. Here is my first outfit made with Bernina My Label. I took my time with the construction of the pants since I was confident they would fit. I have to say I am thrilled to have pants that fit me well, These are drafted to have the waist be a half inch below the natural waistline in the back with a 5/8 inch pitch. That means the front is 1 - 1/8 inches below the natural waist in the front. I used a wider waistband on this pair because I wanted to use this way cool waistband facing technique that I copied from Ann Taylor RTW. I would have lowered the waistband edge on the front and back pattern pieces, but I forgot and by the time it occurered to me, I had already completed the pockets in the front. Live and learn... The pants are still very wearable with the high waist because I am long waisted. It has been a long time since I had pants with a waistband that sat right at my waistline. The style looks a little dated if I tuck my top in, so I won't be tucking anything into these. Even though the high waisted style doesn't look good on me, they feel so comfortable and secure that I don't think I will lower the waist on the next pair. It's nice to know I can wear a top with a hemline that sits at my high hip and I won't expose my mid section if I raise my arms.
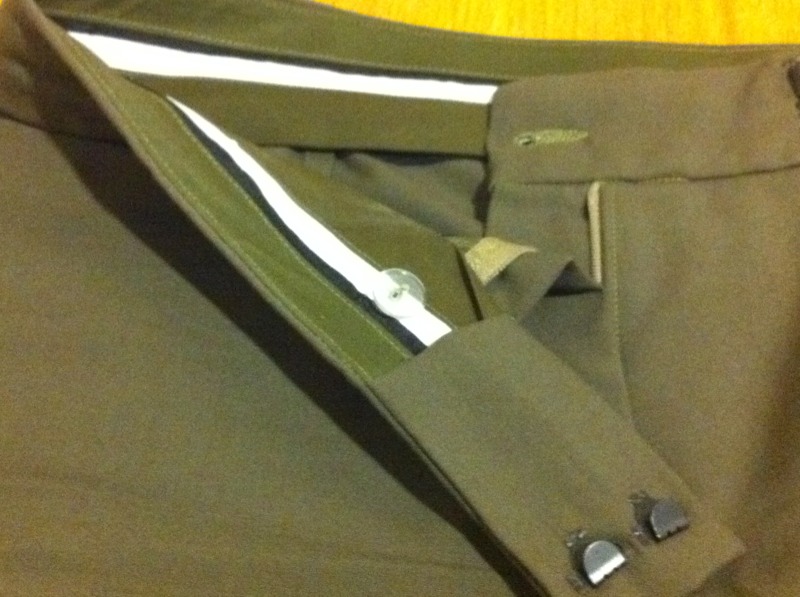 The buttonhole was made using a built in stitch on my machine with a sensormatic buttonhole foot. I have always been afraid of buttonholes, but this one has really changed all that for me. It was a breeze to get the perfect size and position. I hand sewed the button and the hooks and eyes as well as the hems, but the waistband was done entirely on the machine.
 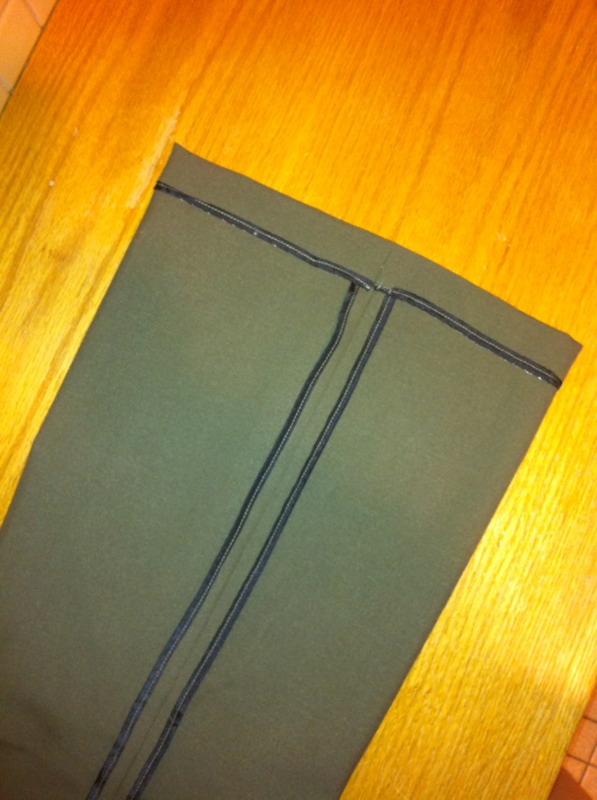 For the seam finishes, I used