click for a larger image in a new window

click for a larger image in a new window
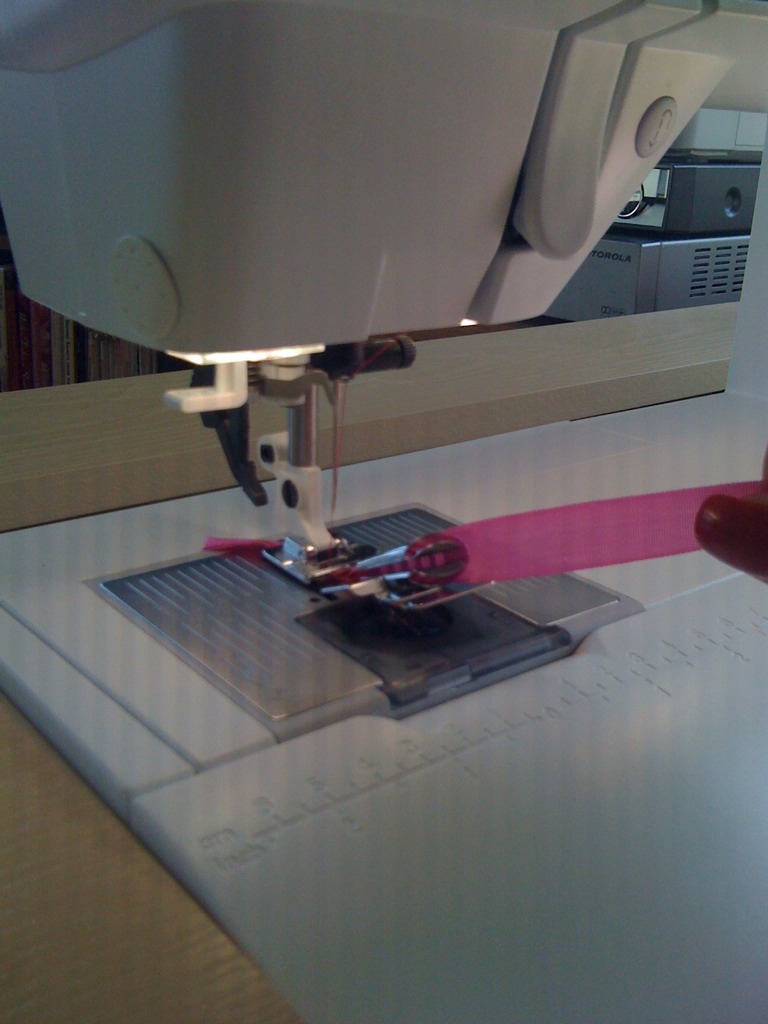
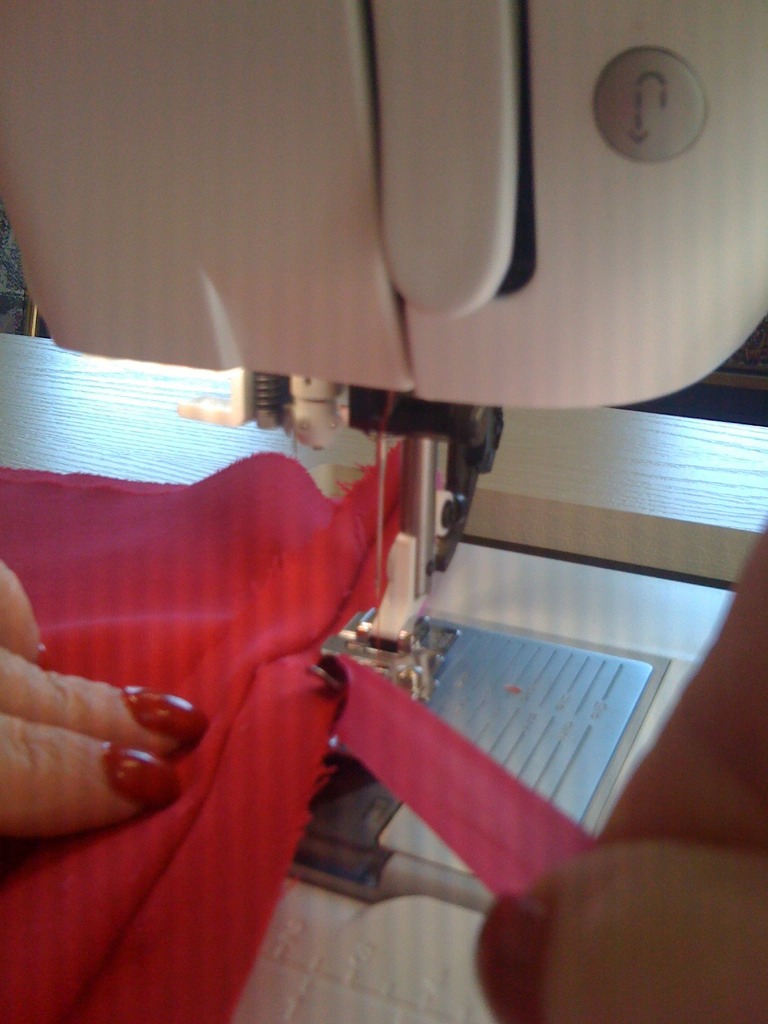
I finished all the seam allowances yesterday. I used the pink rayon seam binding shown above. It is called Hug Snug. I broke in my handy seam binder foot for the job. This little contraption folds the binding around the seam allowance edge and holds all three layers in place to be stitched with a straight stitch. I bought the foot for my Husqvarna Viking D1 but I never used it. Now I have a Pfaff Creative Vision. I had invested a small fortune in machine feet for the D1 and I was really bummed that they do not fit on the Pfaff. Not willing to part with my accessory feet without a fight, I bought a replacement ankle for the D1 and tried it on my Pfaff. It fit. Schweet! Then I tried snapping on a foot and taking a few stitches. I checked that the needle alignment was compatible and that the feed dogs were also aligned. Everything looked great, so I broke out the bias binder foot and gave it a try. I have to say it was not as easy as it looks at first, but I got the hang of it after a few runs.
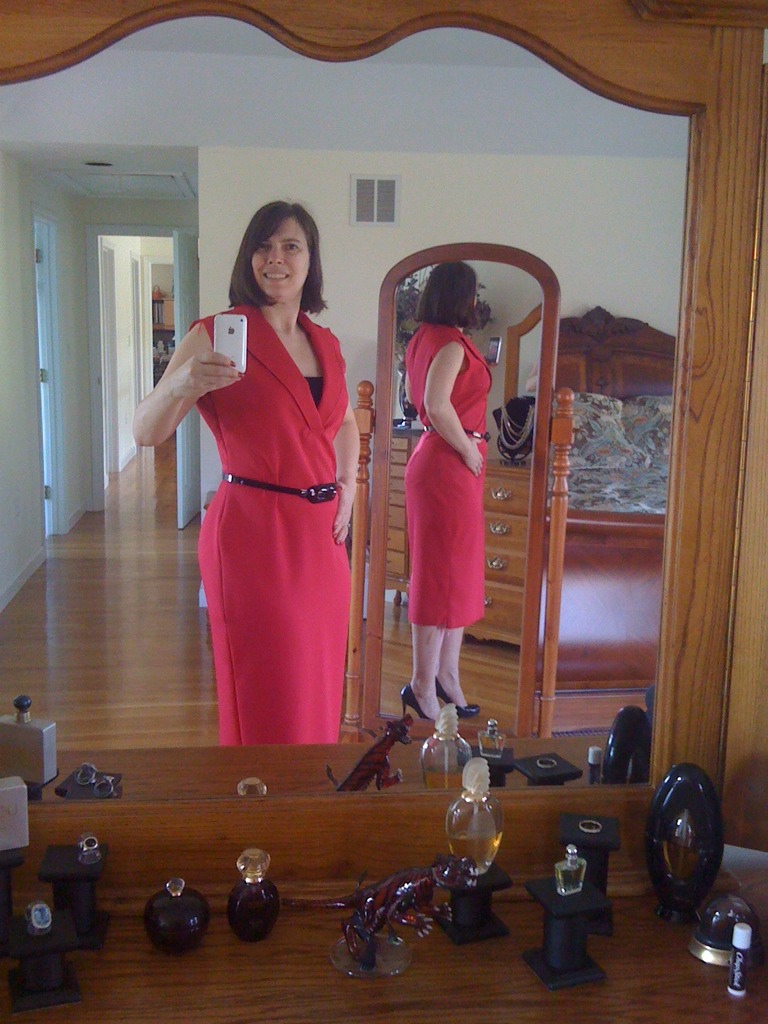
I removed the temporary zipper and closed up the center back seam. I inserted an invisible zipper in the left side seam after fusing interfacing along the left side seam allowances. I attached the collar and tried the dress on. Here is how it looks with the collar.

click for a larger image in a new window
I know I said I was going to line the dress if it turned out I need to wear something underneath it, but I am just dreading that whole process and not loving the dress enough to want to put that much effort into it. So, I cut the one piece facing. I stay stitched the neck and armsyce seam allowances a mere needle's with away from the seamline. Then I finished the edges with Hug Snug. I attached the facing at the neck edge, clipped, understitched, and pressed the seam. It was looking great. Then I clipped the armsyce seam allowances and pressed under to the stay stitching on both the facing and the dress. I basted the pressed edges, clipped them together with binder clips, and edge stitched the facing to the dress along the left armsyce - the side with the zipper. I was a bit annoyed that the dress armsyce length was longer than the facing. I stay stitched it and I didn't think it would stretch after the stay stitching. Maybe I didn't turn the facing under enough? I didn't really think much about it beyond my initial annoyance that I expected it to be perfect and it wasn't. By the time I pressed it, I was quite pleased with how nice and flat it came out and how even the edge stitching came out.
At this point, I was ready for a break. I was thinking, I'll finish it up tomorrow. Smiling to myself about being almost finished and ready to start another project, soon, I picked up the shaped wooden coat hanger I have been using to hang the dress on and got ready to set it aside until tomorrow. Well, the smile didn't last too long, as I noticed the dress seemed to hang funny on the hanger. I fiddled with it and tried to make it look pretty, of course dropping it off the hanger more than once while I was at it. I began to realize that the facing was "not right". I think it is rotated slightly in the armsyce. I need to take it apart and redo it. AAAaaaarrrrrrrghhh! I am too tired and discouraged to fix it today. I'll take it apart next time I sew. Sorry, I was in too crabby a mood to take and post pictures of it. I'll do that when I m not disgusted with myself....