Showing posts with label Suit Dress. Show all posts

The Suit Dress Is Finished

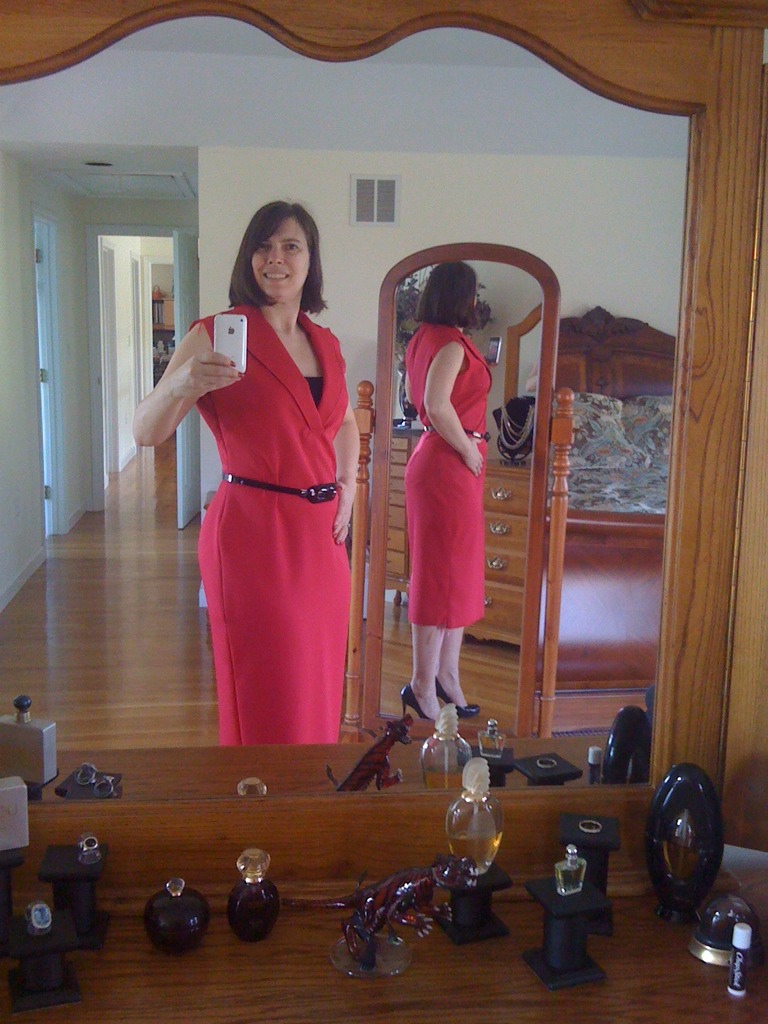
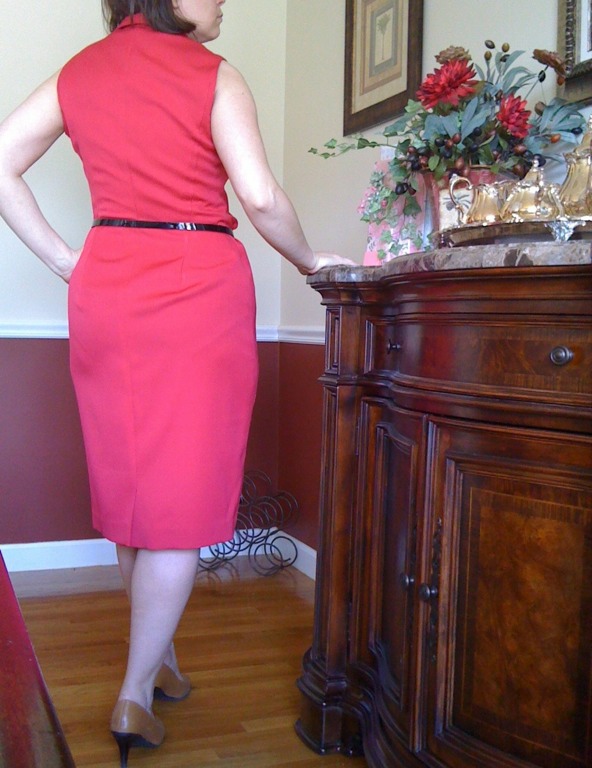
Finally, I have finished this dress. If you guys are like me, you are sick of looking at this dress. Really, I lost interest in it last month and it was a chore to finish. There were some unexpected challenges with this project and I am not as happy with the results as I had hoped. Still, I consider it wearable, and I may even sew the pattern again, but not in the near future. I am happy to cross this off my list and move on to the next challenge.

The Suit Dress Snag

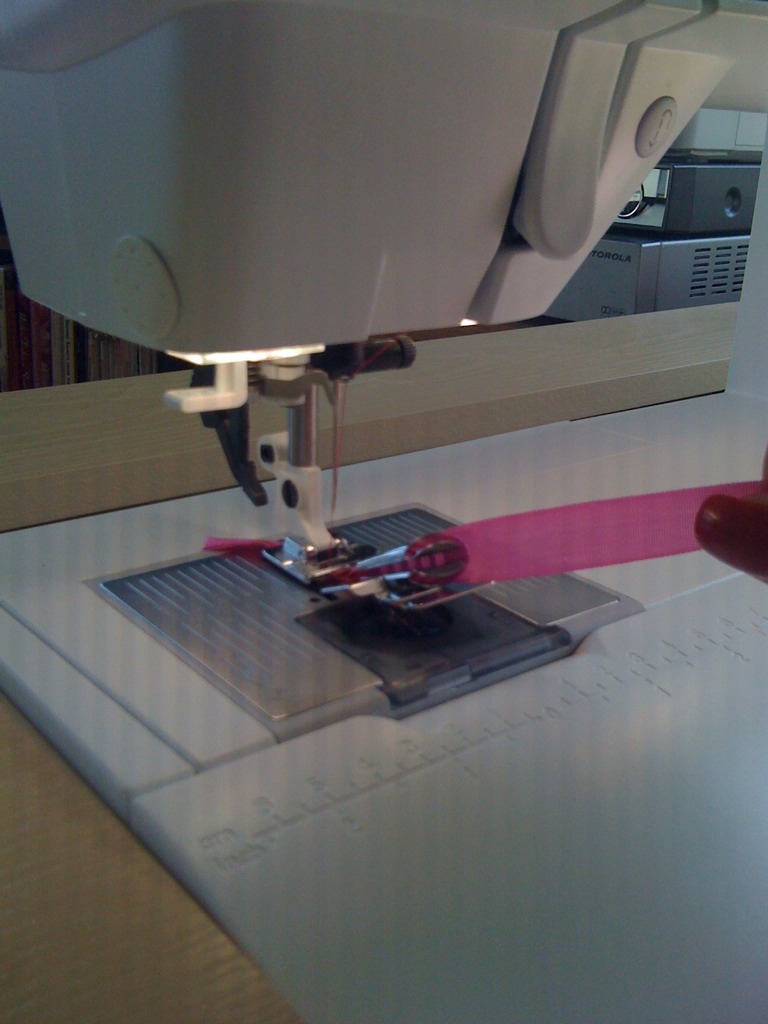
click for a larger image in a new window

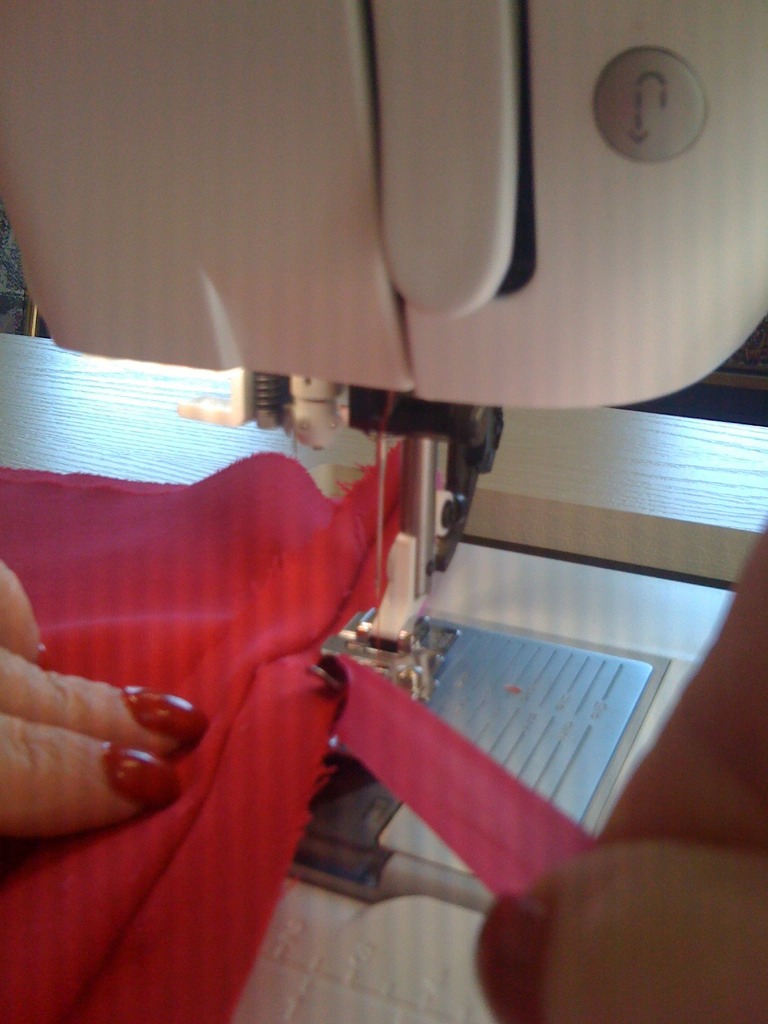
I finished all the seam allowances yesterday. I used the pink rayon seam binding shown above. It is called Hug Snug. I broke in my handy seam binder foot for the job. This little contraption folds the binding around the seam allowance edge and holds all three layers in place to be stitched with a straight stitch. I bought the foot for my Husqvarna Viking D1 but I never used it. Now I have a Pfaff Creative Vision. I had invested a small fortune in machine feet for the D1 and I was really bummed that they do not fit on the Pfaff. Not willing to part with my accessory feet without a fight, I bought a replacement ankle for the D1 and tried it on my Pfaff. It fit. Schweet! Then I tried snapping on a foot and taking a few stitches. I checked that the needle alignment was compatible and that the feed dogs were also aligned. Everything looked great, so I broke out the bias binder foot and gave it a try. I have to say it was not as easy as it looks at first, but I got the hang of it after a few runs.

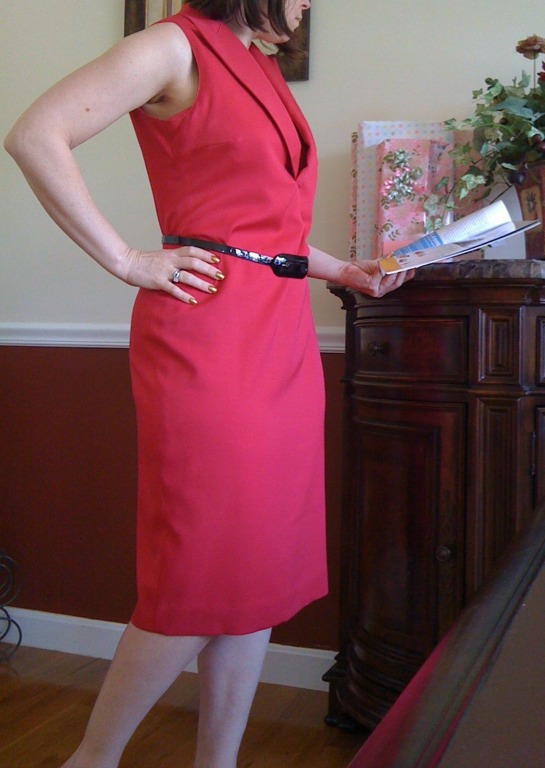
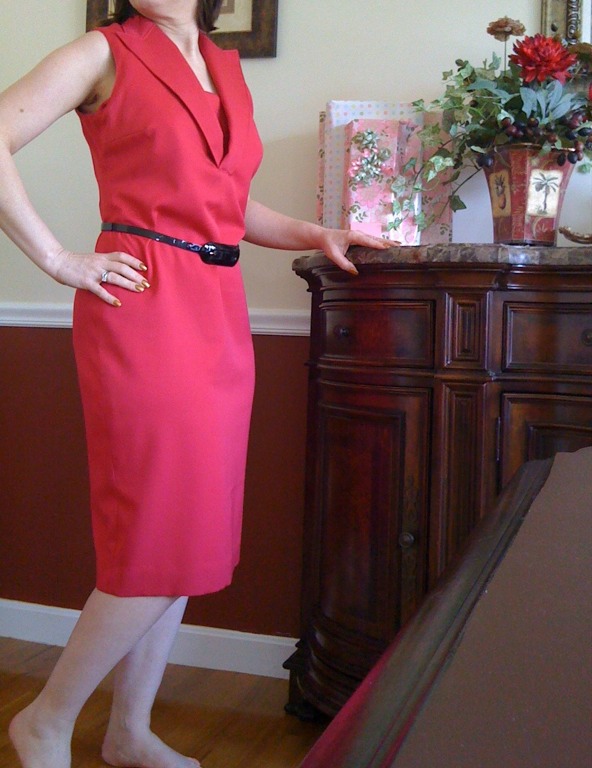
I removed the temporary zipper and closed up the center back seam. I inserted an invisible zipper in the left side seam after fusing interfacing along the left side seam allowances. I attached the collar and tried the dress on. Here is how it looks with the collar.

click for a larger image in a new window

I know I said I was going to line the dress if it turned out I need to wear something underneath it, but I am just dreading that whole process and not loving the dress enough to want to put that much effort into it. So, I cut the one piece facing. I stay stitched the neck and armsyce seam allowances a mere needle's with away from the seamline. Then I finished the edges with Hug Snug. I attached the facing at the neck edge, clipped, understitched, and pressed the seam. It was looking great. Then I clipped the armsyce seam allowances and pressed under to the stay stitching on both the facing and the dress. I basted the pressed edges, clipped them together with binder clips, and edge stitched the facing to the dress along the left armsyce - the side with the zipper. I was a bit annoyed that the dress armsyce length was longer than the facing. I stay stitched it and I didn't think it would stretch after the stay stitching. Maybe I didn't turn the facing under enough? I didn't really think much about it beyond my initial annoyance that I expected it to be perfect and it wasn't. By the time I pressed it, I was quite pleased with how nice and flat it came out and how even the edge stitching came out.

At this point, I was ready for a break. I was thinking, I'll finish it up tomorrow. Smiling to myself about being almost finished and ready to start another project, soon, I picked up the shaped wooden coat hanger I have been using to hang the dress on and got ready to set it aside until tomorrow. Well, the smile didn't last too long, as I noticed the dress seemed to hang funny on the hanger. I fiddled with it and tried to make it look pretty, of course dropping it off the hanger more than once while I was at it. I began to realize that the facing was "not right". I think it is rotated slightly in the armsyce. I need to take it apart and redo it. AAAaaaarrrrrrrghhh! I am too tired and discouraged to fix it today. I'll take it apart next time I sew. Sorry, I was in too crabby a mood to take and post pictures of it. I'll do that when I m not disgusted with myself....

On a happier note, Faye has nominated me for this award! I have never earned any distinction of any kind for anything sewing related. This is a lovely surprise! Thank you, Faye. You made my day! The requirements for accepting this award are as follows:

1. Place the logo within your blog or post.
2. Pass the award on to 12 bloggers.
3. Link the nominees within the post.
4. Let the nominees know they have received the award by commenting on their blogs.
5. Share the love and link to the person from whom you received the award.

So here are my nominees:
1.A Little Sewing On The Side
2.Two On Two Off
3.Sew Passionista
4.The Sewing Lawyer
5.Ten Thousand Hours Of Sewing
6.Ruthie K Sews
7.A Tailor Made It
8.Adventures In The Art Of Sewing
9.La Sewista
10.Beccabeckstuff
11.Carolyn's Sewing Room
12.Diary Of A Sewing Fanatic

Suit Dress Update

click for a larger image in a new window

I tweaked the shoulder slope and restitched the darts. Now the suit dress looks a little better. I am going to leave the sleeves off, but I have decided that I do want the collar, so I have to move the zipper. The zipper in the center back was basted in just for fitting purposes. I do not want to have a zipper in the center back of the collar. Now that I have the side seams as I want them, I will pull that zipper out and stitch the center back seam. I will put an invisible zipper in the left side seam. The seam is curved and the fabric has a slight stretch to it, so I need to stabilize the seam allowances before I sew in the zipper.

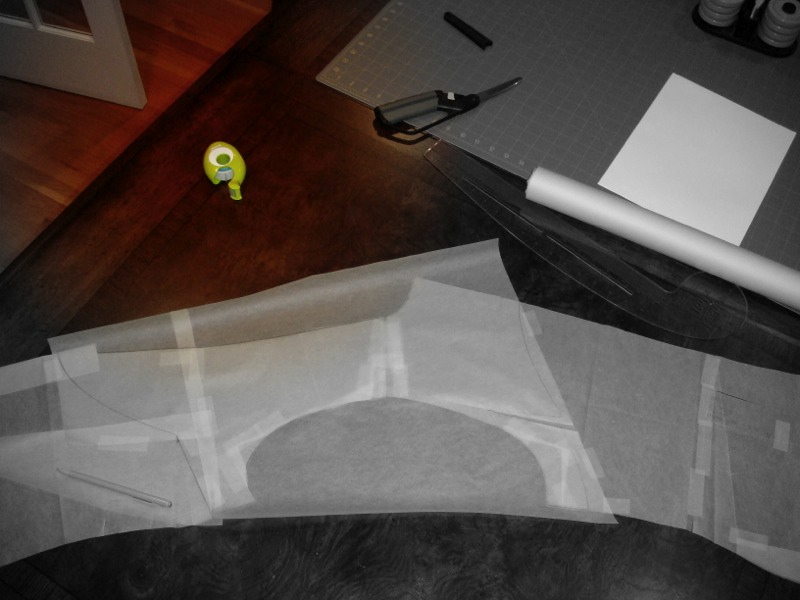
I also have to adjust my facing pattern since I have altered the shoulder seam. This pattern did not come with lining or facing pieces. I drafted my own. It is really easy to do. Since BURDA patterns have no seam allowances, it was especially easy. Basically, all I have to do to make lining and facing pieces is duplicate the front and back pieces, draw a line where I want the facing and lining to meet, and cut the pieces apart.
click for a larger image in a new window

In this picture, I have drafted just a facing. I taped the pattern pieces together at the shoulder, then covered them with architectural tracing paper. I outlined the pattern pieces at the armsyce and neckline and drafted a lower edge to make a one piece facing. The facing will be cut out with the center back on the straight grain fold.

I still have not decided if I am going to make a lining for this dress. It will depend on how low the neckline is once the collar is attached. If I have to wear a blouse or something underneath, I will want a lining to keep the gabardine from sticking to the blouse fabric. If the collar is modest enough, I may see if I have enough fabric to make a shrug to wear over it. I always need sleeves. I am always cold.
The Fitting Struggle Continues...

I had a duh moment and realized I needed to release the fish eye darts. This helped the dress hang much better. I took in the side seams a quarter inch which eliminated 1 inch of the 2 inches of ease through the waist and hip. I think I like the fit more, now, but the darts ... ugh! I am fairly confident I can fix this if I restitch them, curving more and ending tangent to the fold. But now, I am thinking this is just not the right color for me...


Should I Continue With This?

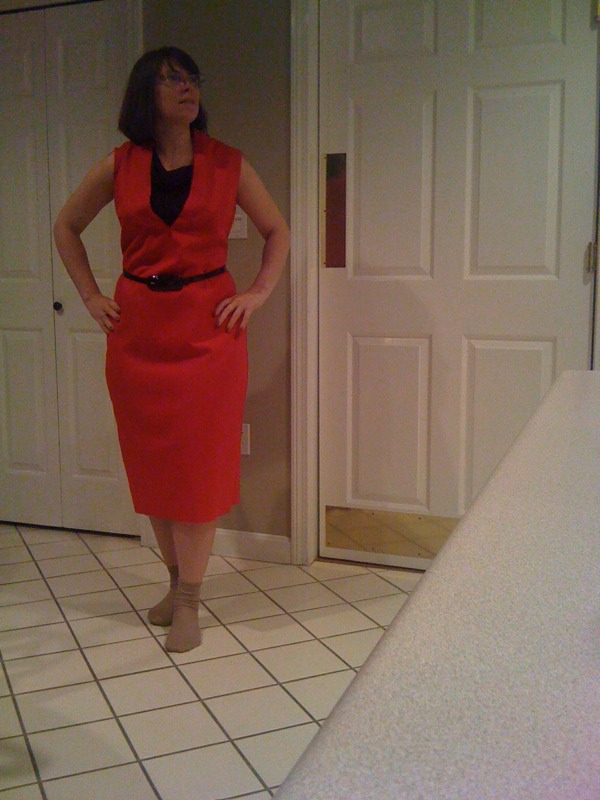
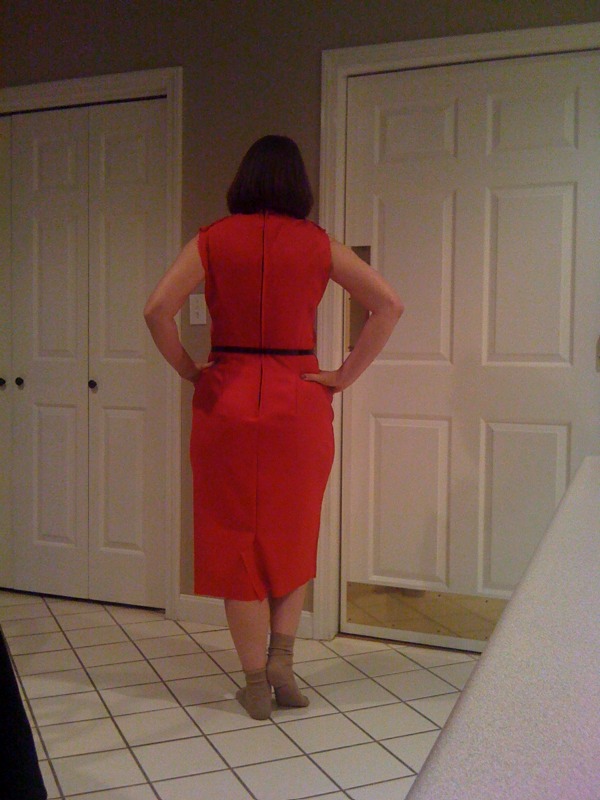
I really hate the way this dress is coming out. I don't like the bubbles at the bottom of the back darts. I think it is too big and baggy looking. The gabardine does not drape the way I thought it would. Maybe it will hang better once it's lined? I really cannot decide whether to keep working on it or to let it "rest" for a while. Sometimes when I hate something and I try to save it, I get really creative and end up truly loving the result. My psychic spidey senses are not seeing good things for the future of this project. I am calling out to all of my fellow sewing fashionistas. What would you do with this?


back view

front view
I tried styling it with a thick knit turtleneck and a wide patent leather belt, but I am just not feeling it.

front view

back view
Here is what the finished dress is supposed to look like. Should I leave it sleeveless? I am afraid there may be just too much azalea gabardine...

technical drawing

from BURDA Style February 2010

Suit Dress Muslin


I have my husband to thank for this. It was at his urging that I got up off of the couch at 8:00 last night and whipped up a muslin to test the fit of this pattern. The only alteration made to the pattern is that I added some fullness through the hip and thigh. I think I will go ahead and cut the gabardine with 1 inch side seams and add a little more ease below the waist.

Fitting the Suit Dress

After all of my alterations, the shoulder slope just didn't look right to me. I thought maybe with all the years of folding ready to wear laundry which never fit quite right, finally seeing something that fits me well ought to look odd.

But, just to be on the safe side, I cut the front and back half pieces out, folded the bust dart, and taped the pieces together at the shoulder and side seams before slipping it on to test the fit. It turned out the shoulder slope alteration was good, but the bust dart was too high, and the waist was also too high all the way around, so I undid the tuck I made to petite the armsyce, but then the shoulder didn't lay right. Then I undid the shoulder seam alteration, and now it looks like this.


This looks fine to me.  Maybe I should make a muslin?  I sure wish I had a TNT sheath dress!

Suit Dress Embroidery

I bought an embroidery design CD years ago because I loved this picture.


The designs are from Inspira
I loaded the designs on my computer, but have never stitched them - not one.  I think the highlighted design below would look great stitched down the left side of the collar of the azalea suit dress. 
I think I will change the flowers to yellow to contrast with the dress.


Here is a rough idea of what I am picturing: