Thanks to all who helped me choose which jacket to sew next. I started work on the
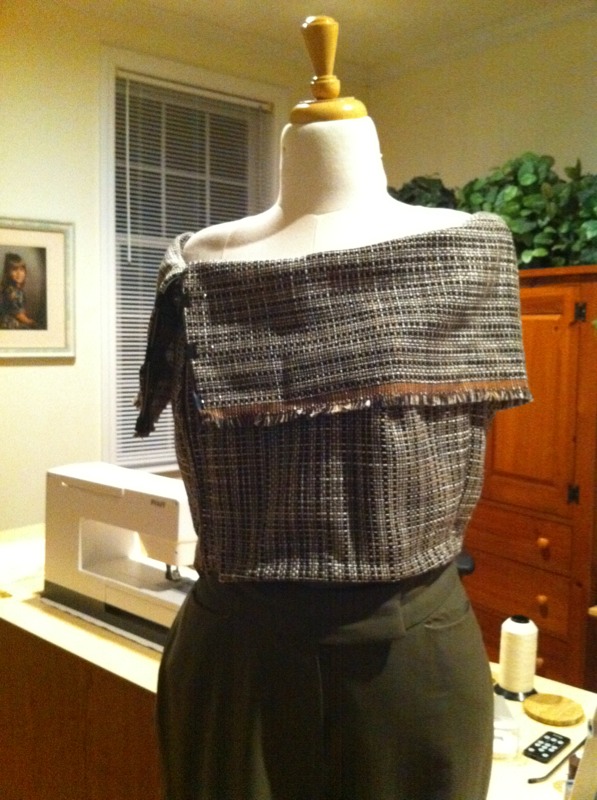
zippered jacket this weekend. I decided to create my own pattern. First, I had to think about the fabric and the fit to determine what to do with the bust darts. The tweed is a loose weave with horizontal stripes of color and sequins, so I wanted a simple design. I like something with waist definition, so I decided on waist darts for shaping. I have a jacket pattern which fits me very well, but it has princess seams, so I needed to do some pattern manipulation.
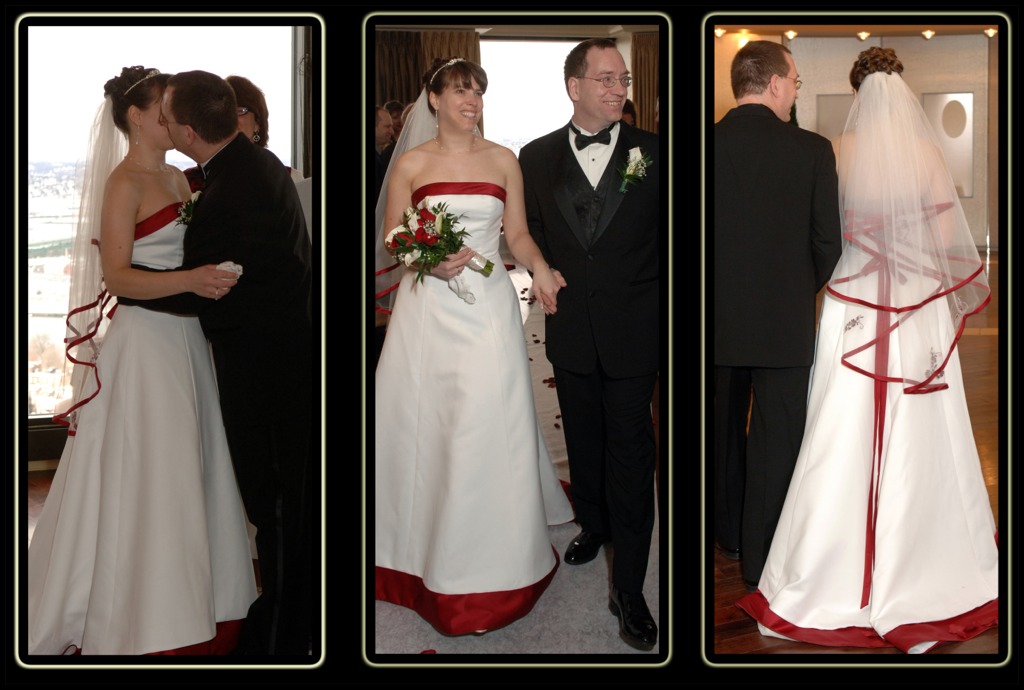
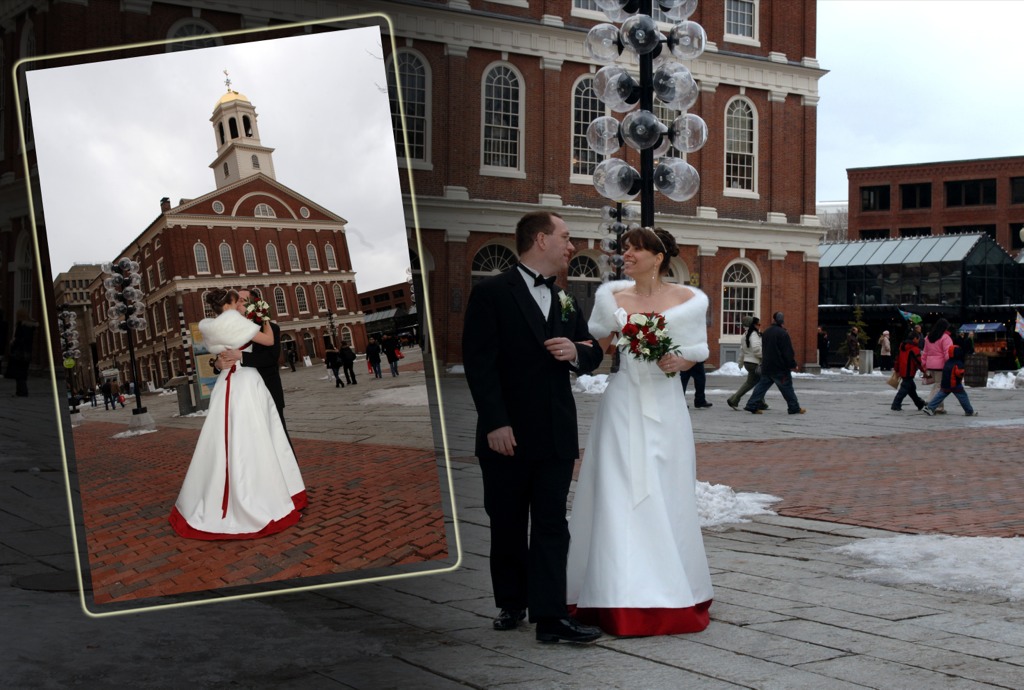
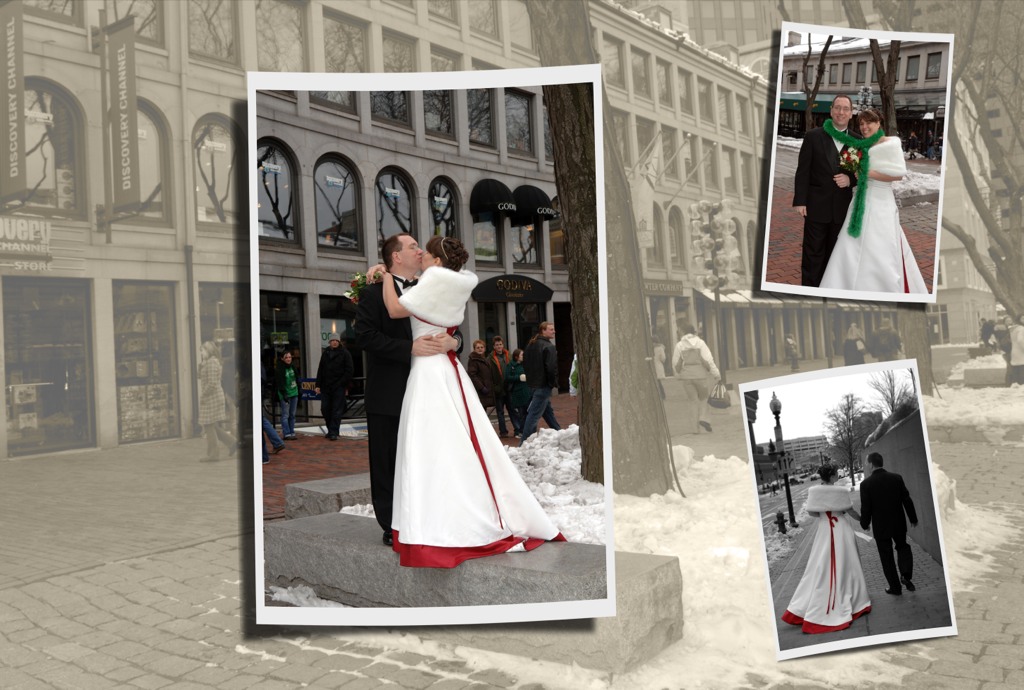
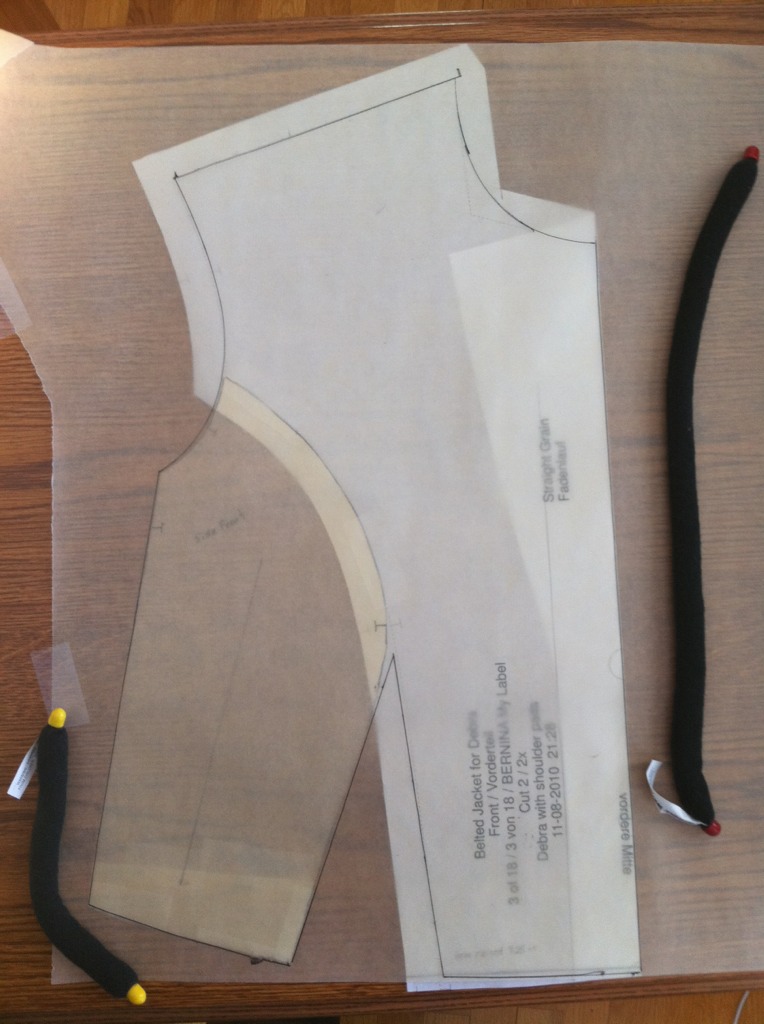
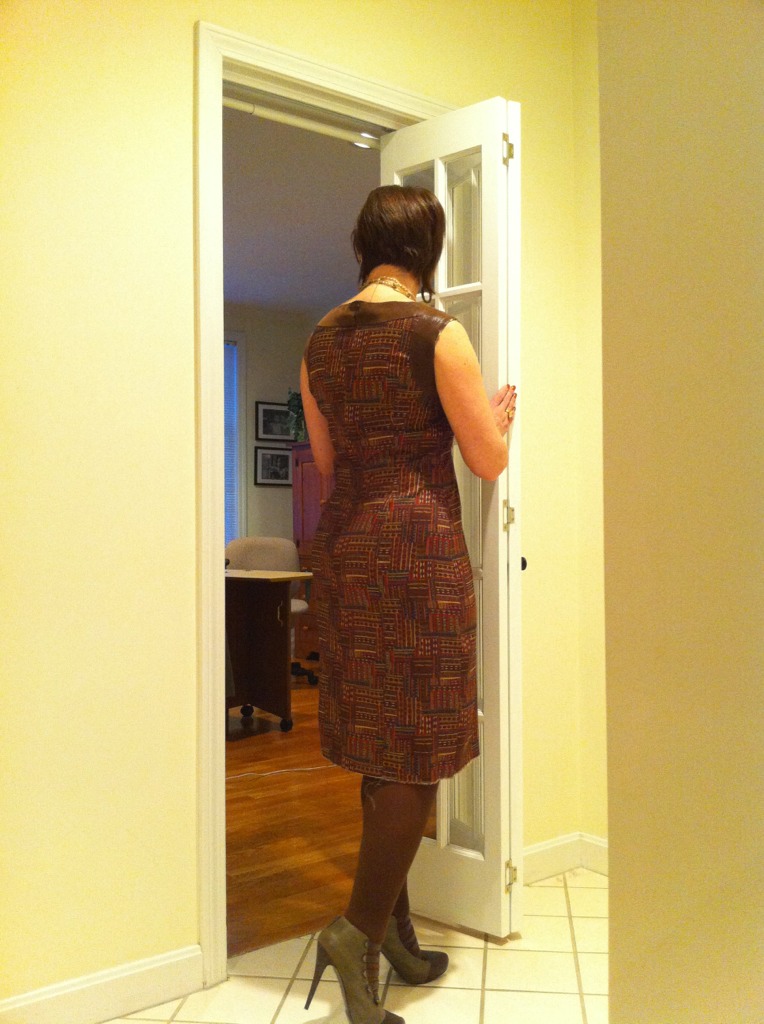
I began with the
BML belted jacket pattern which I used for
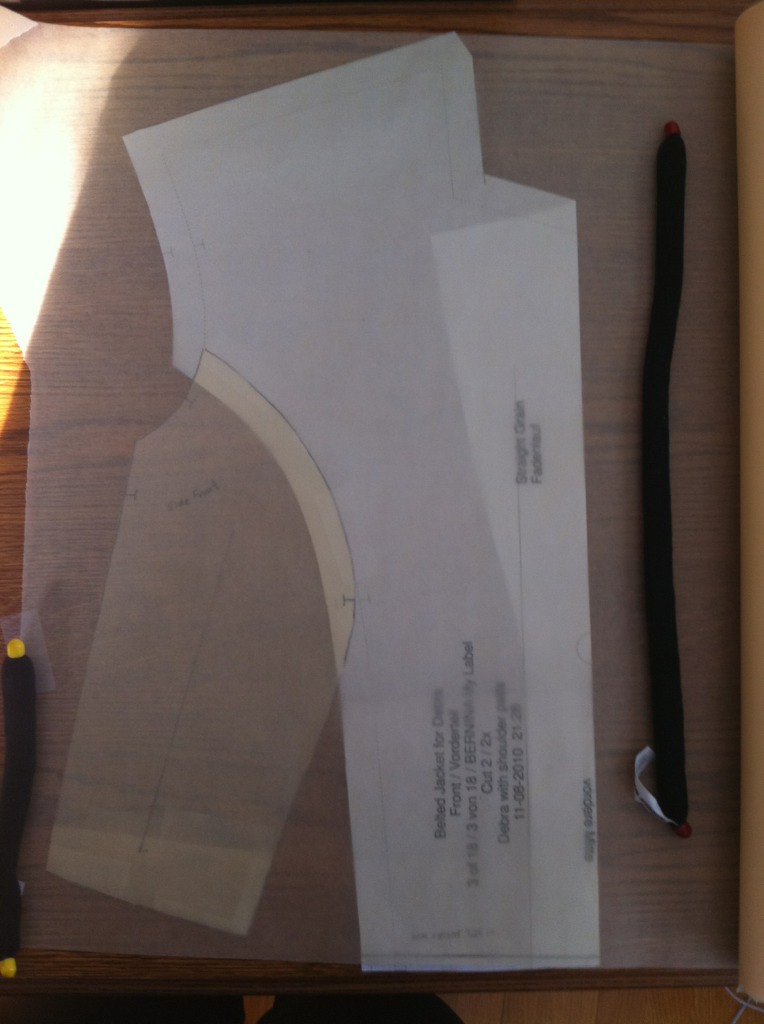
this jacket. I cropped the pattern at the waist and taped the side front to the front along the upper part of the princess seam. Then I covered the pieces with tracing paper.
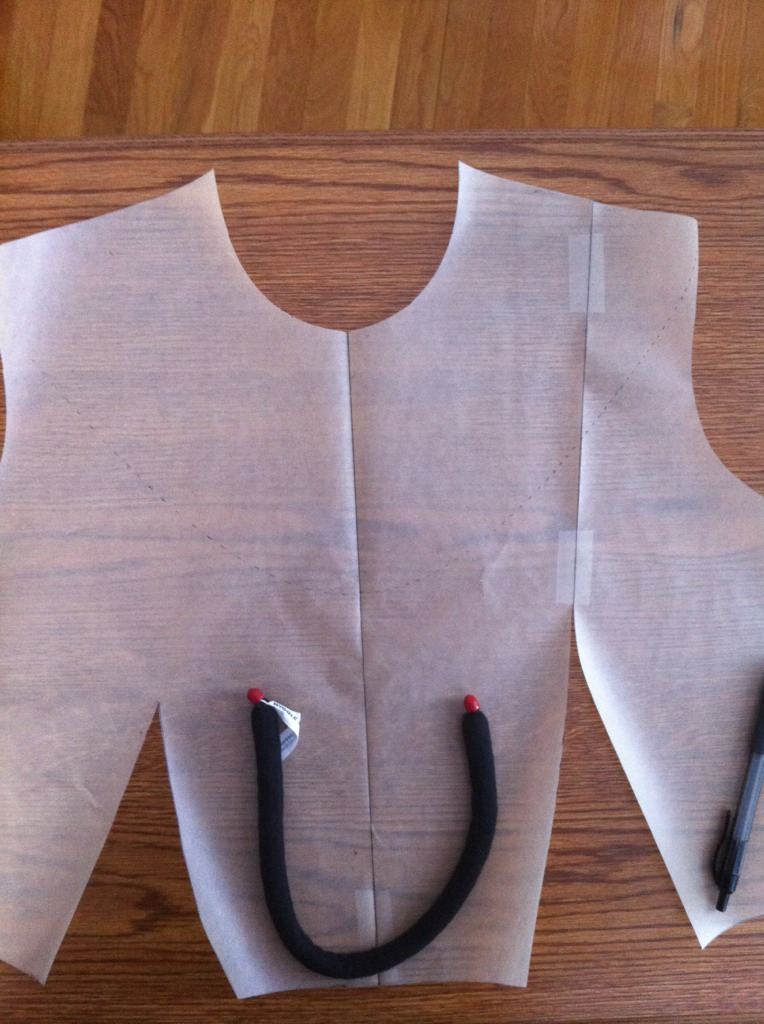
I traced the two pieces as one, converting the princess seam to a waist dart. I also redrew the neckline, using my french curve. For this pattern, I omitted the seam allowances. I find it easier to work with patterns when there are no seam allowances. I will add the seam allowances when I cut the fabric.
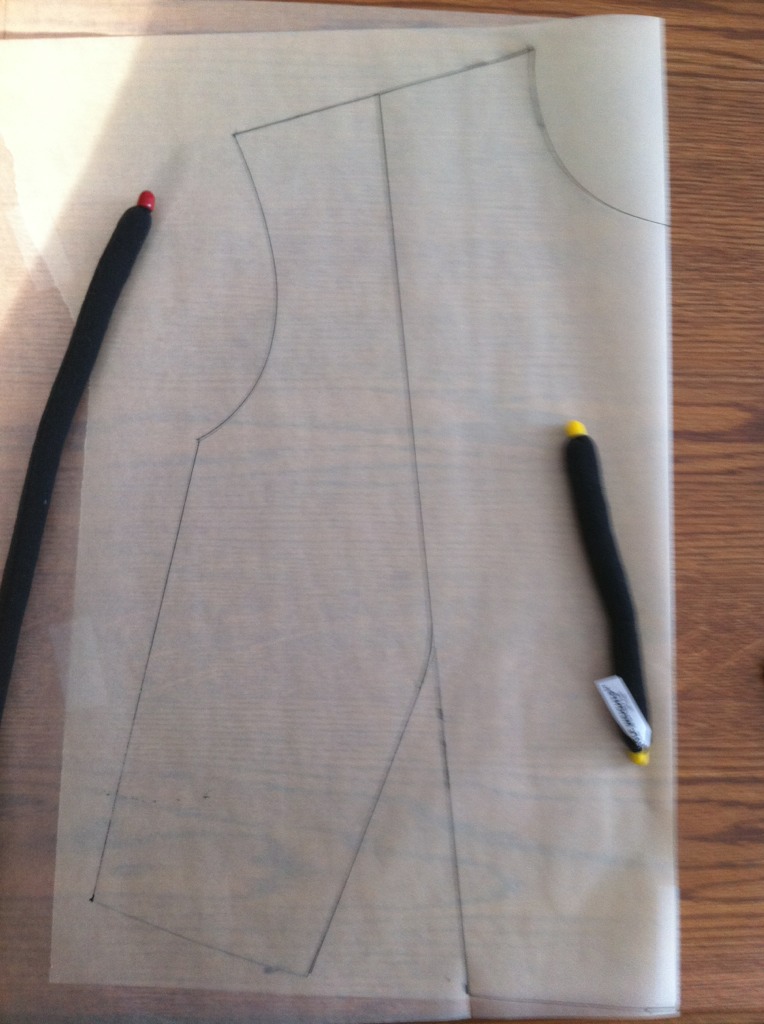
Here is what the half front looks like.
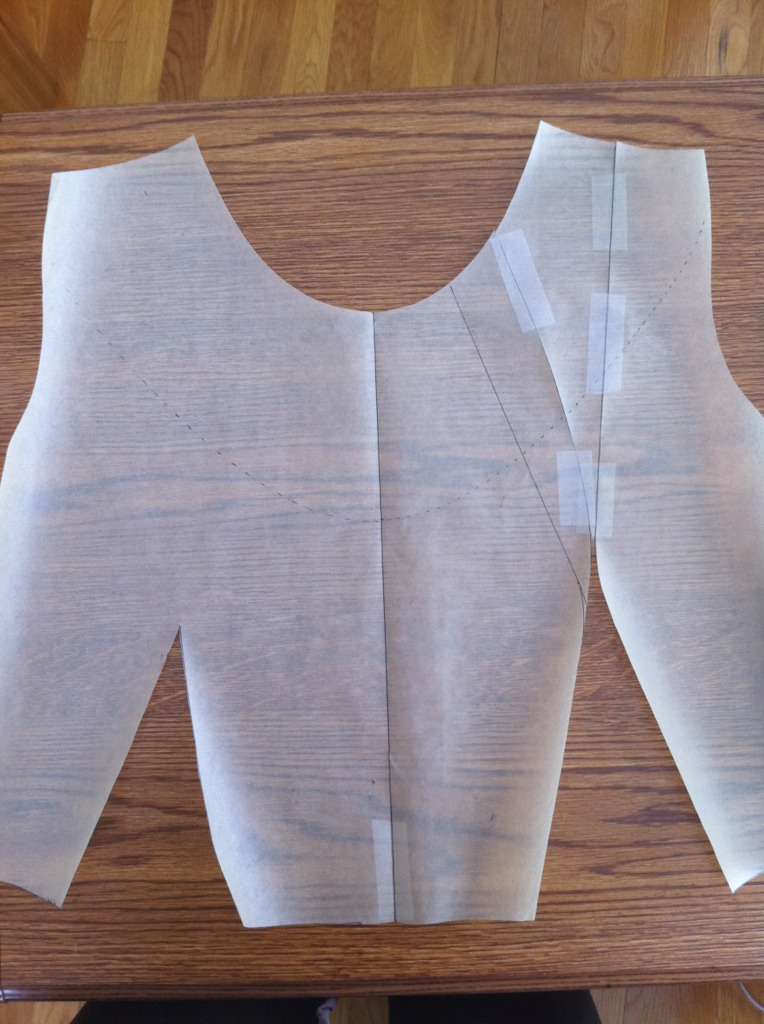
The jacket will have an asymmetrical front closure, so I will need to start with a full front pattern piece which I will later cut in two to make a left and a right side. Here I have folded the tracing paper along the center front line and traced the rest of the jacket front onto the folded tracing paper. I divided it by extending one of the dart legs up to the shoulder seam. (I later changed this when I determined where I wanted my neck opening.)
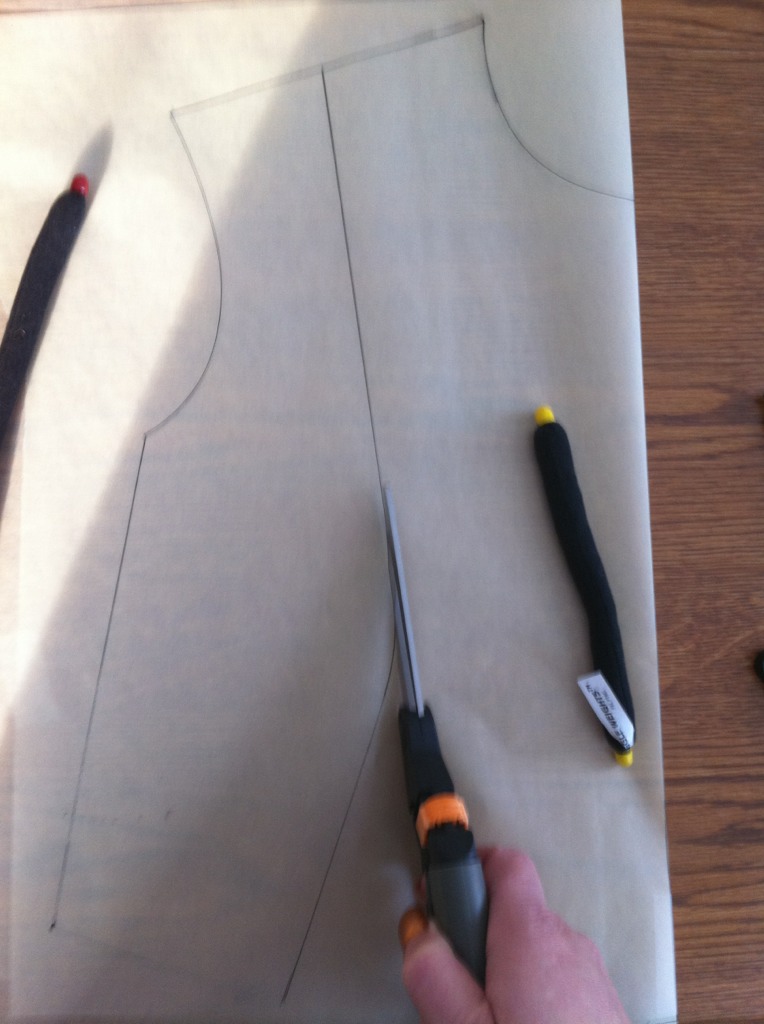
Next, I cut the new pattern pieces out, cutting the left and right apart along the dart leg and its extension.
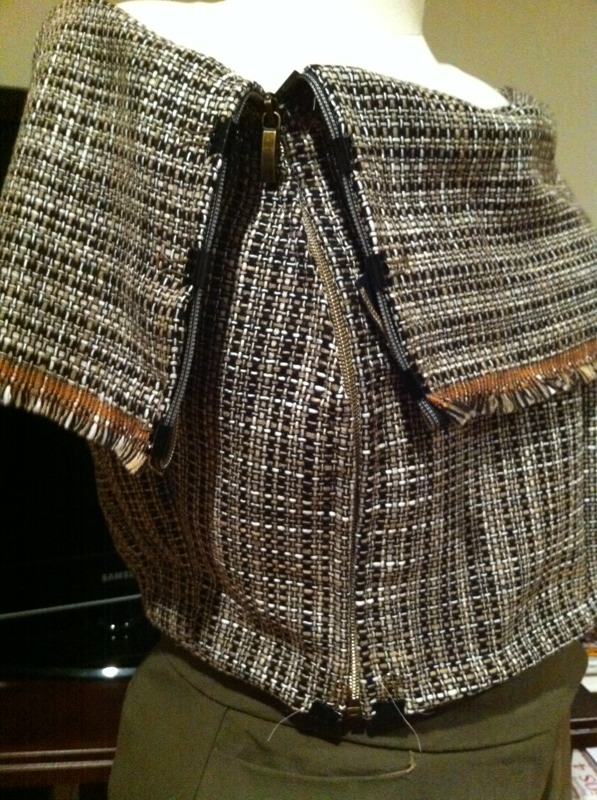
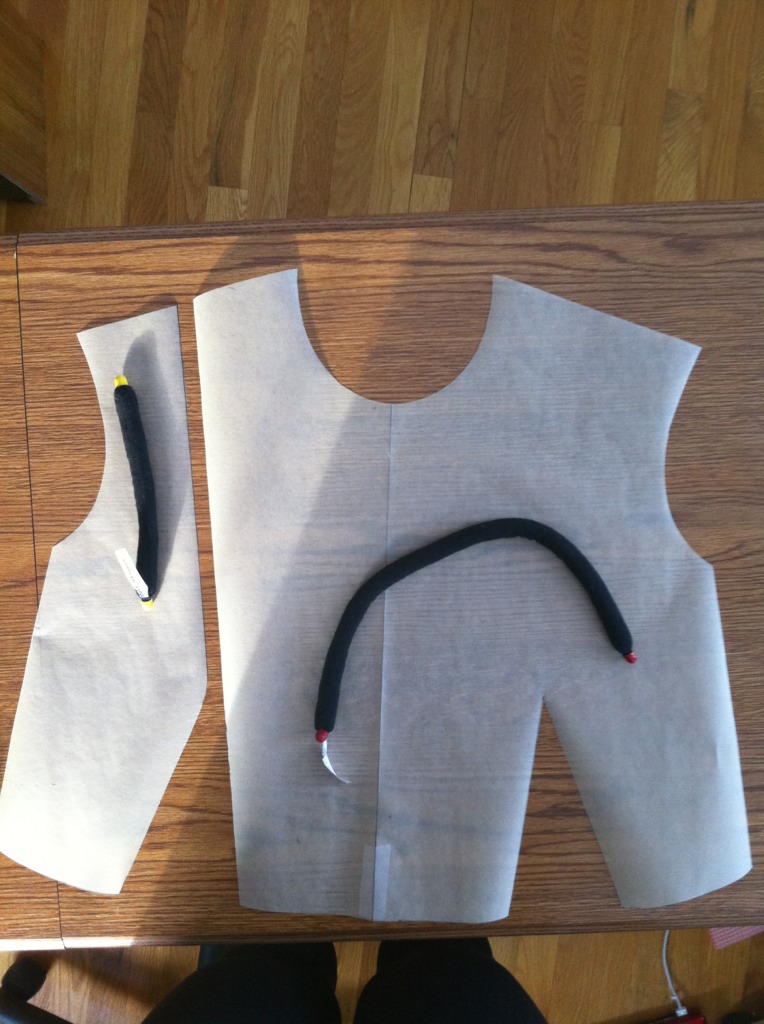
Here are the two pieces. When I wear the jacket, I would like the zipper to appear to anyone who sees it to go from the top left toward the bottom right. I find that diagonal line to be more appealing than one which goes from top right toward bottom left. That means that from the wearer's point of reference, the zipper will be on the right hand side. Therefore, the larger front piece will be the FRONT LEFT. I always find this confusing and even though I may mark a pattern, I never trust it and I will always double check as I cut. I have learned not to bother marking the pieces. (Does anyone else do this? - second guess yourself to death?? I can't tell you how many pattern pieces I have with markings that are crossed out, changed, crossed out yet again, and changed back to the original markings. I drive myself crazy.)
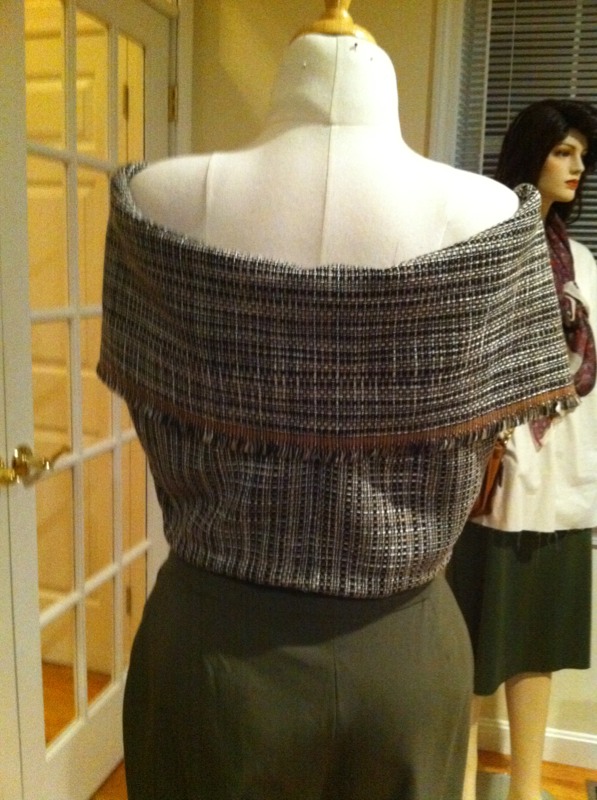
Here is where I decided on the neckline and the collar. I went back and forth in my mind over having a wider neckline as in my drawing, or a smaller one. I opted for the smaller one with more coverage as I am always cold, and it will look nicer when layered. I drew a dotted line to indicate where the edge of the collar will fall. At this point, I noticed the front opening will not intersect the neckline. That needs to be fixed.
Here, I taped the fronts together and redrew the opening. I am not convinced I like it as much as my original idea with the wider neckline. Also, that diagonal line I had in my mind for the zipper is not going to work out. I think I need to let this marinate a little before I cut any fabric... I may redo it and go with my
original sketch. 


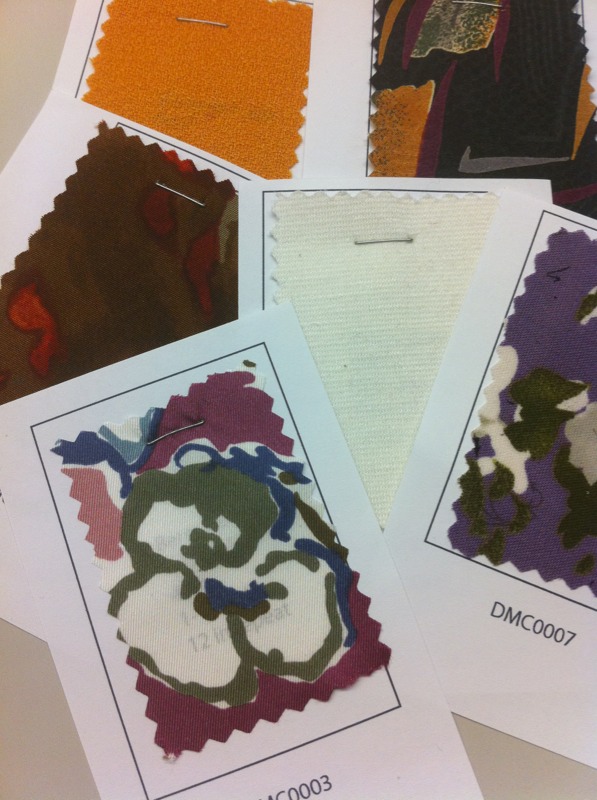
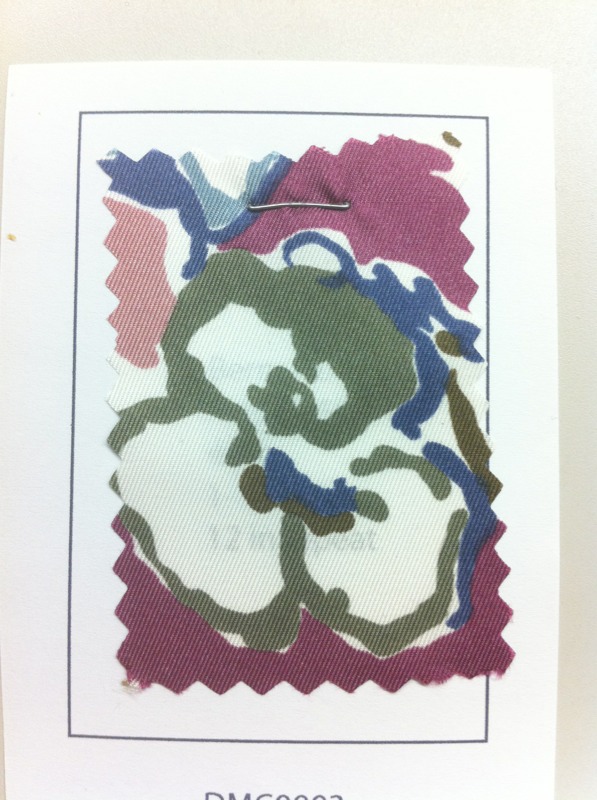
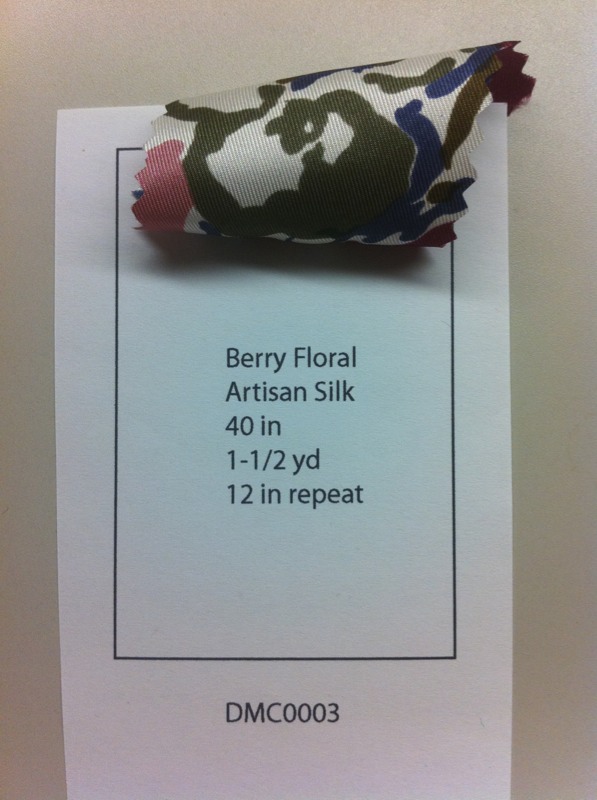 How do you keep track of your fabric stash? I love to come up with elaborate systems of organizing my things - systems which are sometimes impractical for me to follow. Currently, I have three methods of cataloging my fabrics. The simplest is a few digital photographs of my fabric armoire, and cupboards with the doors open. I keep the pictures on my iPhone so I will have them available to review while I am out shopping. Next, I have a page on my blog with snapshots or downloaded images of fabrics. I can pull the blog page up on my iPhone any time I have cell service. My latest inspiration involves actual fabric swatches. After cutting apart my Vogue Fabrics Swatch sheets so I could play "mix and match" with them, I had a wonderful idea to cut swatches of my own fabrics - including those I have already used. I made a spreadsheet file in a program called Numbers. Numbers is like a very pared down version of excel which allows quick and easy creation of charts and tables. It works on Mac OS devices. I used my iPad while watching TV with my husband. The result was a quick template which has 8 rectangles and a few lines of text per rectangle. I cut the rectangles apart with a big paper cutter and stapled swatches of my fabrics to the little paper cards. Under each fabric swatch, I have listed the fiber content, width, design repeat, yardage or finished item, and any special notes. I use these fabric swatches to plan projects and coordinate fabrics. What do you do to keep track of your stash?