Showing posts with label clothing embellishment. Show all posts

The marriage of Math and Sewing

Sewing is a form of engineering. We take fabric and exploit its properties to manipulate and control its form. Our creations are not static. They exist in four dimensions - 3D fabrications which move in time with the wearer. Our art is highly technical - whether we like it or not. There are all sorts of mathematical calculations which can be made to describe and predict the behavior of fiber strands. Some of these characteristics change over time with washing and wearing like stretch and recovery or tensile strength. There are equations for the behavior of knit fibers vs. woven fibers. There is math to describe the drape of one type of weave vs another, like silk organza vs silk georgette. Also, what about calculations which describe the effect of gravity on a woven material hung on its bias? There are also calculations which can describe the topology of our bodies. Angles and curves change with body position. Sportswear like a motorcycle jacket or snowboard pants can be articulated to fit the body in a specific position. How about the calculations involved in specifying the amount of plaid material needed to cut a jacket and have the plaid match at the seams? Or the amount of fabric required to make 5 yards of 1 inch wide fringe? I am amazed how much we understand intuitively. I mean, really - how often do we break out our calculators or run to our computers to perform a topological simulation?
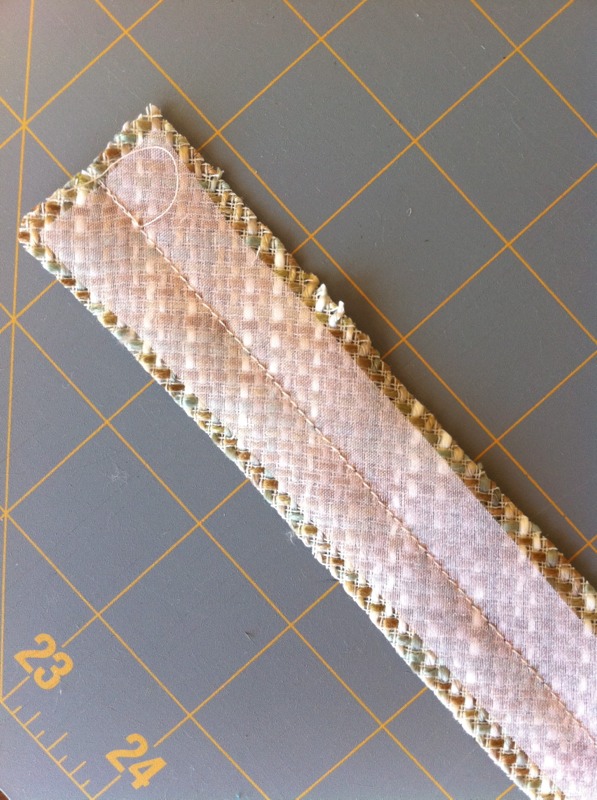
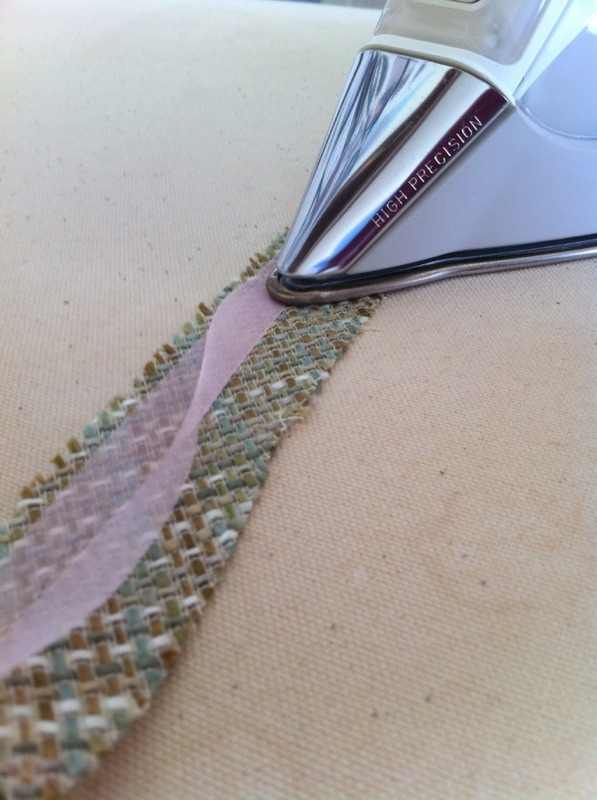
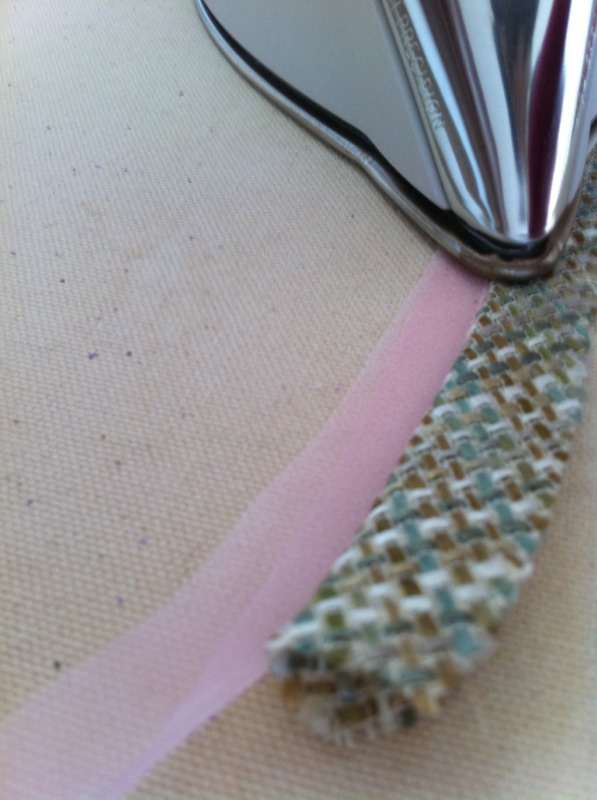
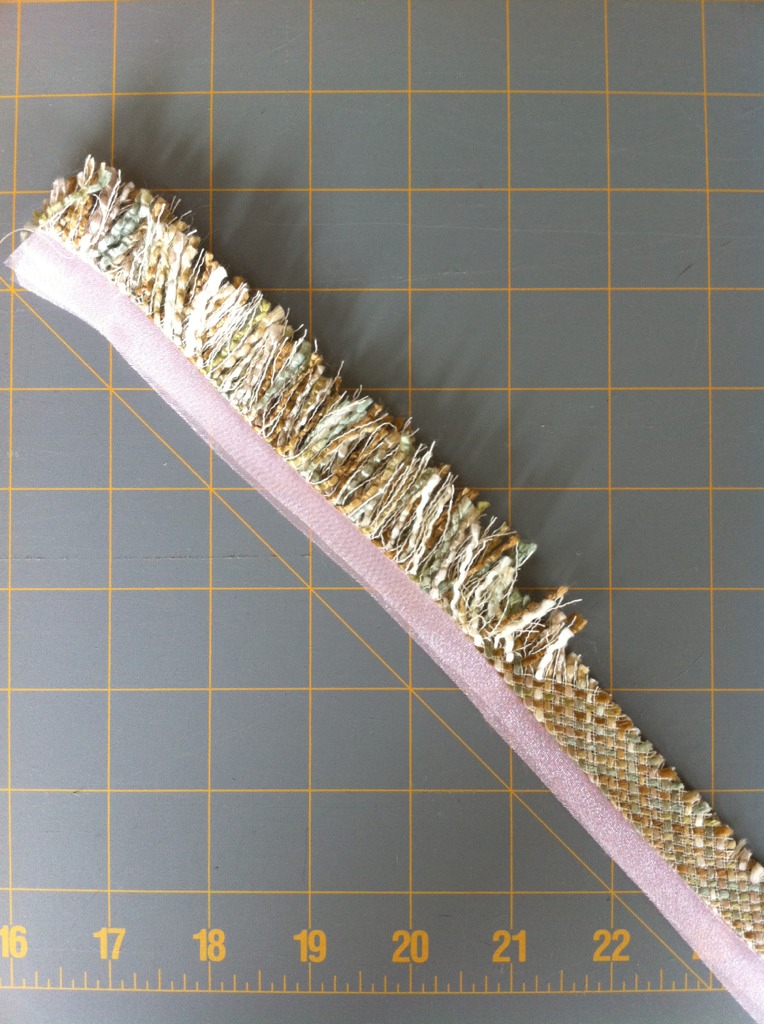
I made fringe this weekend. I cut bias strips of tweed and sewed them to bias strips of silk organza. I pressed the strips as shown and unraveled the tweed to make my fringe. I forgot that the hypotenuse of an isosceles right triangle is equal to the length of one of its sides times the square root of two. So my fringe was roughly 40% longer than I thought it was going to be. See how when I unraveled the fabric, the diagonal strands made the length of the fringe longer than the width of the fabric? It's a good thing I made a sample first. If I had cut enough to make 5 yards, I would have cut up 40% more fabric than I needed! That's an extra 40 cents for every dollar spent on the fringe. I think I should be making better use of my knowledge of trigonometry and geometry in my sewing. I wish I knew more about fluids and topography. I wonder what my sewing would look like if I thought of fabric as a fluid, instead of a rigid 2 dimensional material.

Weekend Inspiration

I met Kenneth King this weekend. He gave a presentation and two workshops at a beautiful new local boutique called Unique Boutique. It is the place where I had my body scan done. In addition to offering the body scan, they have a fabulous, well planned workroom in back with bright lighting, lots of table space, and comfortable rolling chairs. The wiring for electricity comes down from the ceiling, so rolling carts do not get hung up on cords taped to the floor. There are multiple pressing stations equipped with tailors boards and Rowenta steam irons as well. Around the perimeter, there are threads and notions for sale, including interfacings, needles, chalk, pins, and even a few books for sale. They also have a little kitchenette - everything you need for a sewing retreat. The front room is a showroom which features impeccably executed garments made from high end fabrics - real eye candy! The idea is we can have custom fitted clothing made to order, or custom patterns which we can stitch up ourselves. The owners, Lorrie and Jan, are fun and friendly, and very accommodating. They whipped up a last minute kit for me when I showed up unprepared for my workshop. (I neglected to read the supply list with my email confirmation.) Thank you so much, guys!!

If you have met Kenneth before, then you know that he is very entertaining. His slide show presentation was peppered with stories from his "checkered past". I won't give away any of the details of his stories or repeat his gossip - and yes he does dish the dirt. You will have to sign up for one of his events to hear for yourself. My lips are sealed - wink!

I learned a couple of things from his slide show which I will share with you, though. He showed us giant slides of architectural detail found on buildings in neighborhoods not known for opulence. He spoke about how the residents lived with this beauty as part of their daily lives. It wasn't "saved for something special". This made me think about the use of trims and embellishments for daywear and casual dress. Why not?? Who says it has to be a formal occasion to wear something adorned with beauty. Another pearl for me was a tip he gave us regarding successful use of pattern on pattern design. He said he likes to play with scale. This reminded me of a thought I had regarding fractals. I watched a documentary in which a mathematician was credited with the discovery of fractals, and I thought to myself that artists long before his time discovered this scalar repetition as evidenced by the use of it in their paintings. The thought was, "Maybe it is just the same idea in a different language." It made me think about how to apply this to printed fabric, embroidery, and trim. This is something I would like to explore. Another thing I learned which was worth the price of admission alone, was how to integrate trim and beads into a garment without having it look like an afterthought. Kenneth likes to anchor his embellishments by beginning and ending it at a structural element of the garment. I often struggle with how to employ embroidery when I attempt to design a garment. I do not like the look of a floating embroidery stitchout. To my eyes, it looks like I purchased something and slapped a patch on it as they do in logowear. Kenneth's dinner jackets are fabulously decorated in such a way that the jacket and its trimmings look like they belong together - a marriage of practical and fanciful.

In one of the two workshops, he showed us his embellishment techniques, and we were able to duplicate the process and create our own samples. In the other workshop he showed us how to execute a perfect welt pocket and how to draft and sew a one-piece pocket flap. He also autographed my copy of his 1996 book entitled Design Techniques. It is the original version of Cool Couture. I ordered a copy and I can't wait to get my hands and eyes on it.

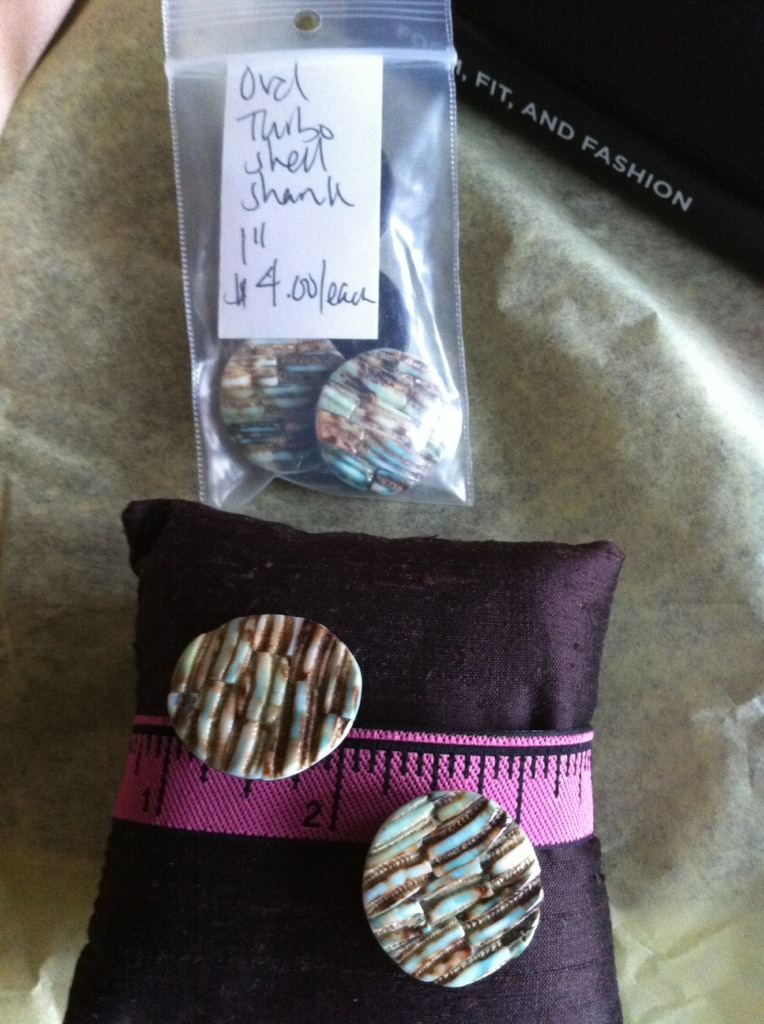
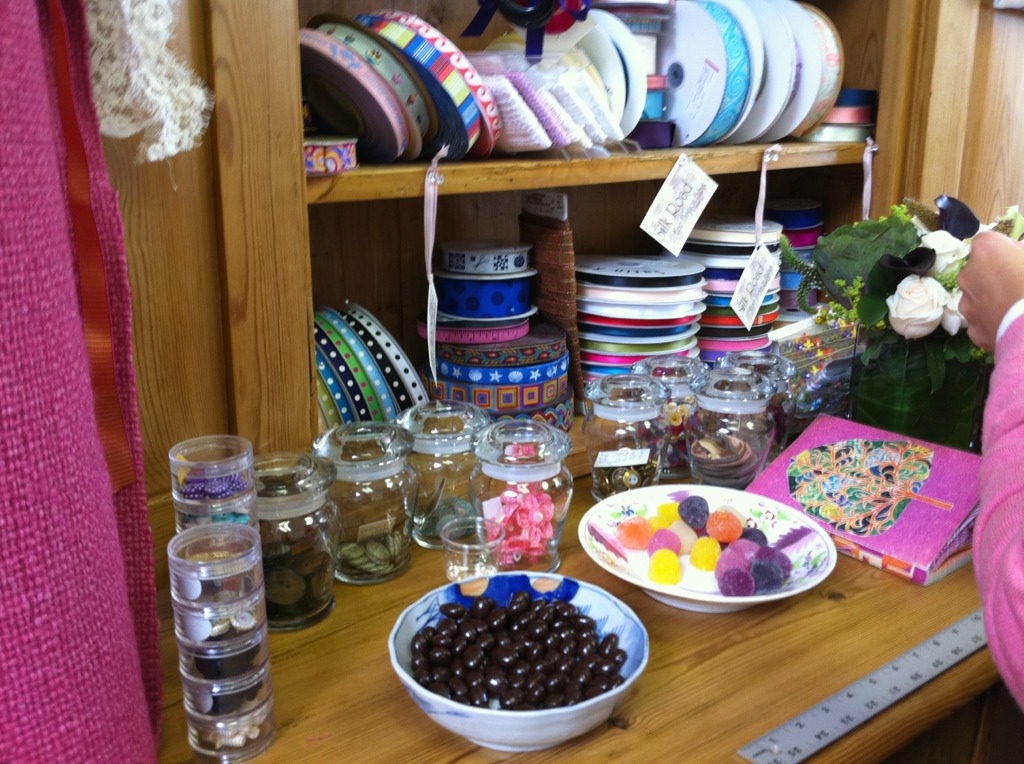
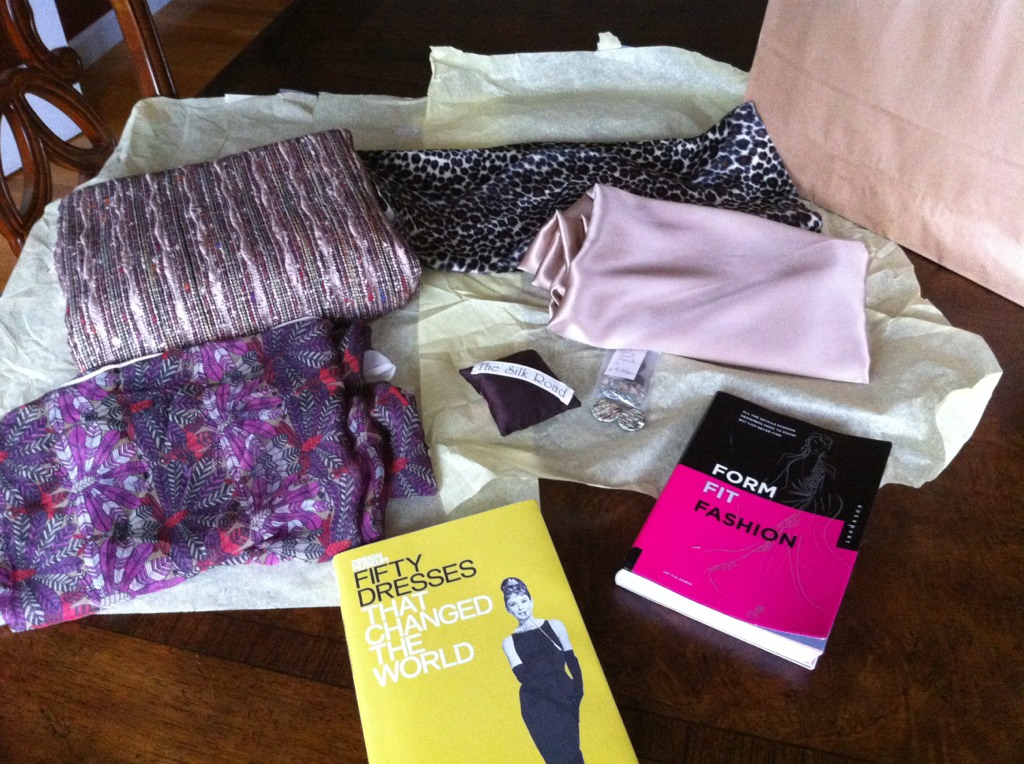
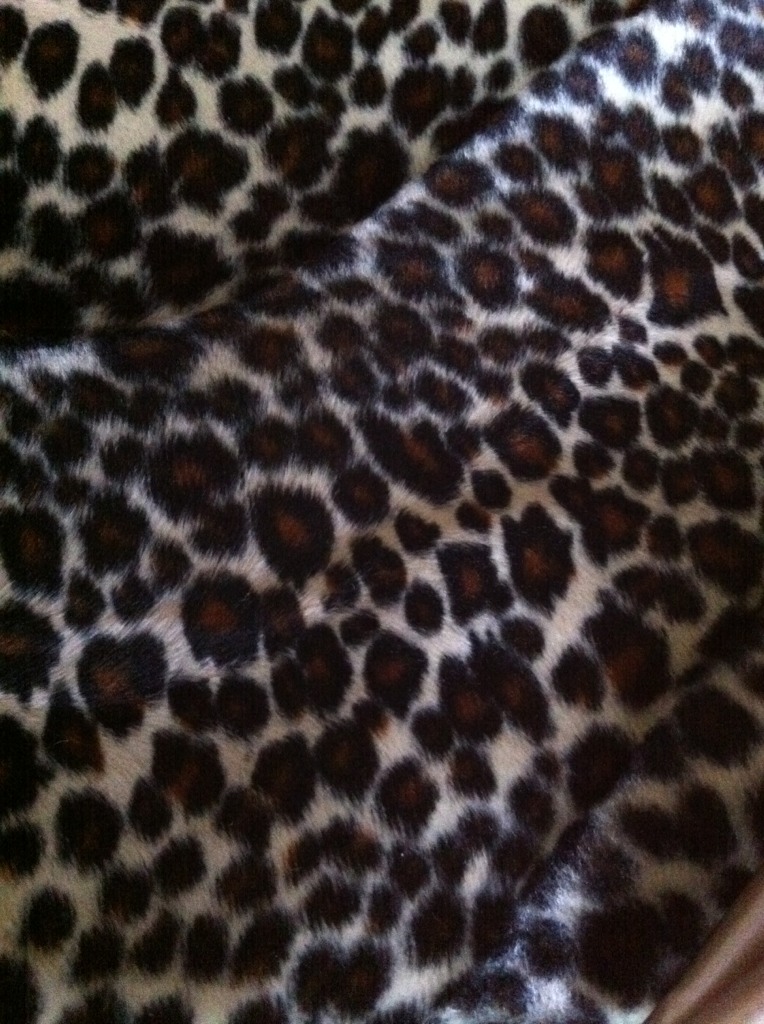
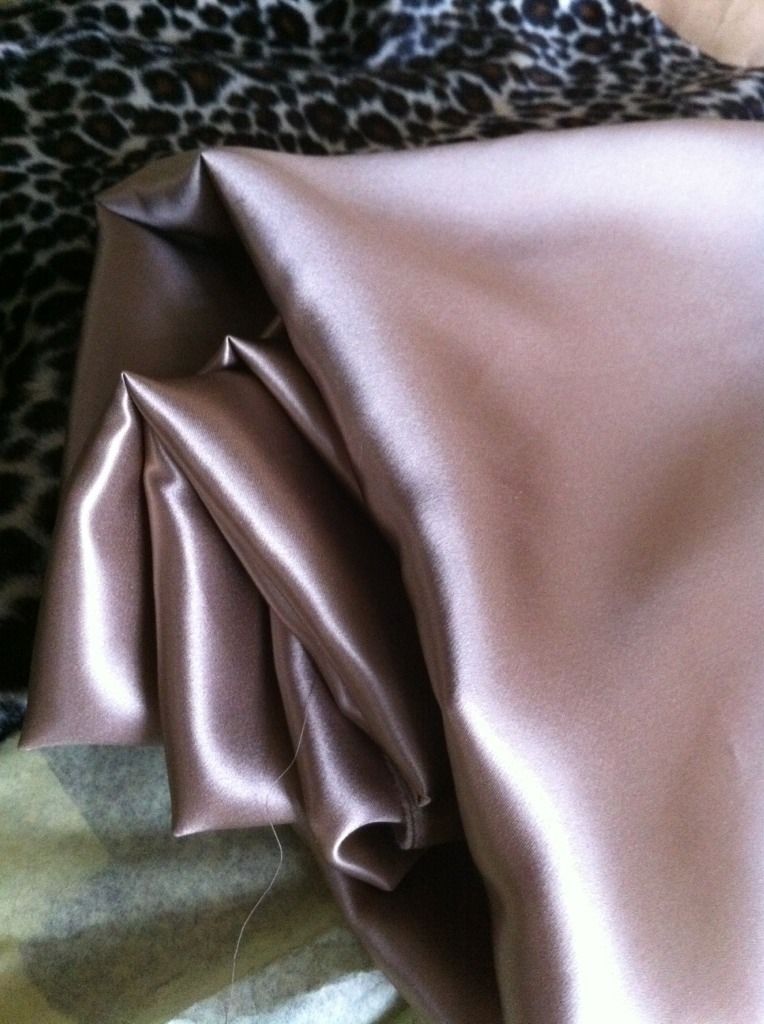
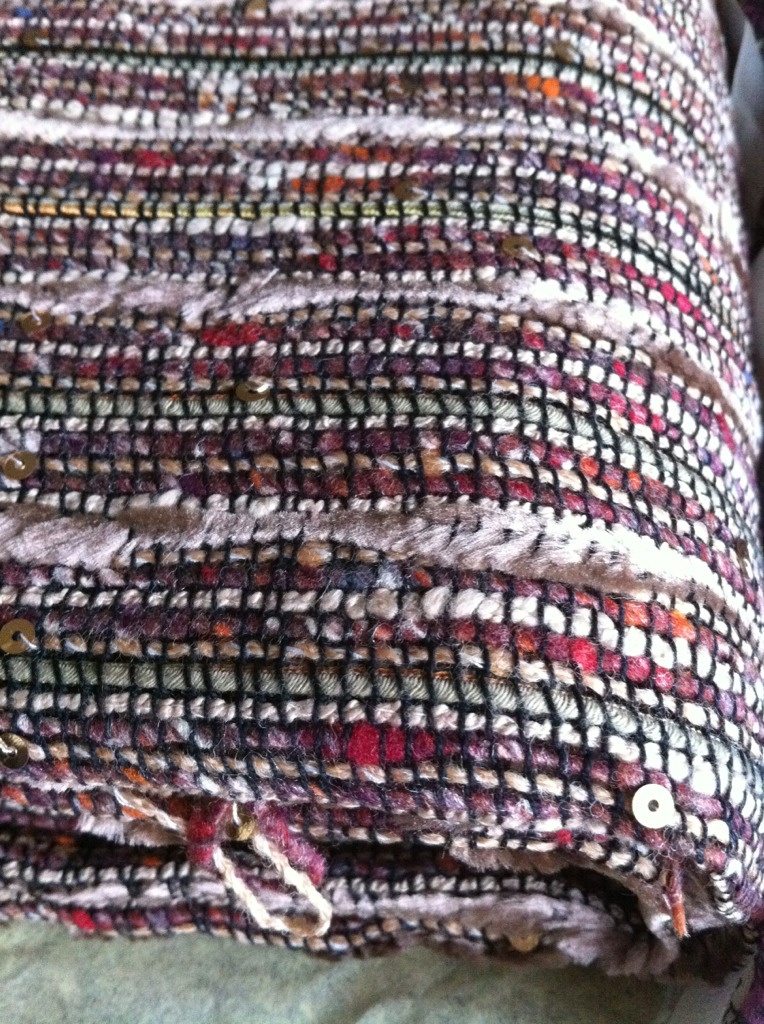
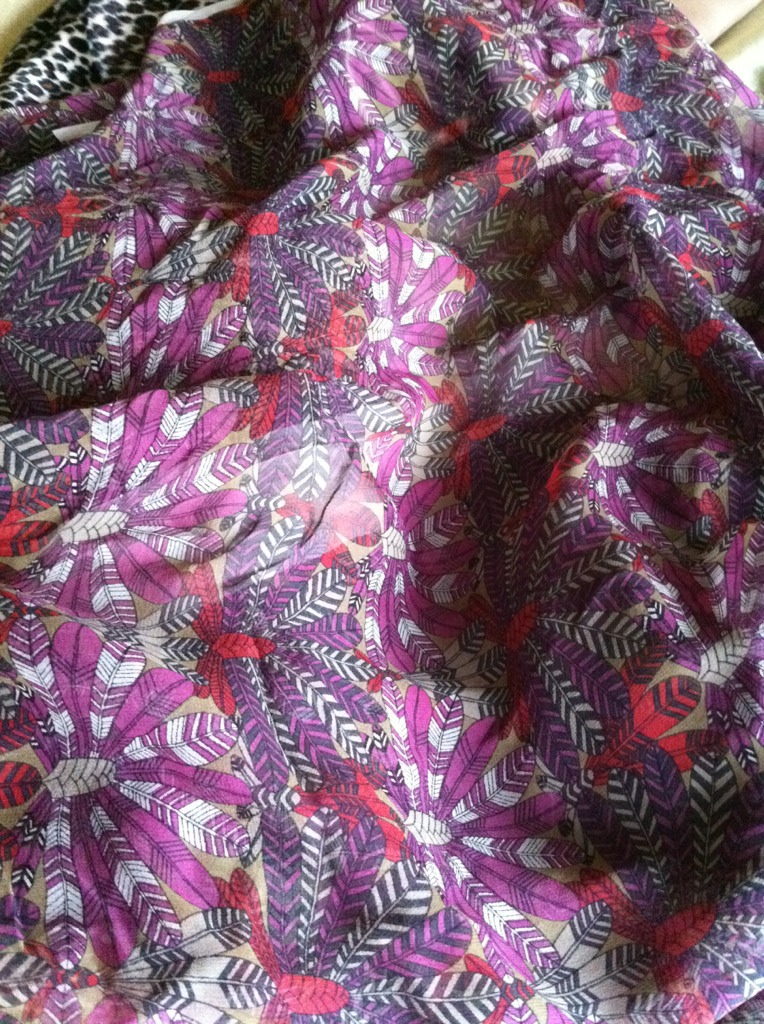
The Kenneth King events were quite enough excitement for me over the weekend, but there is more!! A new fabric store opened called Silk Road. I think I have heard of them before. The name sounds familiar. I went to the grand opening and BOY did I love it there! It is just lovely. Everywhere I looked, I found treasure. The fabrics were luxurious, yet reasonably priced. I bought two and a half yards of a fabulous Linton tweed with sequins sewn on both sides, two yards of silk charmeuse, a yard of printed silk georgette, and a half yard of this wonderful cheetah print faux fur. I also could not leave without six beautiful one inch shell shank buttons, and two more books for my collection. They served punch and mini cupcakes, and I saw a few familiar faces as I browsed. All in all, I had a wonderful weekend. What should I make with my fabulous new fabrics?
Cast On Roses

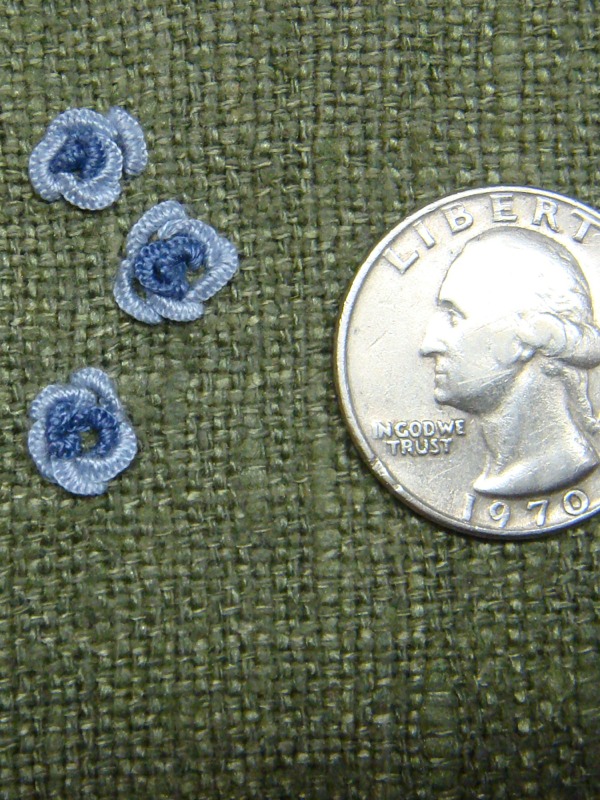
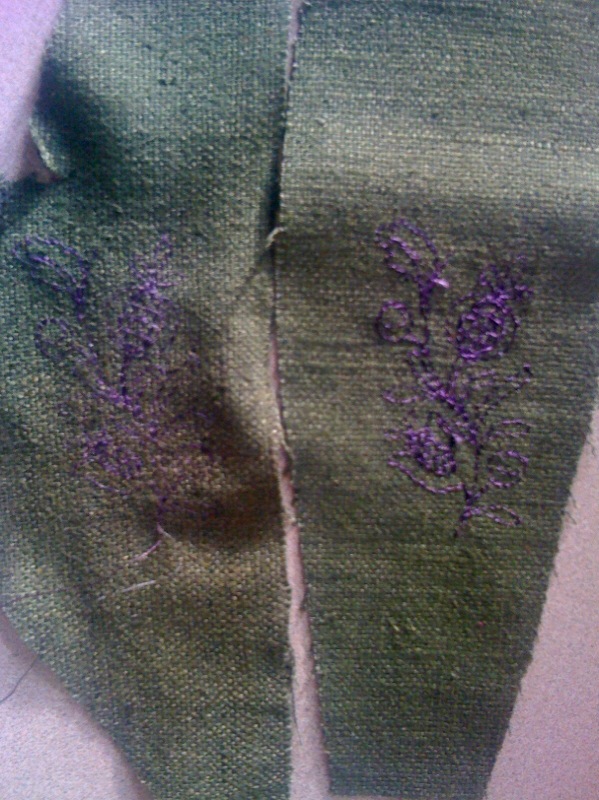
Here is a better picture of the cast on rose stitch. I used a single strand of DMC six strand cotton floss. I am still not ready to jump in and start embroidering the panels just yet. Since the embroidery will be positioned at my waist, I want the detail to be visible from 5 feet away. The single strand stitch out may be too small. I want to see what it looks like using two strands. I also need to settle on the color scheme of the embroidery. I am thinking of adding yellow detached chain stitch daisies with fuschia and purple seed bead accents. I don't want to get too complicated with the design as I will be stitching it twice - once for each panel - and the designs will need to mirror each other. I do hope after all of this decision making that I will be happy with the final dress! I hate when I put so much work into a project only to be disappointed with the results. It's a good thing I enjoy the process so much. It really would be torture otherwise.
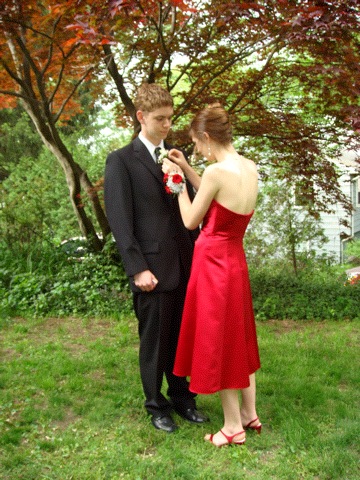
On a more personal note, I have great news! My daughter has agreed to let me make her prom dress! This is HUGE! For the last ten years, she has not been interested in wearing anything made by Mom. I shortened and hemmed a bridesmaid dress last year for her for her to wear to a dance, and she was pleased with the results. She said she never wanted to wear the things I would make because she didn't like the style of any of the clothes I made. She also said she didn't want to stress me out. (Okay, I *have* had my sewing tantrums...) I suspect she just lacks confidence in my sewing skill. She sees what I make and thinks, "UM... yeah... I would NEVER wear that..." I am hopeful that this will be a positive experience for both of us.
Here are before and after pictures of the dress I hemmed. I showed her the original hem after she closely inspected the shortened dress and she was impressed that my work was better. What is it about teenagers? Why do they think their parents cannot do anything right?

Overnight Inspiration

I have been stumped for a few days about how to embellish the side panels on this dress. It is on my mind as I fall asleep and still there when I wake up. This is not a bad thing. If I were not trying to resolve something sewing related, I would be focused on corporate level decisions which are beyond my level of authority at the company where I work, or federal politics or some other such issues over which I ultimately have minuscule or zero control, and I would be very frustrated and unhappy. For me, the return to sewing has been about focusing my attention on goals which I actually might achieve. It is very therapeutic to have something into which I can pour my loving energy and over which I alone have ultimate decision making power. So when I lie down to sleep at night, I wrap my thoughts around fabric and trims, fashion, style, fit, and design challenges related to making a dress I don't really need. It sounds trivial, but I need that triviality. If my current project turns out to be a disaster, nobody will die. I can roll over and get some sleep when I am tired of thinking about it. And the sleep is good sleep. Sometimes I wake up with a gift from my subconscious, an idea I had not thought of before.

Yesterday's gift was hand embroidery. If I use hand embroidery, I can use wool which is thick enough to show up on the raw silk fashion fabric. Also, it solves the problem of how to program the stitches to turn a non 90 degree corner. I can follow the outline of the panel on three sides instead of just one. But what stitch should I use? Can I still use beads? Will the beads I have picked out now be too small? Should I use floral motifs? Do you see how one little flash of inspiration leads to more decisions? I love it. Really, I do. It gives me some puzzle to figure out. I think I am only truly happy when I am solving puzzles.

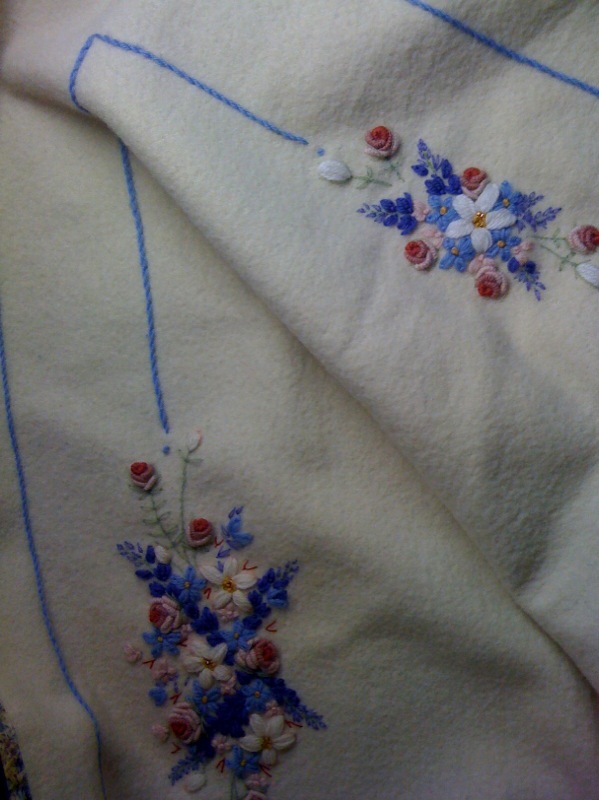
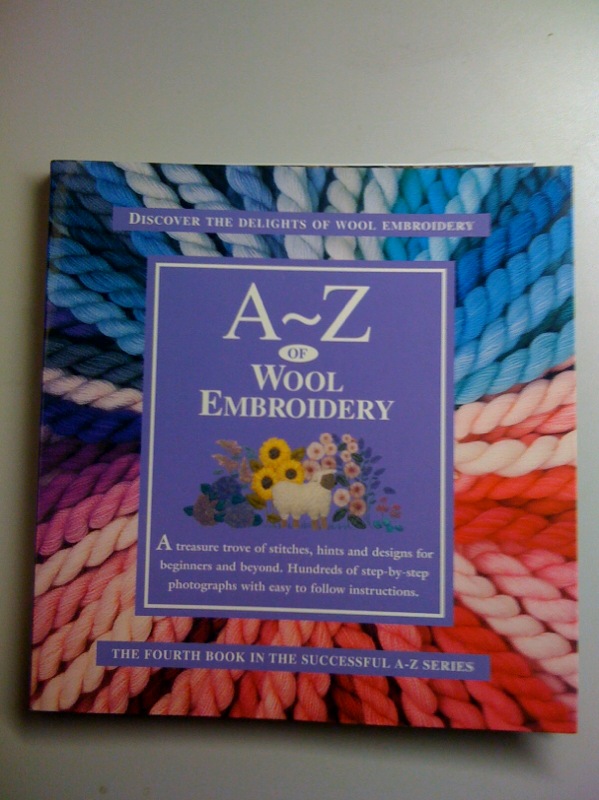
Many years ago, I made this little wool lap blanket. All the embroidery was done by hand with strands of wool. I remember how satisfying it was to watch it progress. I had done cross stitch before and similarly enjoyed the process, but the wool blanket was more dimensional and the larger strands were more satisfying to work with as the design progressed faster. Plus, it used beads! The blanket was made with a kit from INSPIRATIONS magazine. If you have never seen this magazine, I caution you - you WILL want to take up hand needle work when you see the breathtakingly gorgeous photography of the stunning projects. There. Don't say I didn't warn you. Ever since I finished the blanket, I have wanted to do another wool embroidery project, but I wanted to design my own instead of following a kit. I got stalled and never figured out what I wanted to make. I think sometimes that good design is about managing limits. When I am faced with endless possibilities, I often feel my creativity is crippled by the lack of limits. I think the little side panels on this dress offer me the limits I need. I turned to my bookshelf to find a few examples of hand embroidered border stitches to use as inspiration. I found what I was looking for in one of my A to Z books. I love these books. They are spiral bound and full of well illustrated instructions. I almost don't even need to read the text.

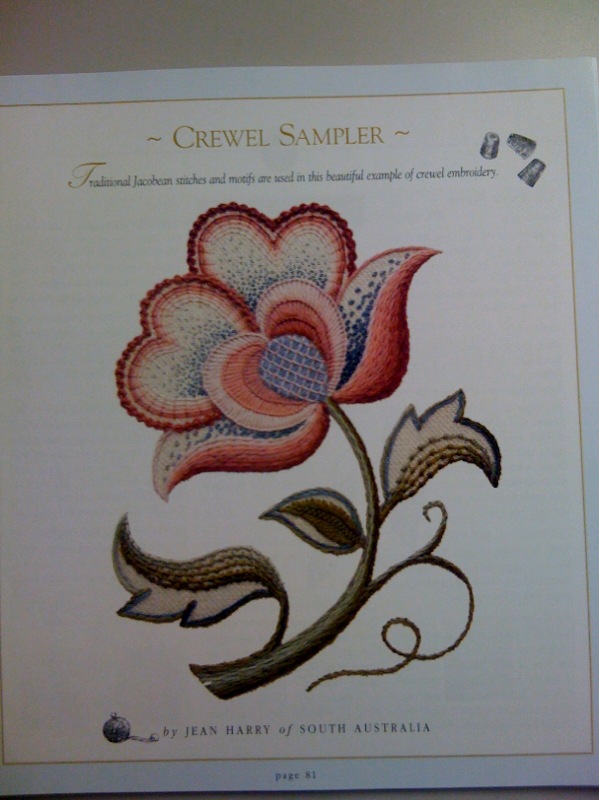
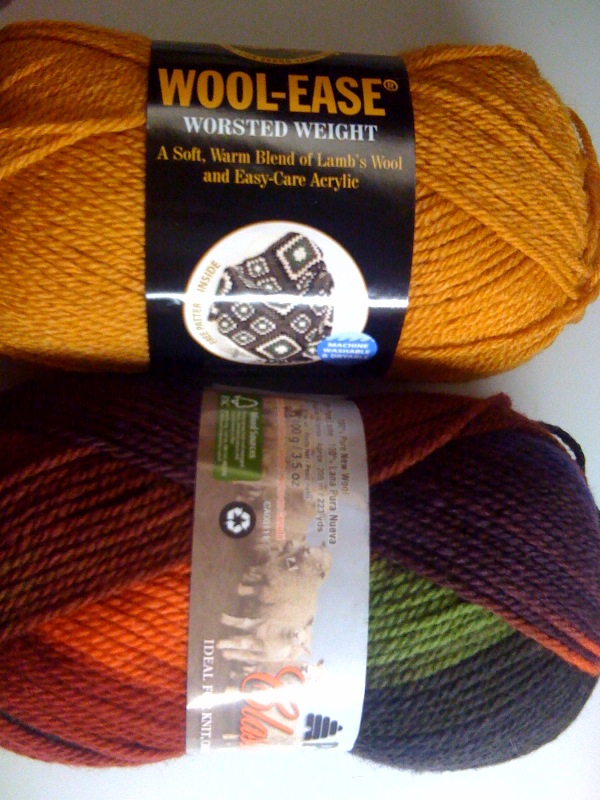
I found my inspiration on page 81. While I like the motif, what inspires me is the stitches used. I like the rows of stem stitch and blanket stitch, and especially the Palestrina stitch worked around the outer edges of the petals. I think I want to experiment with a combination of these stitches to create a border. I hopped on my bike at lunch yesterday and rode to Michael's to have a look at what they offer for wool embroidery. The best I could do was skeins of wool/acrylic yarn. I am going to try to separate the plies and see how that works out for me. Maybe I will figure out a way to incorporate beads. That will be sweet.

I am tempted to start my next sewing project since the sewing part of making this dress is on hold until I embroider the side panels. I usually don't like to have more than one project going at a time. It makes my sewing room chaotic. But these hands gotta be sewing something or I get restless....

Marfy 2255 Beaded Embroidery Woes

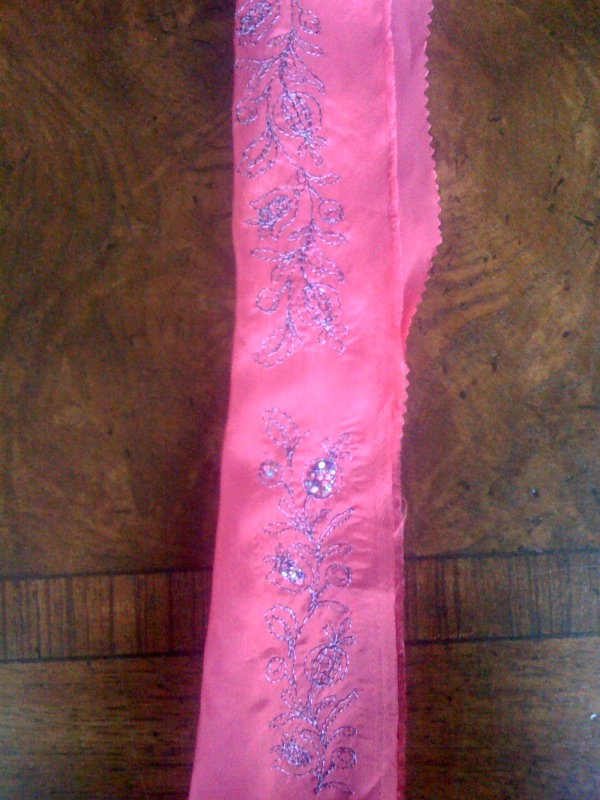
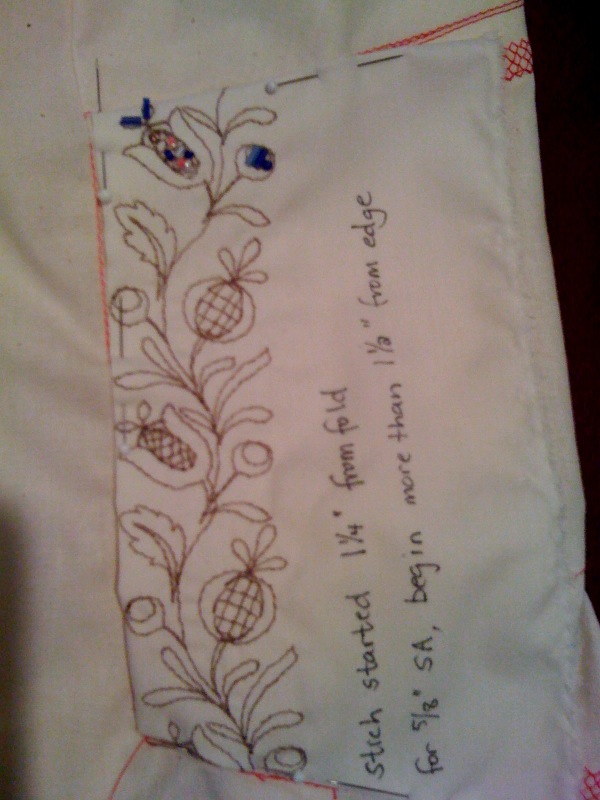
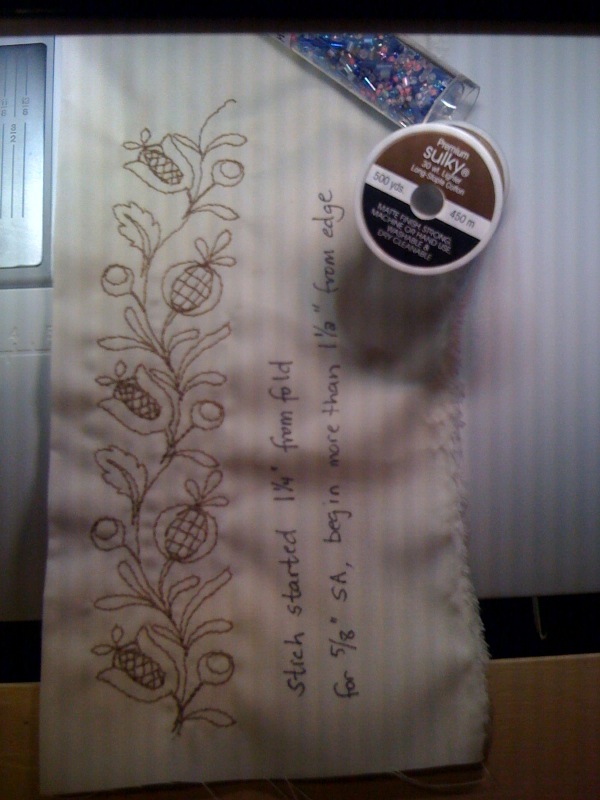
This raw silk is driving me nuts! I made a sample stich out with the 30 weight thread and it disappeared in the weave of the fabric. Next I tried using two strands of rayon 40 weight thread in deep purple and gunmetal grey. That also seemed to disappear. So I tried using a topper - one that you remove with heat. I didn't want to chance getting my iron all gummed up, so I used a teflon press cloth. Bad idea! The topper melted and formed a sticky glue which stuck my fabric to the non stick press cloth. I laid the teflon back down, and pressed again, hoping by some stroke of magic that it would make a difference. Nope. If I worked quickly enough, I could remove the teflon before it stuck again, but I still had a melty mess. Then I was sticken with a flash of sheer stupidity. Somehow, I thought it would be a great idea to try appying the iron directly to the goo. Maybe it will just disintigrate into thin air. Maybe the teflon press cloth was the reason the topper didn't just disappear... Nope. The sticky goo shrunk into little bits of brown gunk. And my iron was smeared with it. And my fabric looked like crap. So, I tried to clean the iron with a damp sponge while it was still hot. Then I thought, maybe it needs to burn off. My sewing room began to have this smell... I got the iron good and hot and tried to rub all the goo off on some cotton drill cloth. Then I gave up and unplugged the iron. Later, I thought about the beaded embroidery and began to think it would be a good idea to make my own embroidered ribbon trim and use that instead of embroidering directly on the raw silk. I stitched out the design and painstakingly picked almost all of the stabilizer off the back side. Then before beading, I folded the "ribbon" in half and gave it a nice pressing. AAAaaaaargh! brown steaks on my rayon from the gunk still stuck to my iron!! Luckily, it is on the side that won't show. I hand beaded some of it, and the more I worked with it, the more I began to hate everything about it. Does this ever happen to you? I am losing my mojo on this project. It seems to happen a lot, lately. I remember I couldn't WAIT to be done with the suit dress. Why is it that my sewing can never live up to my standards????

Does anyone know of a good way to clean gunk off of an iron without scratching it?

MARFY 2255 color blocking - yay or nay?

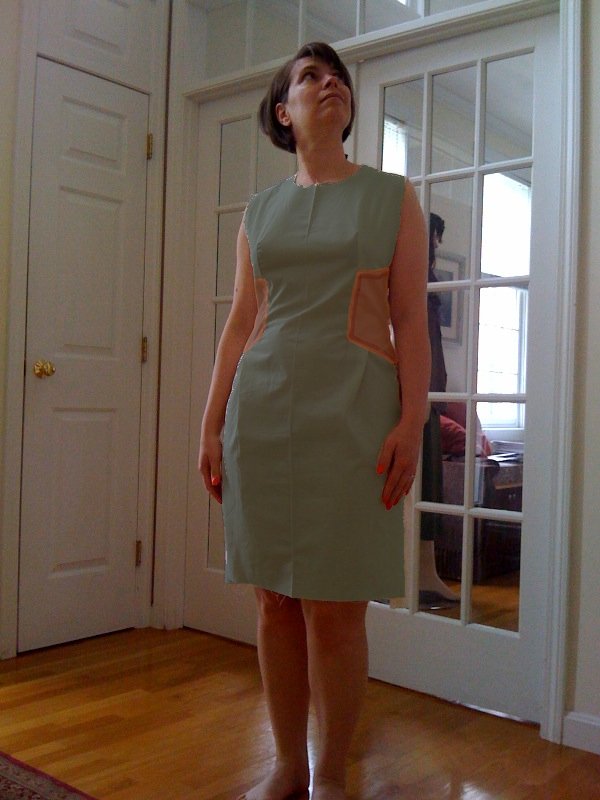
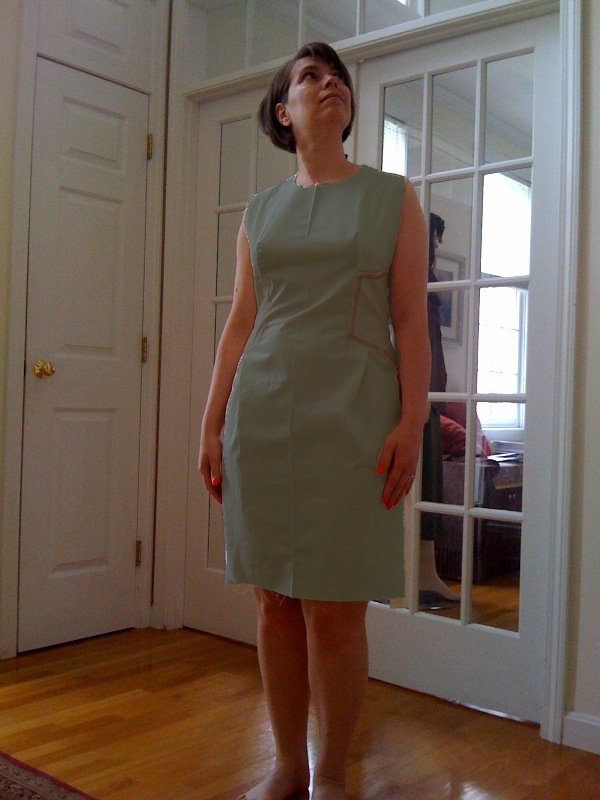
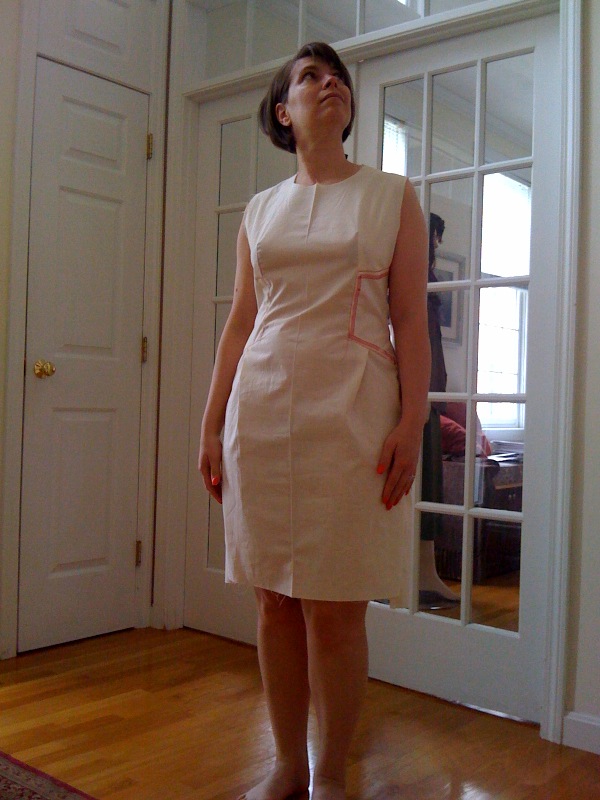
So the next decision I have to make is whether or not to use a different color for the side panels. Here I played with GIMP and added color to my muslin. I am leaning toward using the same color and having only the embroidery to call attention to the side panels. What do you think? Color block - Yay or Nay?

Beaded Embroidery

Thank you, Ann for the suggestion to add beaded trim to the side panels. I did a little test stitching to find a machine stitch that I can embellish with beads.
This is one of the designer stitches that came with my machine. Isn't it fabulous! I think I like this 30 weight thread. And look how cool it's going to be with beads! I have had these tubes of beads for years. I bought some simple embroidery designs which used tulle to make little appliqué patches that you fill with bead gravy - essentially little seed beads and bugles made of glass. I went a little crazy buying beads when I saw tubes like the one pictured in Michaels. I embellished one pair of jeans for my Mom and she said all the beads came out in the wash. So I have been holding on to all of these little beads knowing I could use them for something.... someday....

MARFY 2255 style options

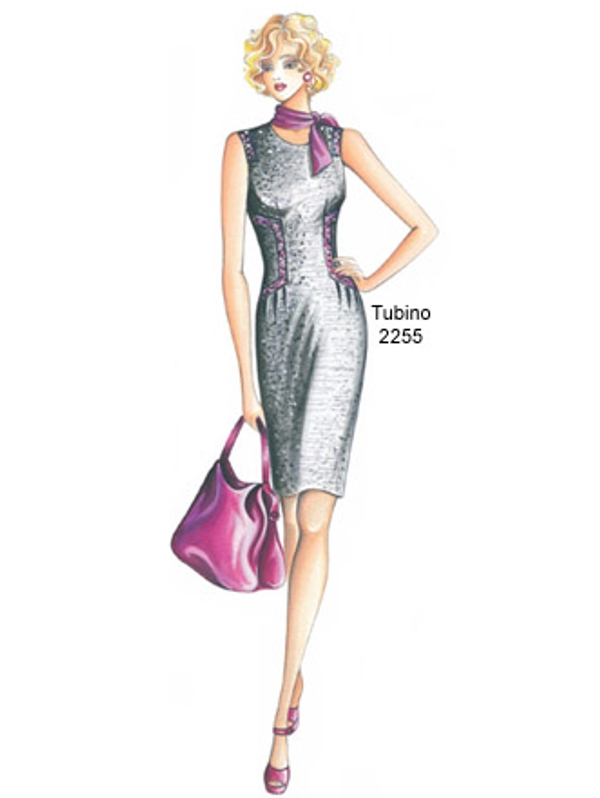
For the side panels, I am considering a few options. The fashion fabric I chose for this dress is an olive colored raw silk that I bought from Cynthia Guffey a few years ago at the sewing Expo. I bought several colors from her and I am considering using a different color to accentuate the panels. Another option is to simply topstitch and edgestitch in a contrasting thread color. Or I could experiment with using my embroidery machine and stitch out an endless design. I am having trouble deciding...

Suit Dress Embroidery

I bought an embroidery design CD years ago because I loved this picture.


The designs are from Inspira
I loaded the designs on my computer, but have never stitched them - not one.  I think the highlighted design below would look great stitched down the left side of the collar of the azalea suit dress. 
I think I will change the flowers to yellow to contrast with the dress.


Here is a rough idea of what I am picturing: