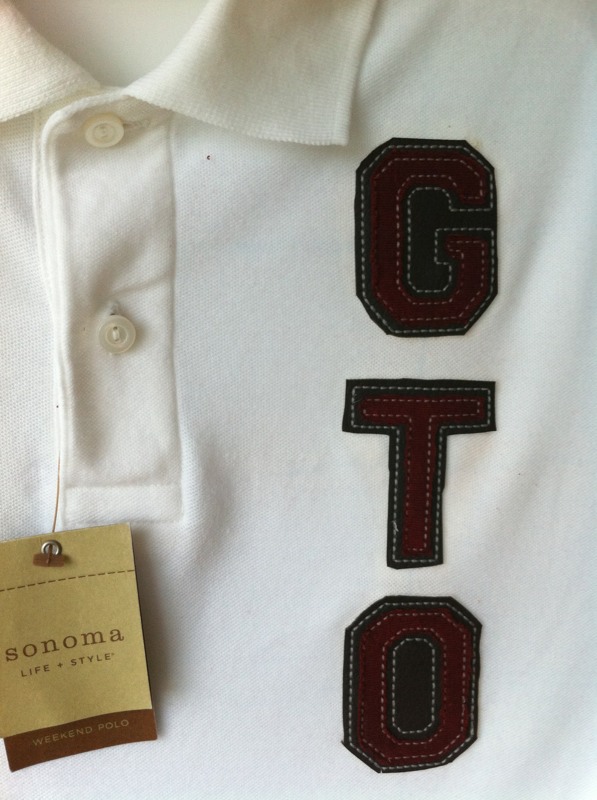

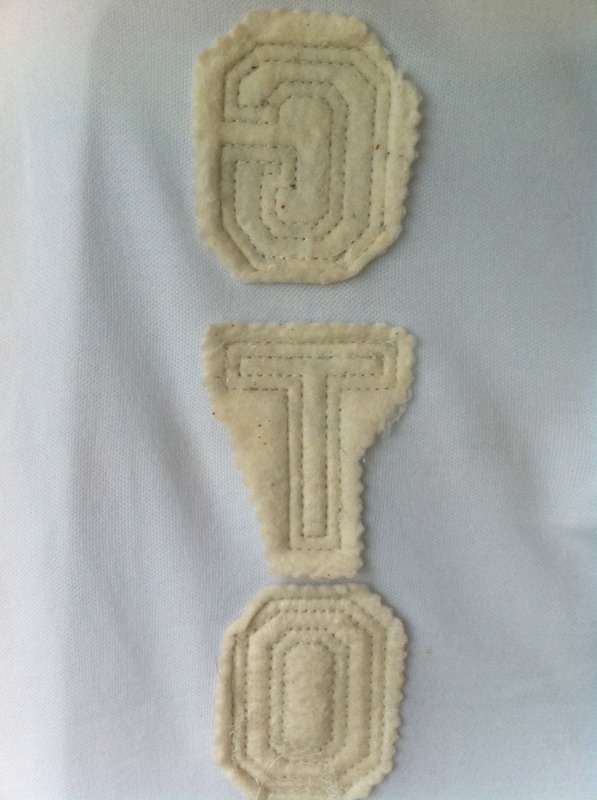
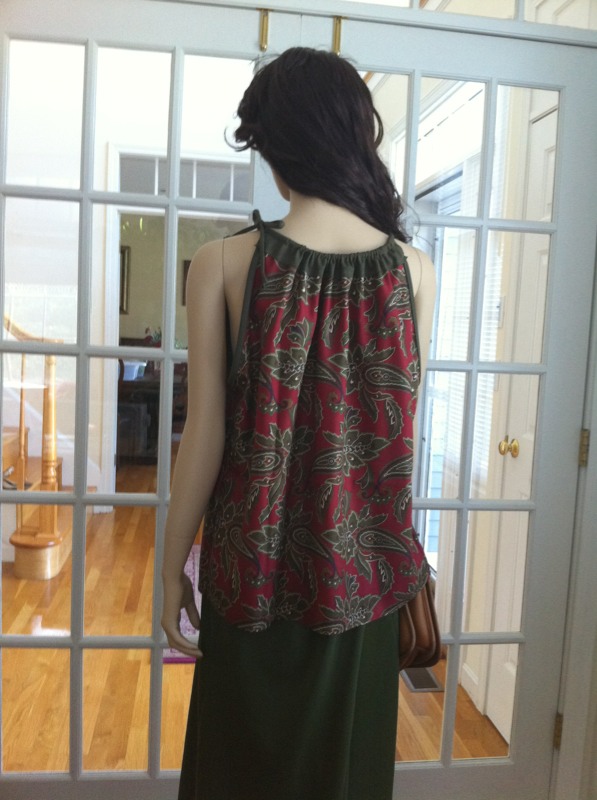
I love the way embroidery can take clothing to another level, but I cannot articulate exactly how to get that effect myself. I think the design needs to seem like it is integrated into the garment, and not slapped on as an afterthought. This shirt I embroidered last week is an example of what I mean. Although the letters themselves look great and they are lined up perfectly, to me, it looks like the embroidery was an afterthought. Don't get me wrong, I like the way the shirt looks. But the embroidery does not take it to that other level and I would not expect lettering to do that in any case. I guess now that I have "broken the seal" on my embroidery attachment, I am anxious to do more embroidery. How do I select a design and integrate it into a garment?


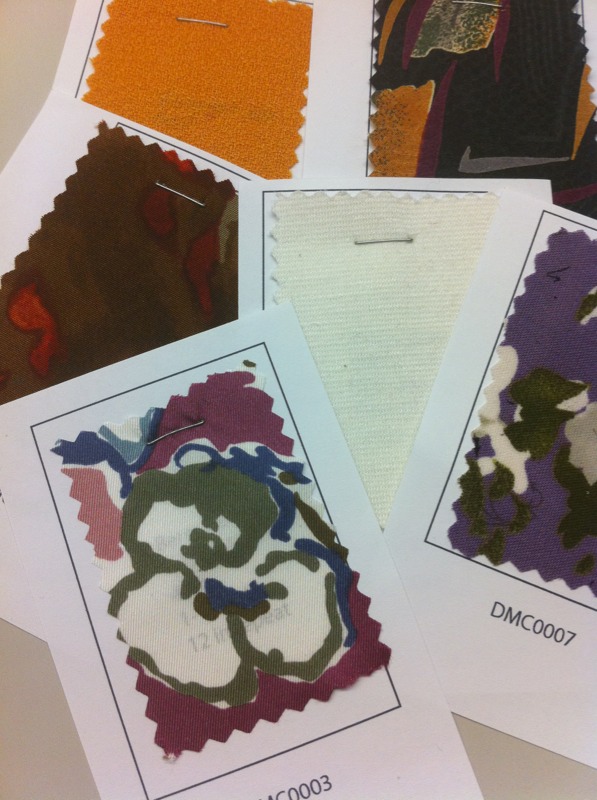
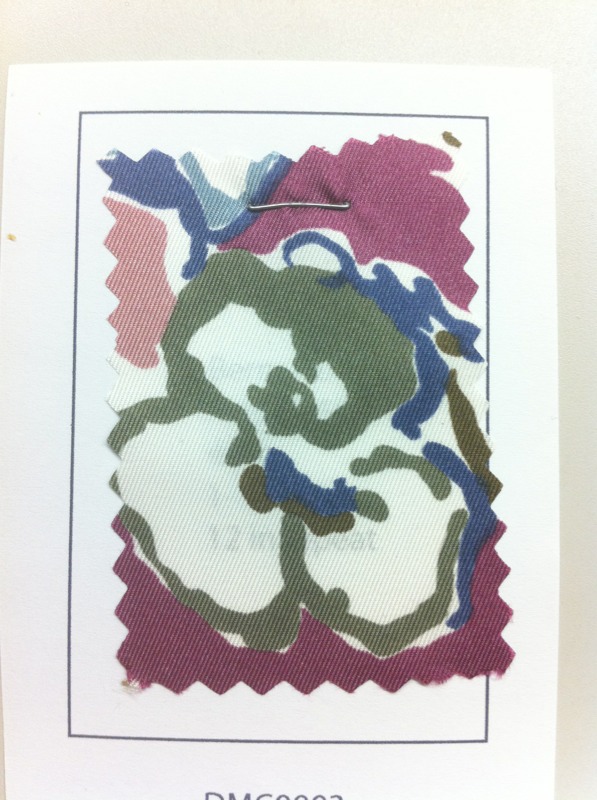
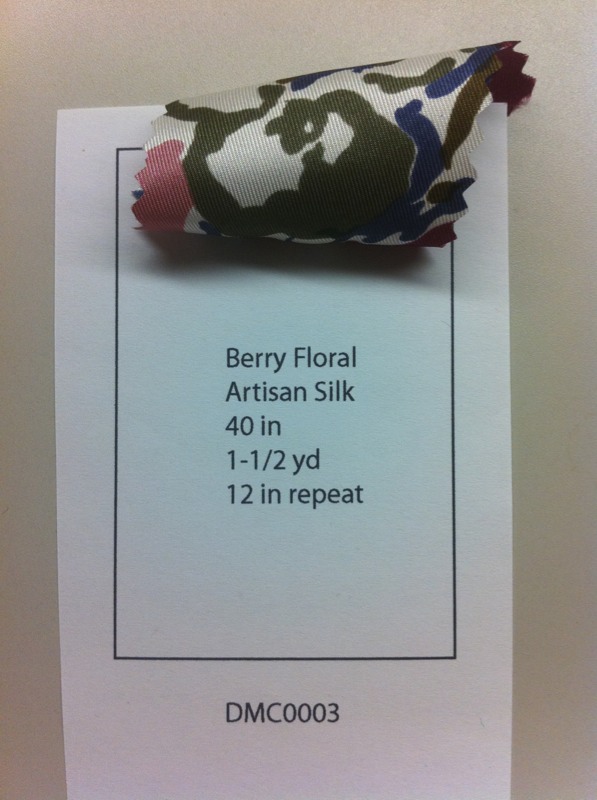 How do you keep track of your fabric stash? I love to come up with elaborate systems of organizing my things - systems which are sometimes impractical for me to follow. Currently, I have three methods of cataloging my fabrics. The simplest is a few digital photographs of my fabric armoire, and cupboards with the doors open. I keep the pictures on my iPhone so I will have them available to review while I am out shopping. Next, I have a page on my blog with snapshots or downloaded images of fabrics. I can pull the blog page up on my iPhone any time I have cell service. My latest inspiration involves actual fabric swatches. After cutting apart my Vogue Fabrics Swatch sheets so I could play "mix and match" with them, I had a wonderful idea to cut swatches of my own fabrics - including those I have already used. I made a spreadsheet file in a program called Numbers. Numbers is like a very pared down version of excel which allows quick and easy creation of charts and tables. It works on Mac OS devices. I used my iPad while watching TV with my husband. The result was a quick template which has 8 rectangles and a few lines of text per rectangle. I cut the rectangles apart with a big paper cutter and stapled swatches of my fabrics to the little paper cards. Under each fabric swatch, I have listed the fiber content, width, design repeat, yardage or finished item, and any special notes. I use these fabric swatches to plan projects and coordinate fabrics. What do you do to keep track of your stash?