I met Kenneth King this weekend. He gave a presentation and two workshops at a beautiful new local boutique called
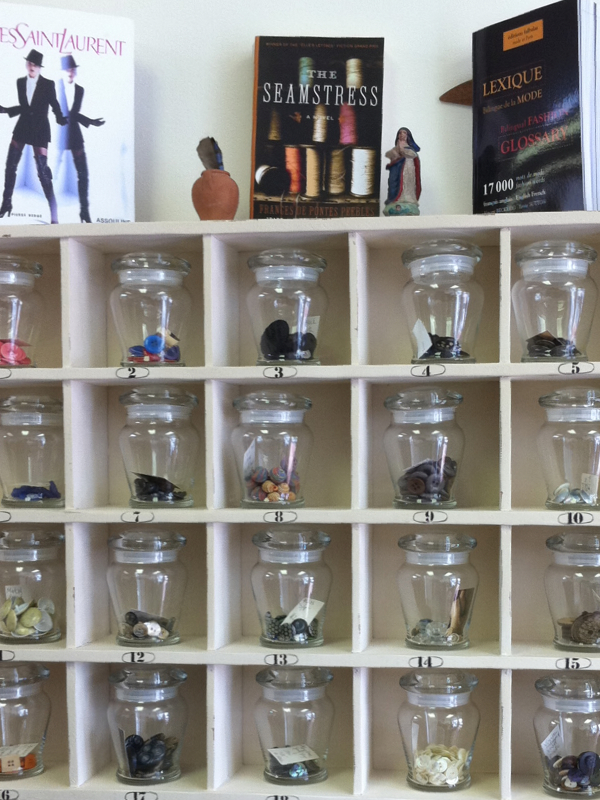
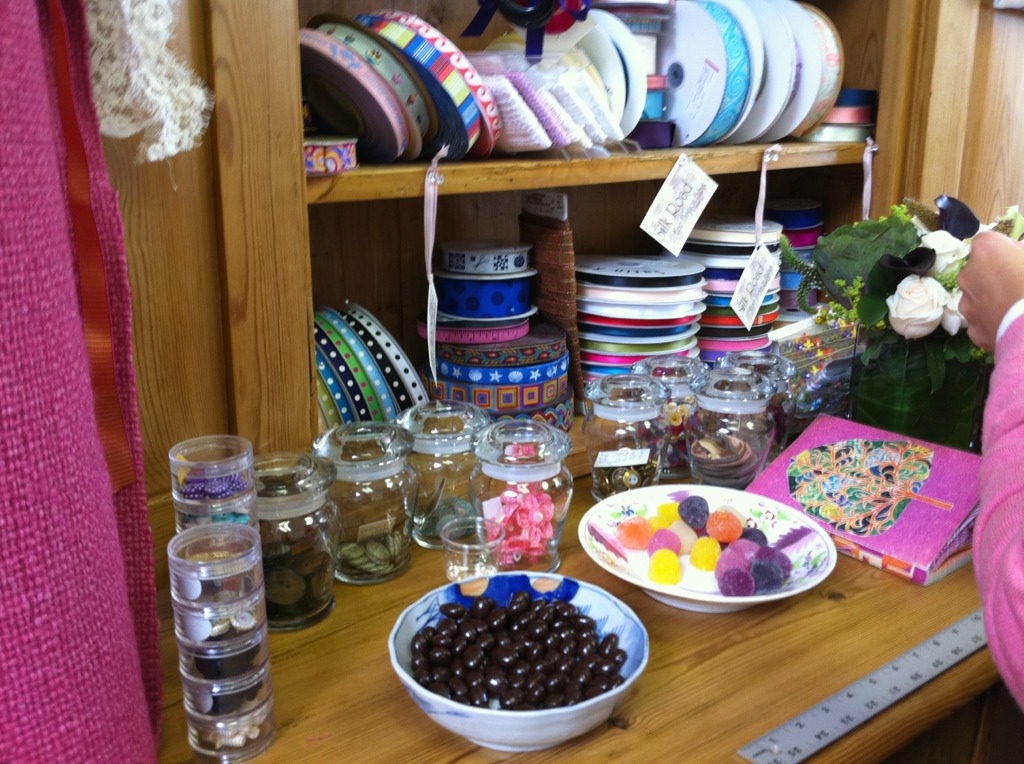
Unique Boutique. It is the place where I had my body scan done. In addition to offering the body scan, they have a fabulous, well planned workroom in back with bright lighting, lots of table space, and comfortable rolling chairs. The wiring for electricity comes down from the ceiling, so rolling carts do not get hung up on cords taped to the floor. There are multiple pressing stations equipped with tailors boards and Rowenta steam irons as well. Around the perimeter, there are threads and notions for sale, including interfacings, needles, chalk, pins, and even a few books for sale. They also have a little kitchenette - everything you need for a sewing retreat. The front room is a showroom which features impeccably executed garments made from high end fabrics - real eye candy! The idea is we can have custom fitted clothing made to order, or custom patterns which we can stitch up ourselves. The owners, Lorrie and Jan, are fun and friendly, and very accommodating. They whipped up a last minute kit for me when I showed up unprepared for my workshop. (I neglected to read the supply list with my email confirmation.) Thank you so much, guys!!
If you have met Kenneth before, then you know that he is very entertaining. His slide show presentation was peppered with stories from his "checkered past". I won't give away any of the details of his stories or repeat his gossip - and yes he does dish the dirt. You will have to sign up for one of his events to hear for yourself. My lips are sealed - wink!
I learned a couple of things from his slide show which I will share with you, though. He showed us giant slides of architectural detail found on buildings in neighborhoods not known for opulence. He spoke about how the residents lived with this beauty as part of their daily lives. It wasn't "saved for something special". This made me think about the use of trims and embellishments for daywear and casual dress. Why not?? Who says it has to be a formal occasion to wear something adorned with beauty. Another pearl for me was a tip he gave us regarding successful use of pattern on pattern design. He said he likes to play with scale. This reminded me of a thought I had regarding fractals. I watched a documentary in which a mathematician was credited with the discovery of fractals, and I thought to myself that artists long before his time discovered this scalar repetition as evidenced by the use of it in their paintings. The thought was, "Maybe it is just the same idea in a different language." It made me think about how to apply this to printed fabric, embroidery, and trim. This is something I would like to explore. Another thing I learned which was worth the price of admission alone, was how to integrate trim and beads into a garment without having it look like an afterthought. Kenneth likes to anchor his embellishments by beginning and ending it at a structural element of the garment. I often struggle with how to employ embroidery when I attempt to design a garment. I do not like the look of a floating embroidery stitchout. To my eyes, it looks like I purchased something and slapped a patch on it as they do in logowear. Kenneth's dinner jackets are fabulously decorated in such a way that the jacket and its trimmings look like they belong together - a marriage of practical and fanciful.
In one of the two workshops, he showed us his embellishment techniques, and we were able to duplicate the process and create our own samples. In the other workshop he showed us how to execute a perfect welt pocket and how to draft and sew a one-piece pocket flap. He also autographed my copy of his 1996 book entitled Design Techniques. It is the original version of Cool Couture. I ordered a copy and I can't wait to get my hands and eyes on it.
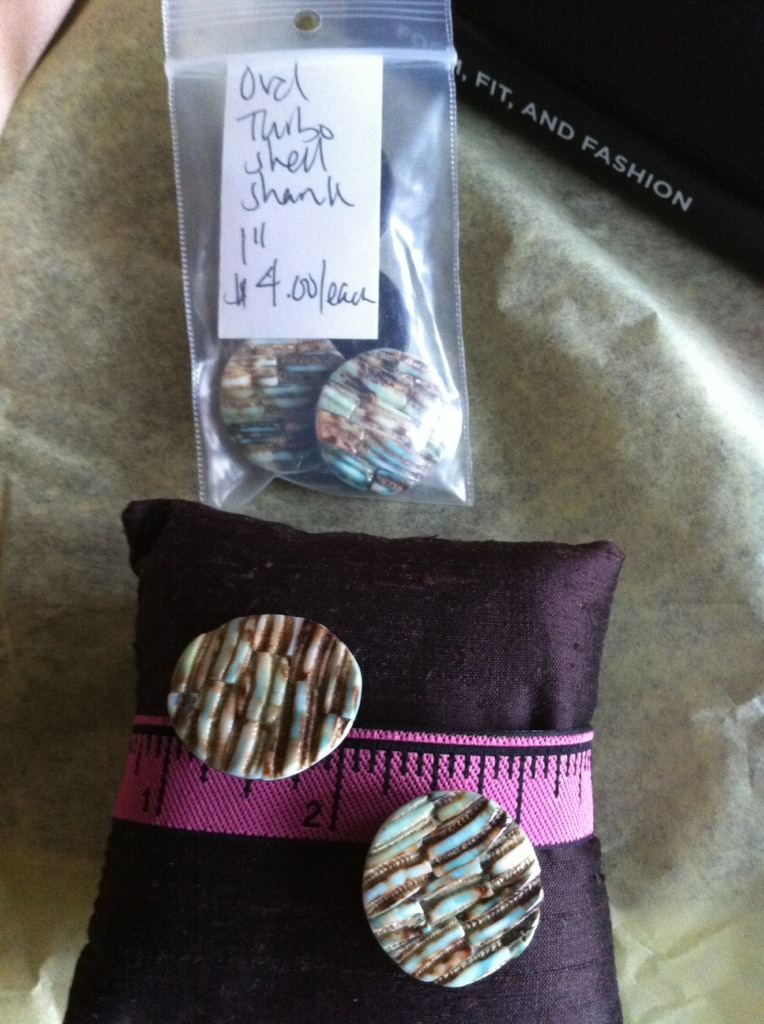
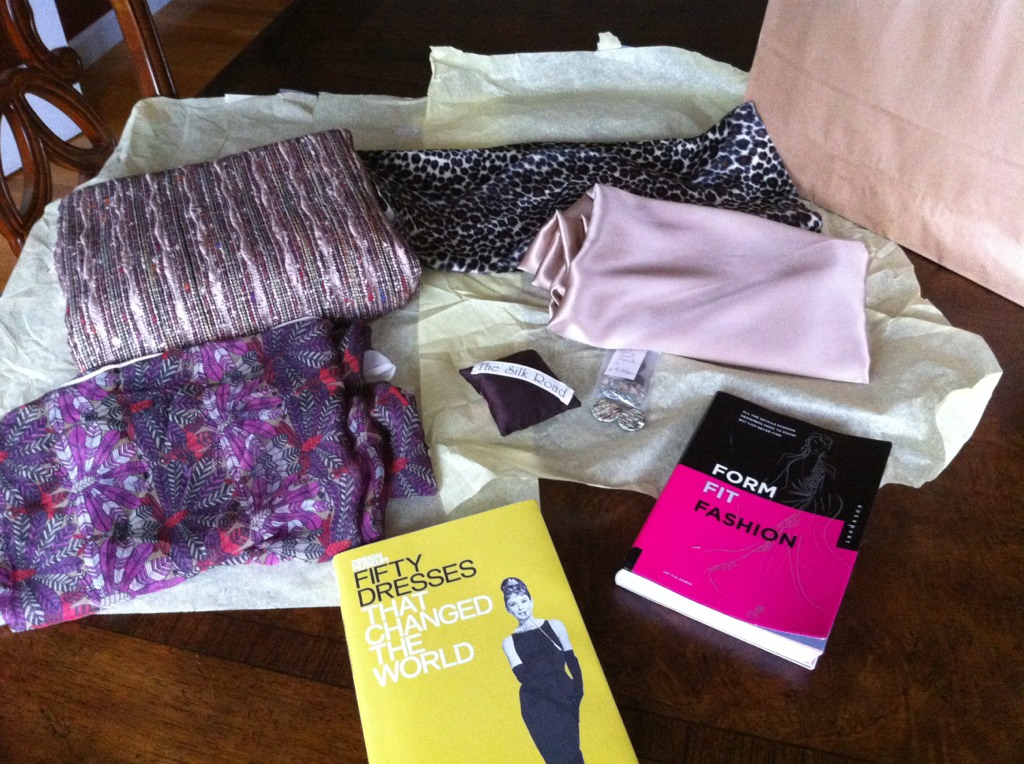
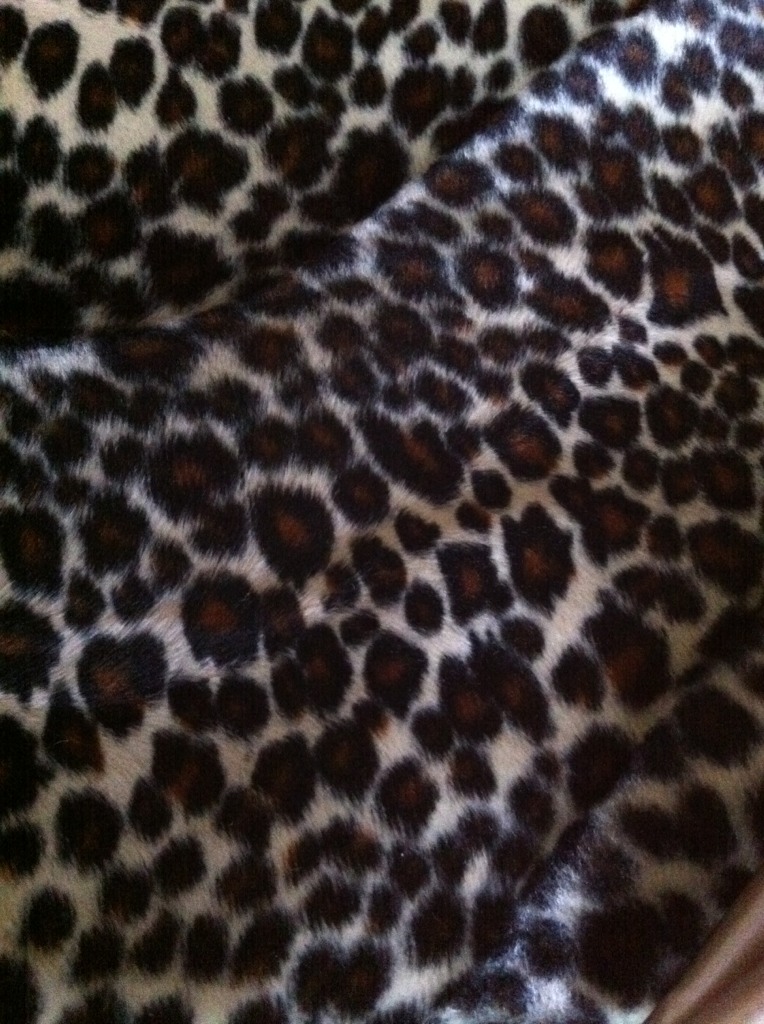
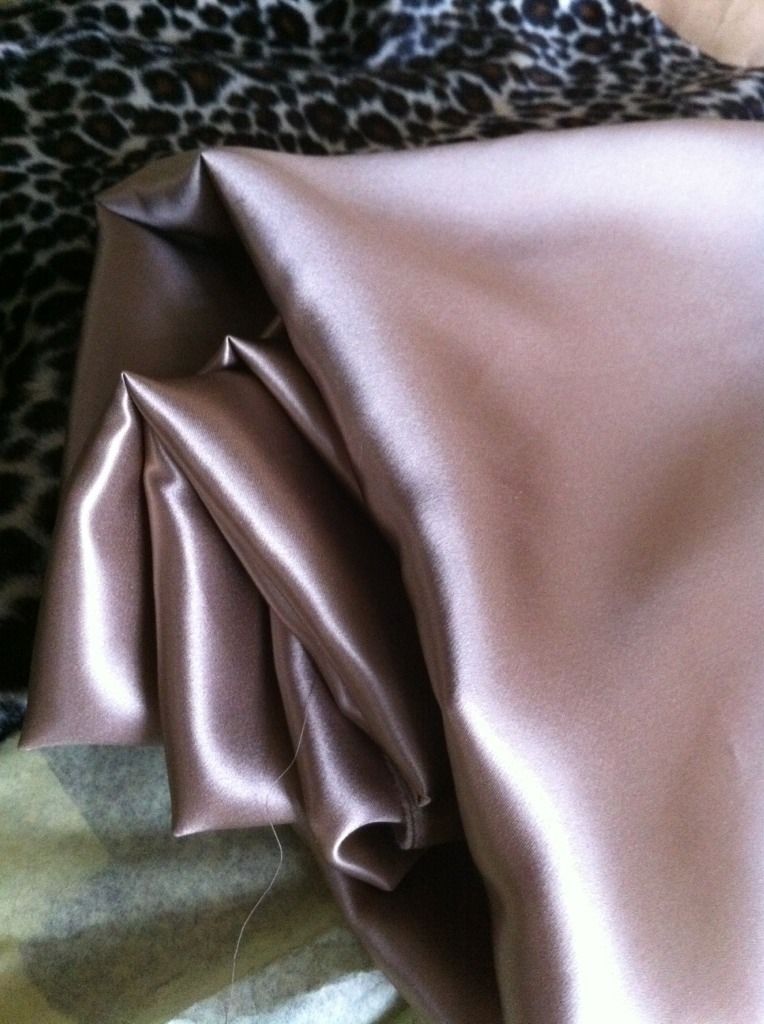
The Kenneth King events were quite enough excitement for me over the weekend, but there is more!! A new fabric store opened called Silk Road. I think I have heard of them before. The name sounds familiar. I went to the grand opening and BOY did I love it there! It is just lovely. Everywhere I looked, I found treasure. The fabrics were luxurious, yet reasonably priced. I bought two and a half yards of a fabulous Linton tweed with sequins sewn on both sides, two yards of silk charmeuse, a yard of printed silk georgette, and a half yard of this wonderful cheetah print faux fur. I also could not leave without six beautiful one inch shell shank buttons, and two more books for my collection. They served punch and mini cupcakes, and I saw a few familiar faces as I browsed. All in all, I had a wonderful weekend. What should I make with my fabulous new fabrics?
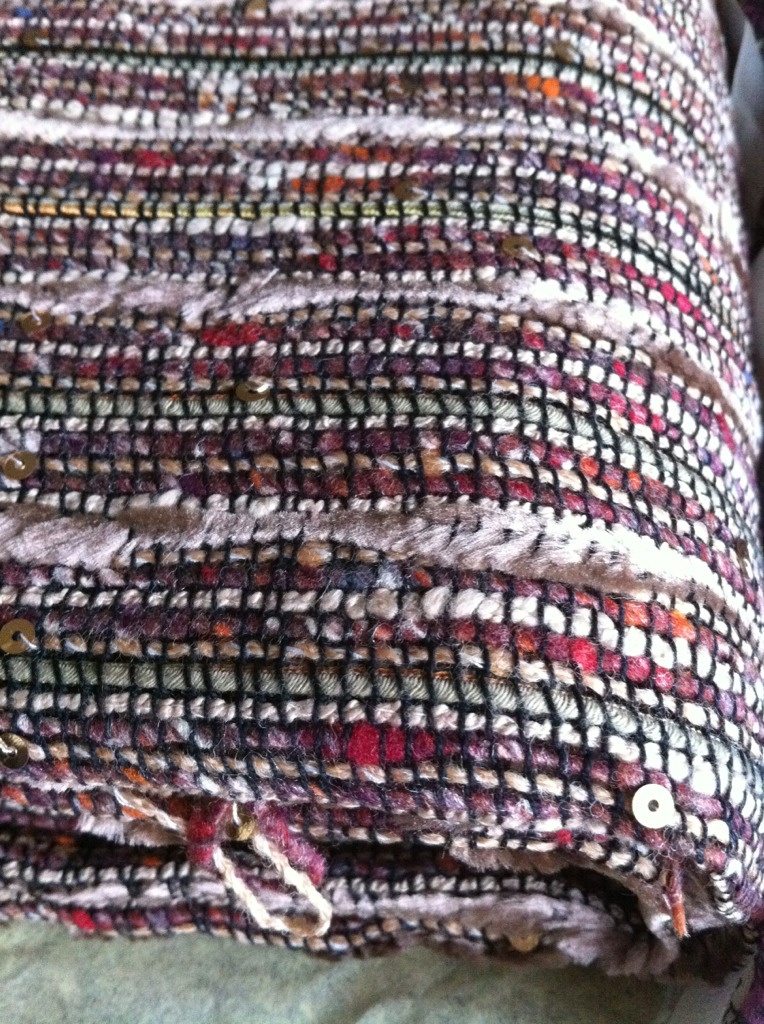
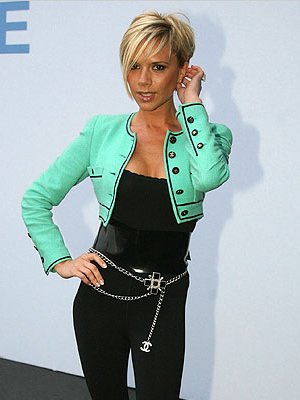


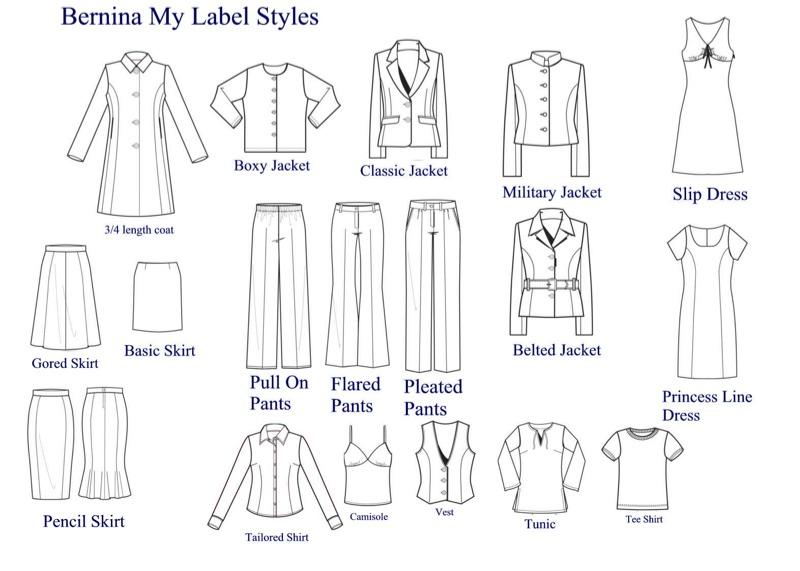 I think I will use the Bernina My Label military jacket pattern as a starting point. I'll crop it and remove the collar. I have so many more design decisions to make. Jacket length - should I crop it above the waist like a little shrug? Maybe it should come right to the waistline? I have a smallish waist... What should I do about the front closure? Should the center fronts overlap and button? Bound buttonholes or hand stitched? Or should the center just butt with hooks and eyes? Maybe I should design it to be worn open and not even meet at the center front? Will it look like the jacket is too small if I do that? And trim? I think the tweed will make really nice fringe... but I am not always a fan of fringe. Too sloppy and bulky... What do you think yay or nay on the fringe? Maybe a simple contrast ribbon trim since the tweed has so much texture? Pockets? Do I want pockets? I like to carry my iPhone, but I am concerned about the weight of the phone. Maybe faux pockets to add interest? Do I even need them if the jacket length is cropped? Will they look good on me? Sleeve length - I am thinking bracelet length sleeves, but then should I go discreet with the trim and buttons? Maybe full length sleeves with 3 buttons will give the same effect as bracelet length sleeves - calling attention to the small circumference at the wrist? Oh this is too much fun...
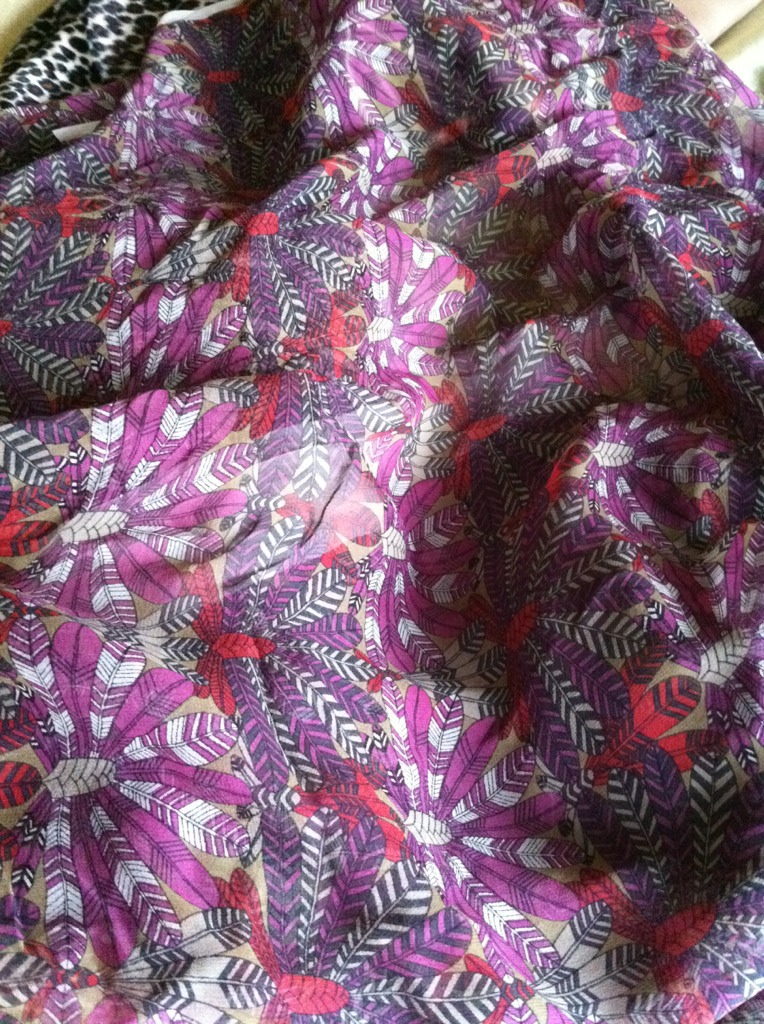
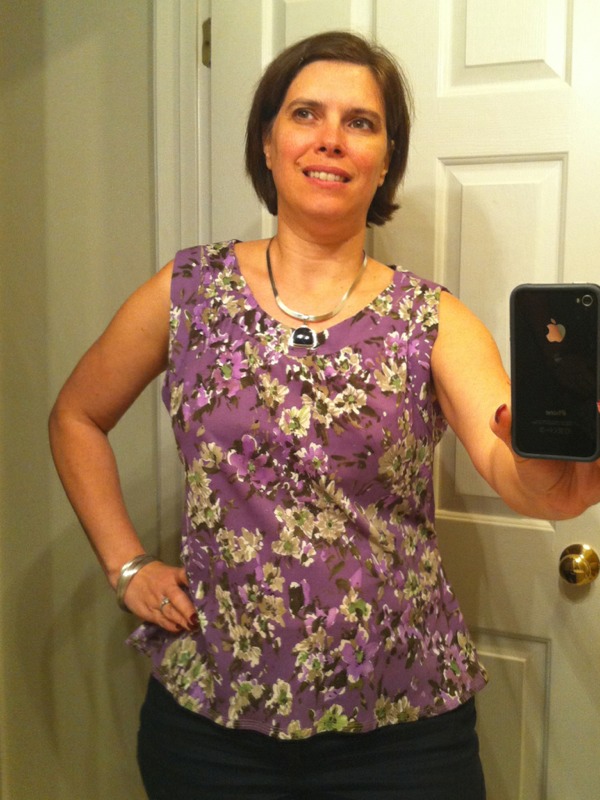 Here is my latest Bernina My Label success! I started with the tunic pattern. I used a half front on the fold, so I cut the pattern right down the center line. First, I redrafted the neckline and armscyes. Then I drew lines for the yoke and armscye bands and cut them off the pattern on both the front and back pieces. Next, I made four slashes in the front from the yoke seam line to the bust point. I closed the bust dart and let the slashes open. Then I taped tracing paper under the pattern to fill in the slashes. Finally, I redrew the yoke seam line straightening out the jaggies and added seam allowances to the yoke and the armscye bands. There is enough ease in the tunic design not to need a zipper or button closure. I used the yoke and armscye band pattern pieces to make facings. I cut fusible knit interfacing for the yoke and armscye bands. I did not have to finish any of the seams or the hem because the knit fabric does not ravel. For the hem, I just sewed three rows of straight stitches to add weight and make it look finished.

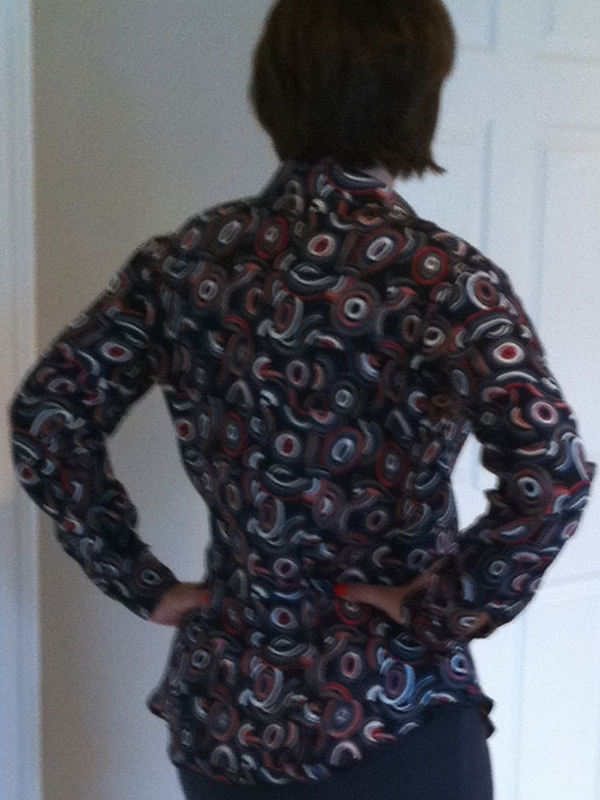
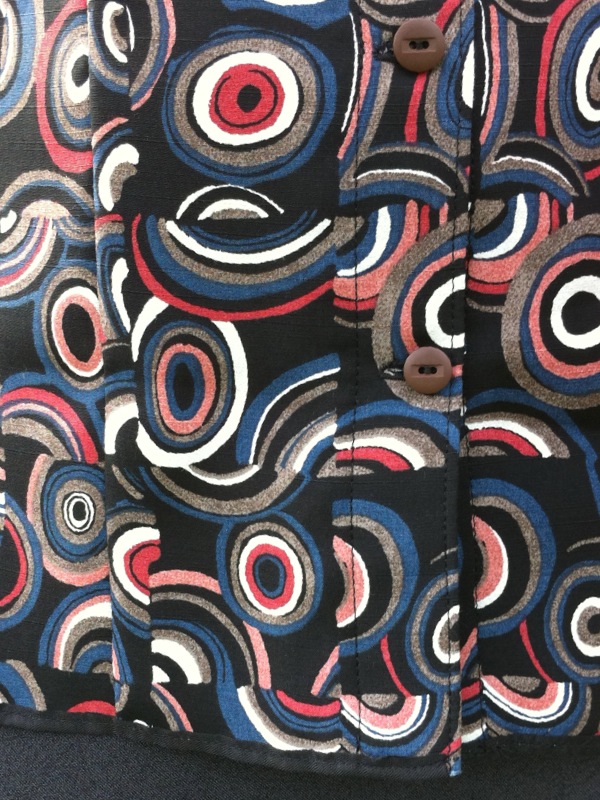
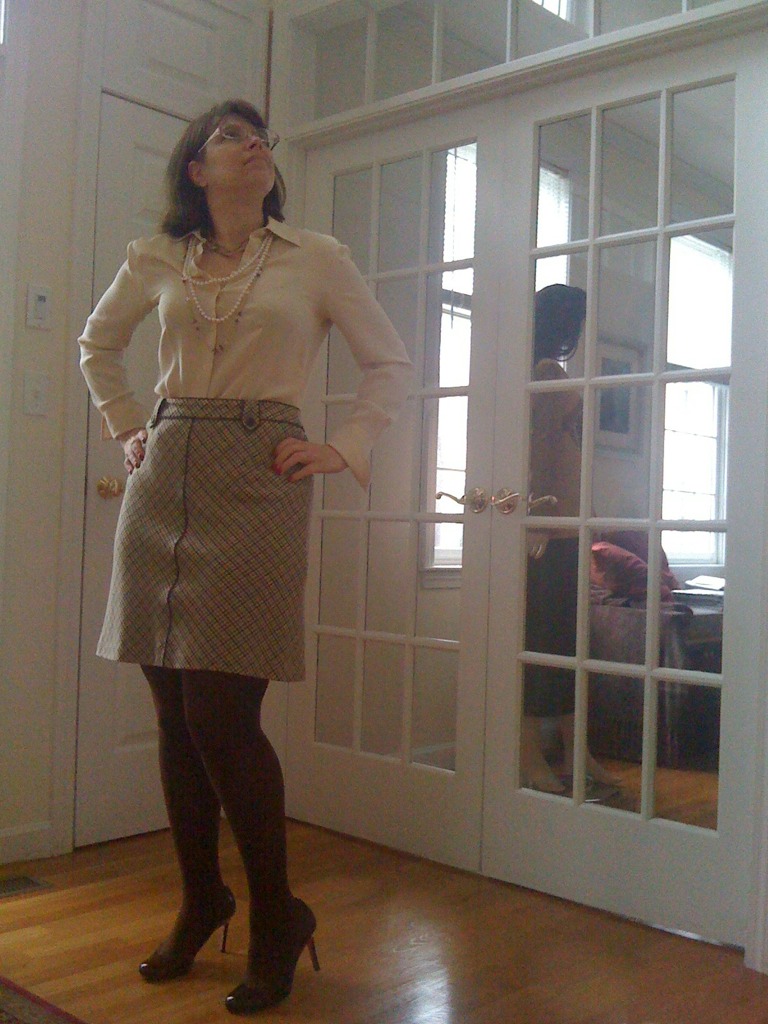
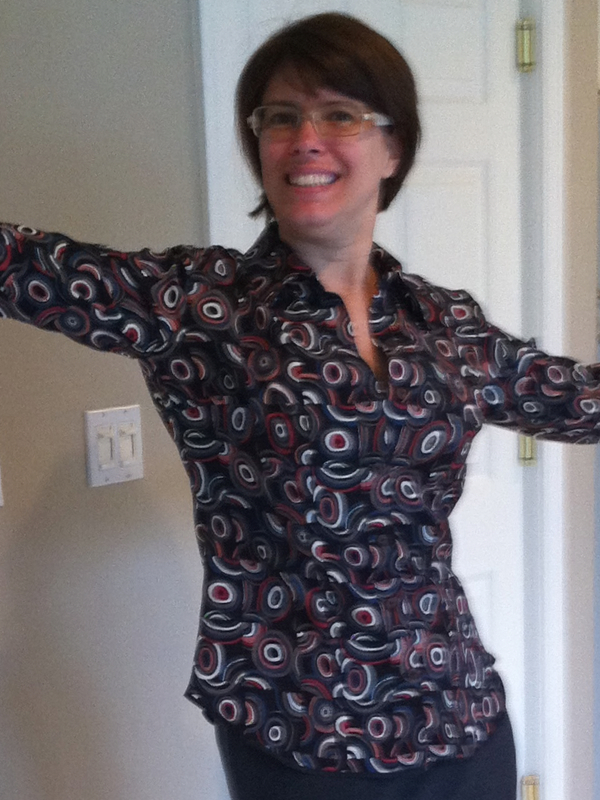 Look at how fabulous this tailored shirt mock-up came out!! Doesn't it make me look tall and slim? I think it's the high armsyce and the fitted underbust. Look at how nice it behaves when I put my arms up. It lies nicely through the waist and hip. I'll bet if I were so inclined, I could wear this tucked in and not have to keep adjusting it all day. You know what I mean - when you wear a blouse and you reach for something and it starts to come untucked and look all sloppy and blousy? Mmm hmm, I know you're feelin' me. If I had known this would fit so well without alterations, I would have matched the print better. I don't even like this fabric and I still love the blouse. This was done WITH ZERO ALTERATIONS! Can I get a WAHOO? Oh yeah THAT'S WHAT I'M TALKIN' ABOUT! I have been fantasizing for years about being able to sew something right out of the envelope and have it fit well. Now, not only can I have a good fit, I can also check the proportion on my body before I sew it. You guys - this is like sewing nirvana! Look - no fold of fabric at the back waist. I didn't even have to do a sway back alteration. The pattern drafts with enough width at the hip so that there is no "riding up" in back.
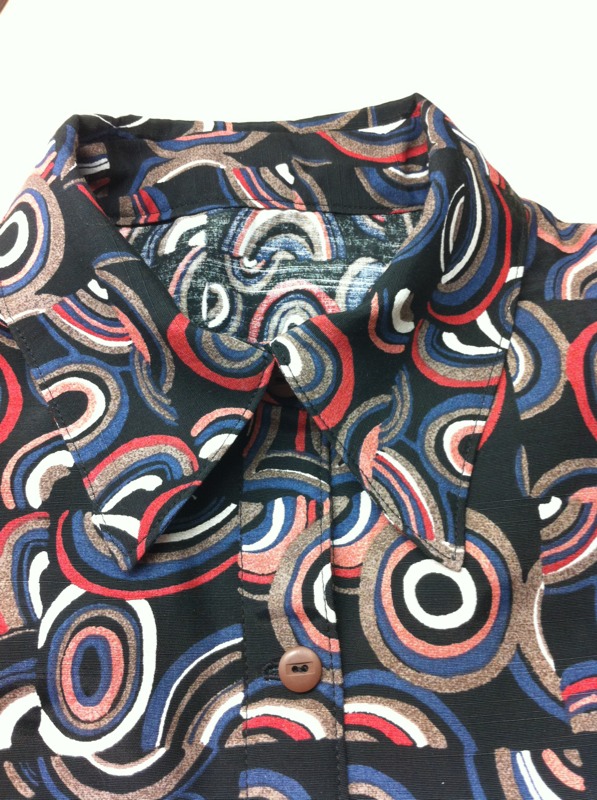 The buttonholes were made using a built in stitch on my machine. I have a Pfaff with a sensormatic buttonhole foot that makes the exact same size buttonholes all day long. I am so not afraid of buttonholes anymore. I do have to say, though, that when I make this again, I will make the buttonholes vertical instead of horizontal. The instructions are for vertical buttonholes. I have no good reason why I made mine horizontal - just didn't reference the instructions when I made them. Oh, speaking of the instructions, I have a gripe about the instructions. I know - a complaint?? How DARE I complain after such wonderful results.
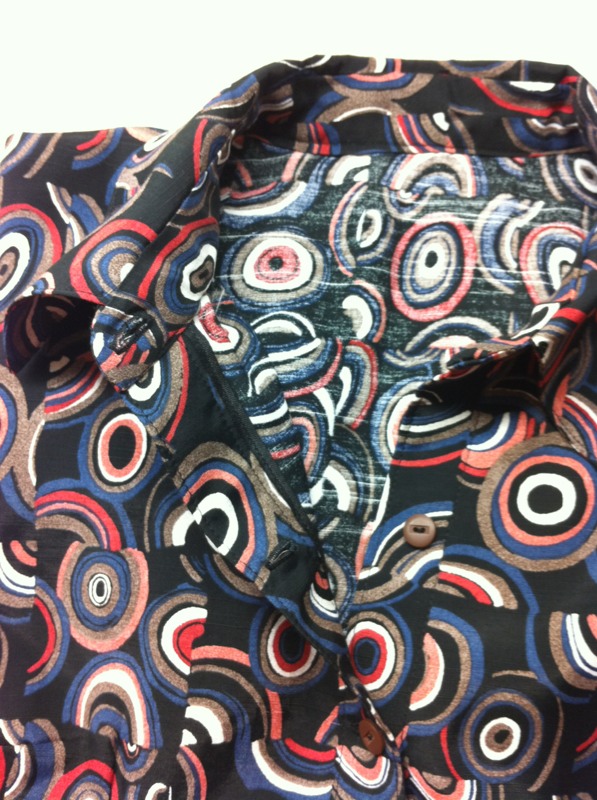 In my defense, it is actually a small teeny-tiny comment, really. Although I don't really use instructions anymore, (I think BURDA and MARFY have weaned me off the instruction sheet) I printed out the instructions - just in case. Well, the instructions refer to pages in the help menus of the program. If you plan to use the instructions with this program, you should do as I have done - print all of the pages from the help section of the program and bind them in a book for easy reference. Okay, I am done with the complaint portion of my post.
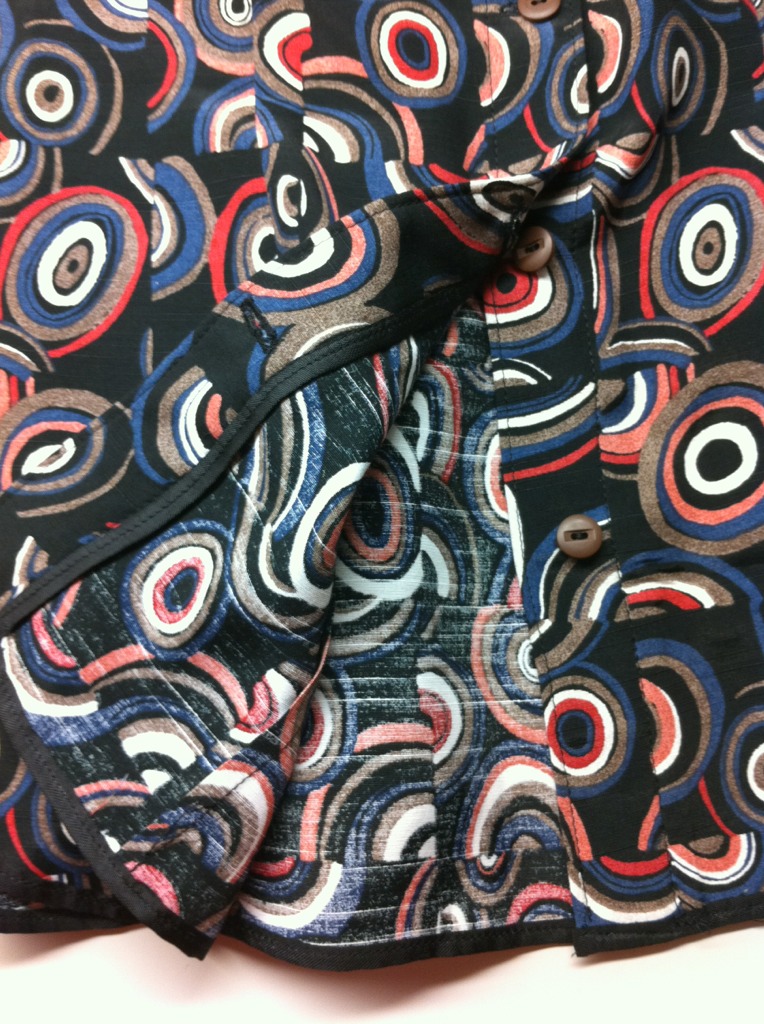
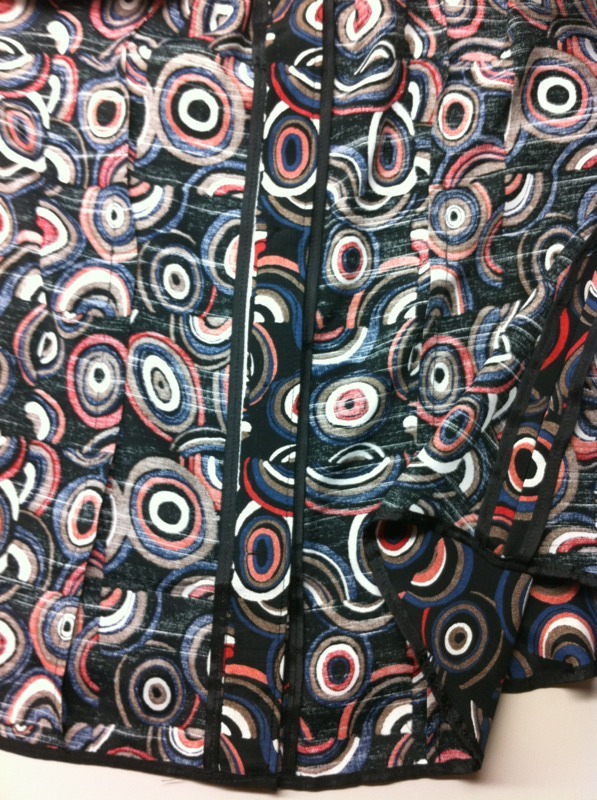 I also used it for the hem. I learned about it reading one of your blogs. I love reading your blogs and seeing what you are making. I am so thrilled to have this internet community. I take my iPad to bed with me so I can check in with you before I end my day. I get so many great ideas and so much inspiration from your pictures and tutorials. I never would have thought to finish the inside of a garment this way until I saw one of you do it.
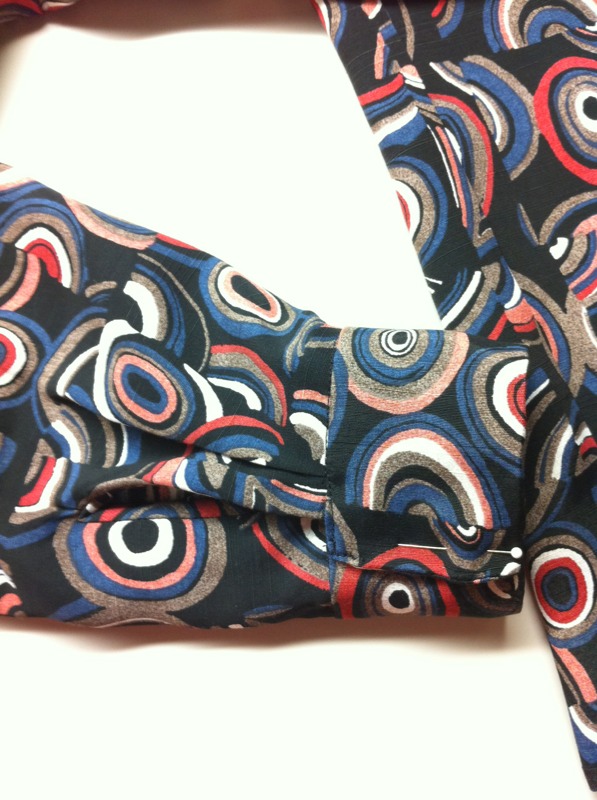 I still have to finish the sleeve cuffs. They need buttonholes and buttons. Often, I get close to finishing a project and I get so excited to wear it that I frequently have pins holding my clothes together. Anyone else do that? Or am I the only gun-jumper? Needless to say, my mind is already on the next project. I have this nagging unfinished object guilt tugging at me to finish the