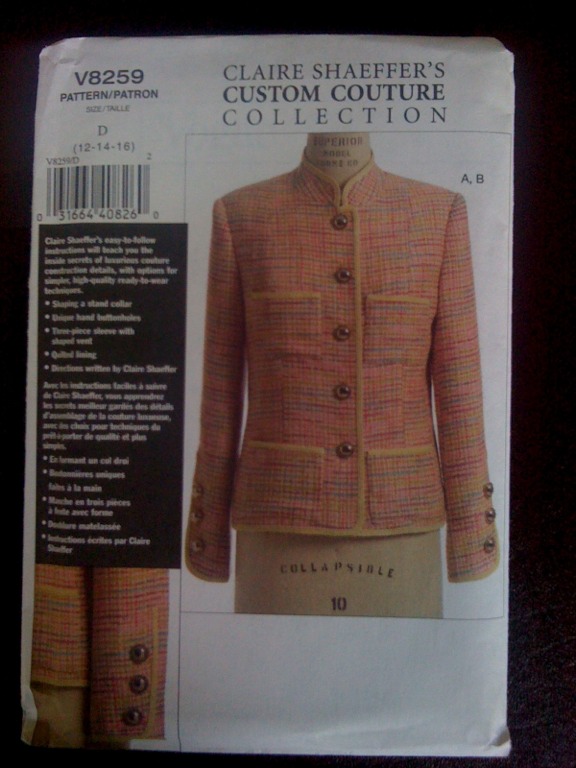
I am pretty sure I want to use a 3 piece sleeve for my Chanel jacket, but the problem is I have a custom drafted two piece sleeve and I am not sure how to convert it to three pieces. I searched my pattern stash, and it turns out, I have Vogue 8529 which has a three piece sleeve. I examined the pieces, and the three seam lines appear to go along the outer arm and about an inch to either side of the underarm. Perfect. Now, I just have to make my two piece draft into a three piece draft.
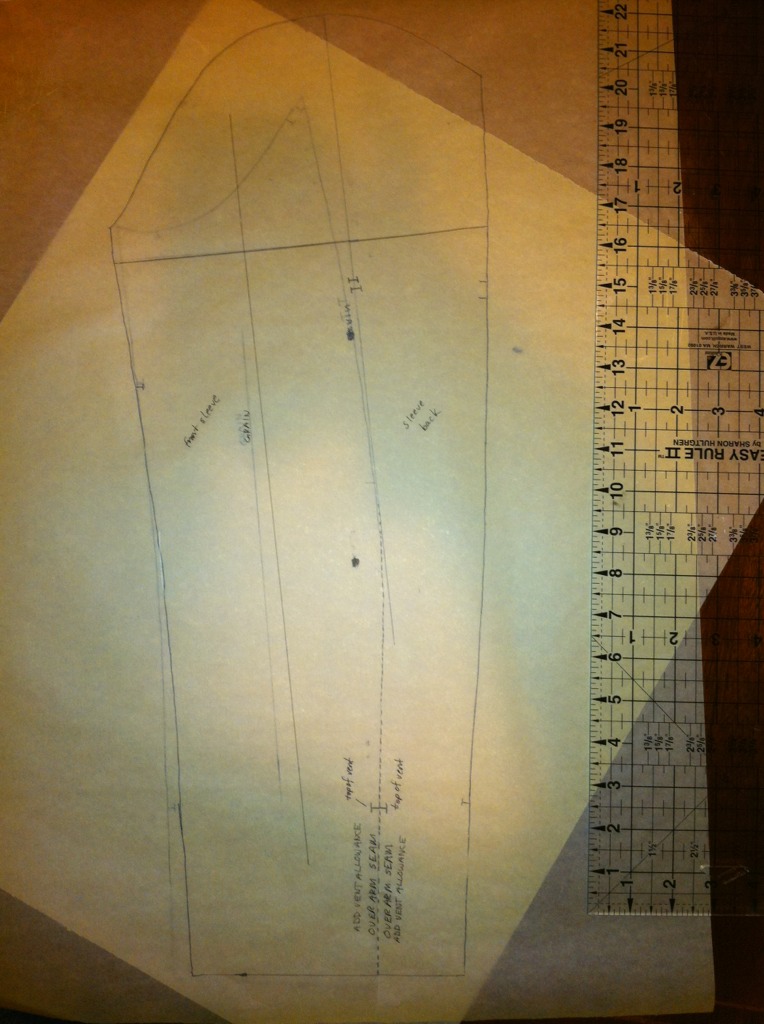
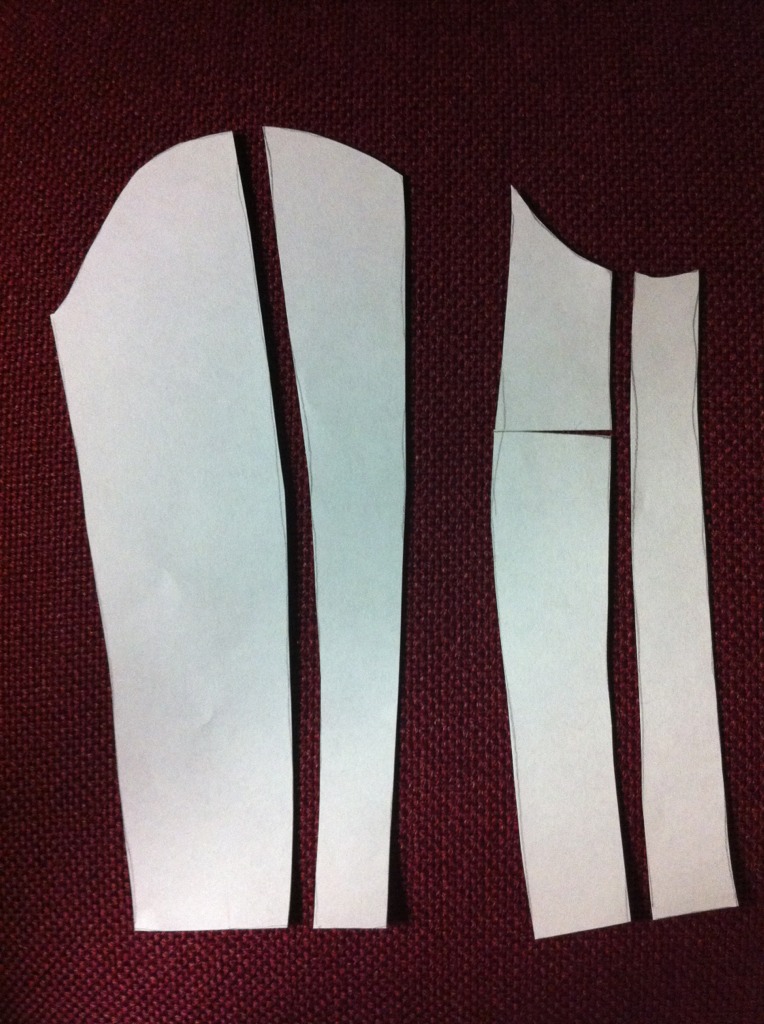
Here is what I did last night. I started with my Bernina My Label jacket sleeve which is a two piece sleeve. I traced it without seam allowances onto tracing paper and marked the grain line. Next, I marked a line perpendicular to the grain line on each piece a little below the curved section at the top of the pieces. I laid the overarm piece on top of the underarm piece wrong sides together and used the angle to help me add a seam line down the outside of the arm.
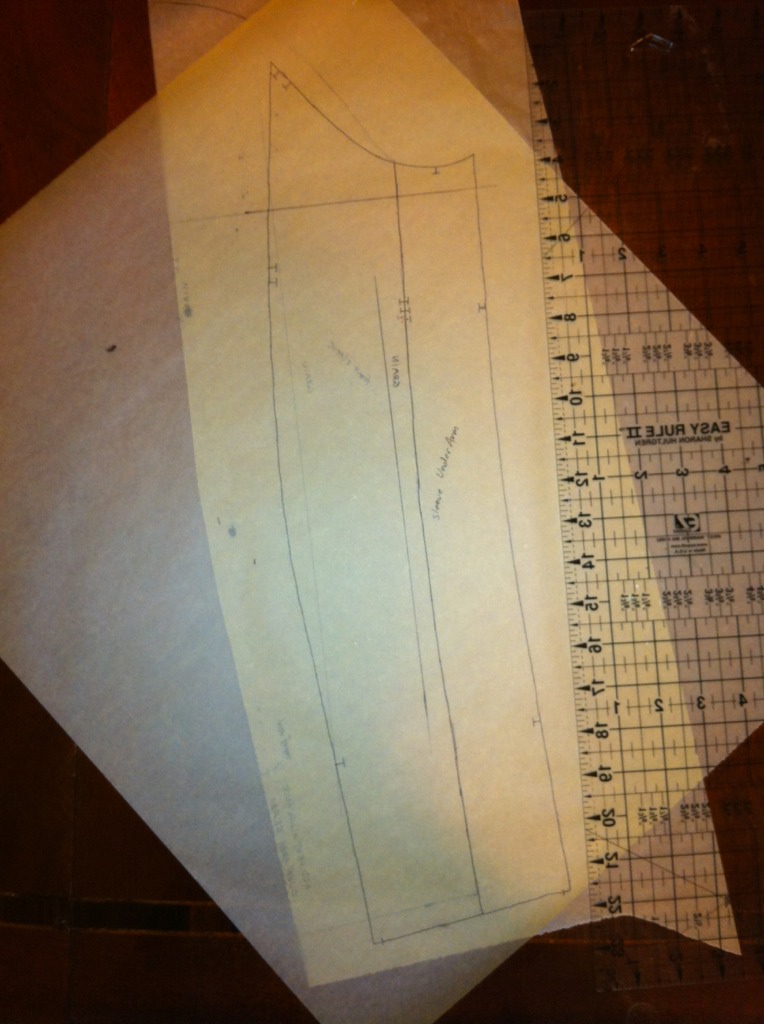
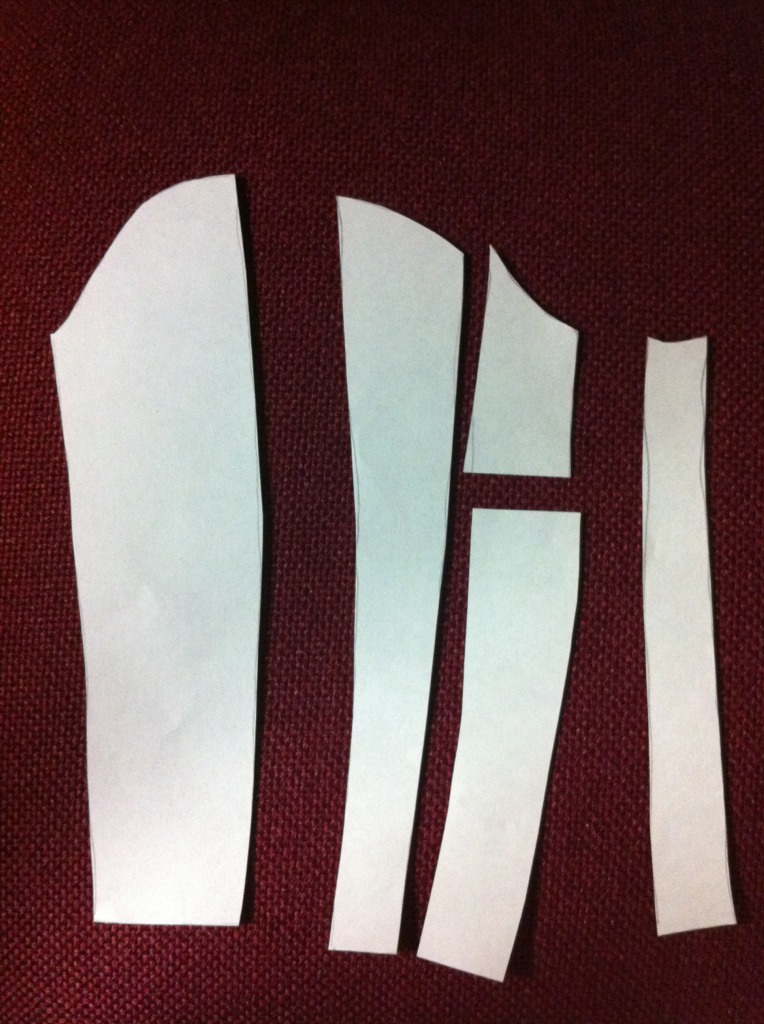
Next, I split the underarm piece so that my new underarm piece is only two inches wide - the same width I will use for my side panels when I alter the jacket side-front and side-back pieces. This left me with four pieces. The next step is to combine the overarm back piece with the underarm back piece.
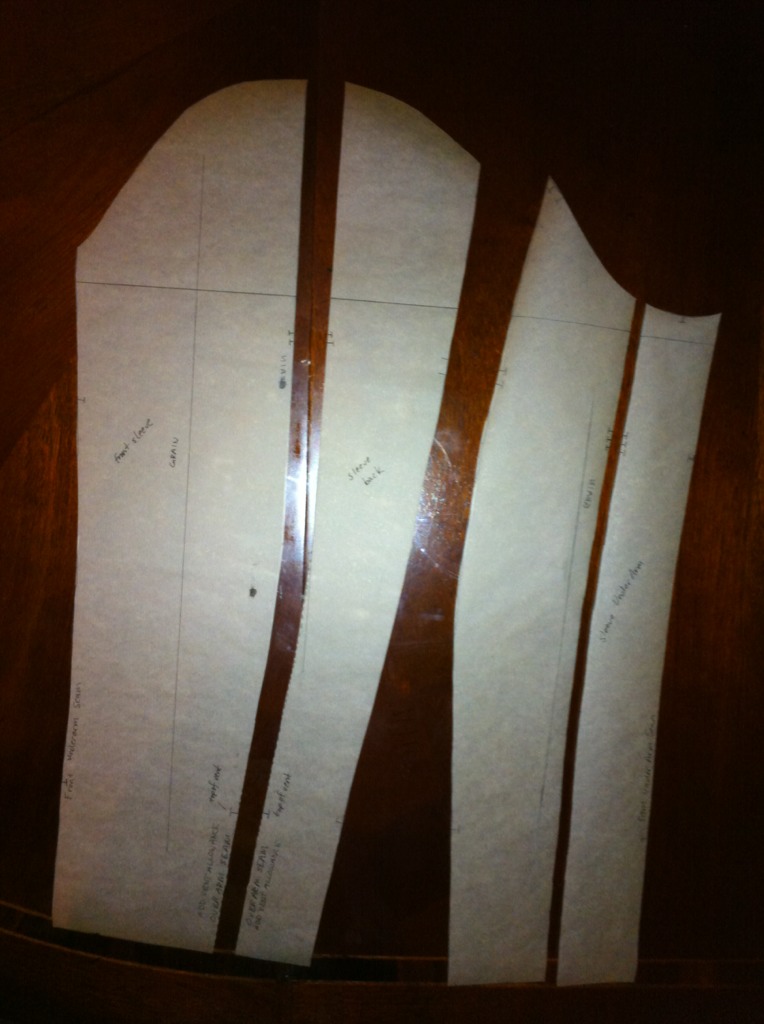
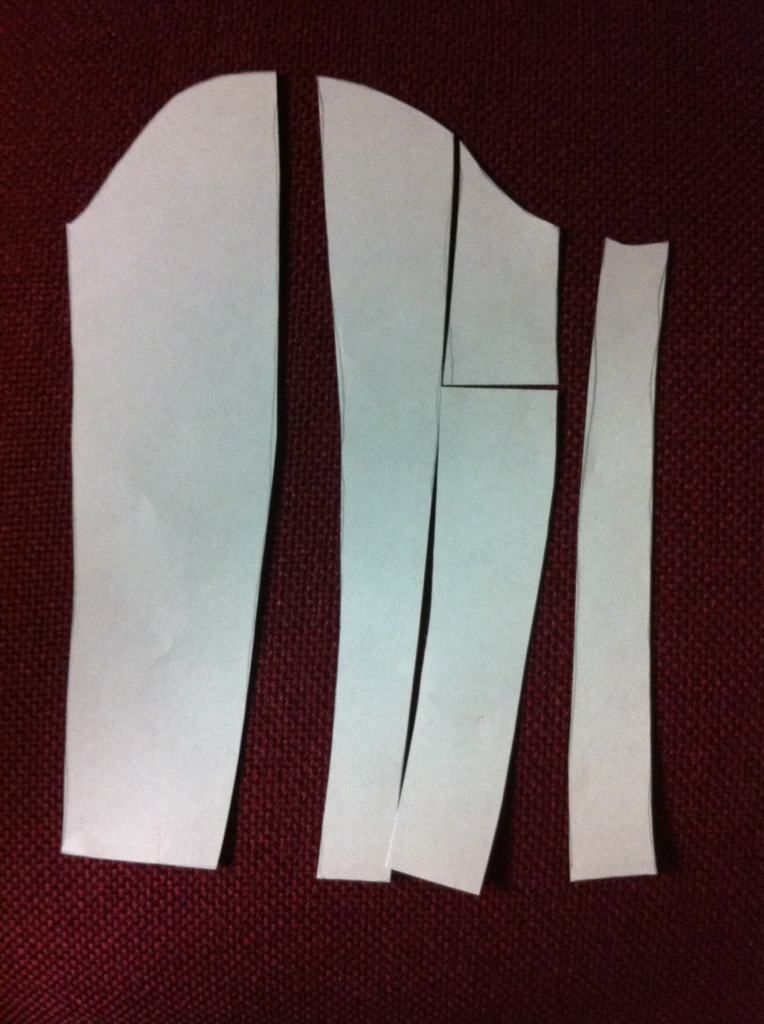
This is where I got stuck. How do I combine the middle two pieces? What happens to the sleeve dart? I am thinking it converts to ease at the underarm seam and the top of the sleeve where it is set in. I think I am going to cut that third piece at the perpendicular line and flip the bottom portion from left to right so that the dart leg becomes the underarm seam when I merge the pieces together.
I think that looks right. I will make a sample and report my results. In the meantime, my daughter has asked me to make her a pair of jeans. I am trying to decide whether to go with the Jalie 2908 pattern that everyone loves so much, or use Bernina My Label. She's 17 with no figure problems. Any advice?
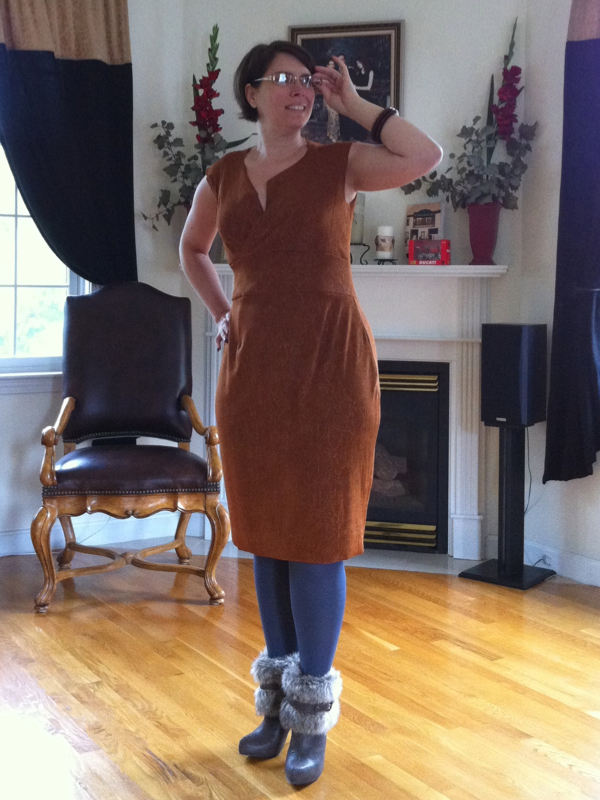
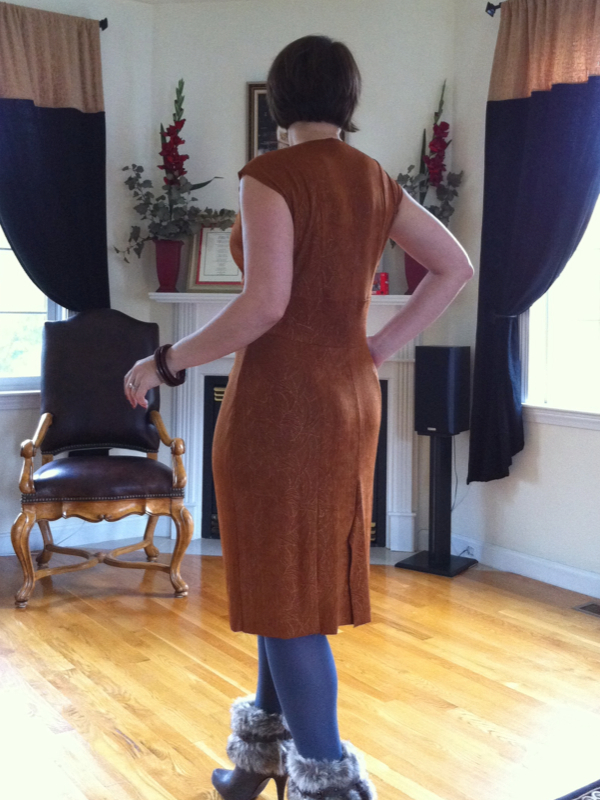
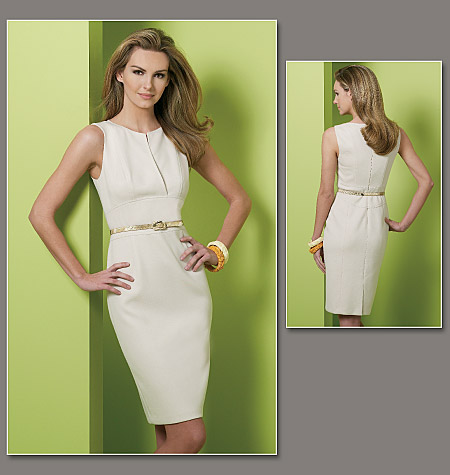
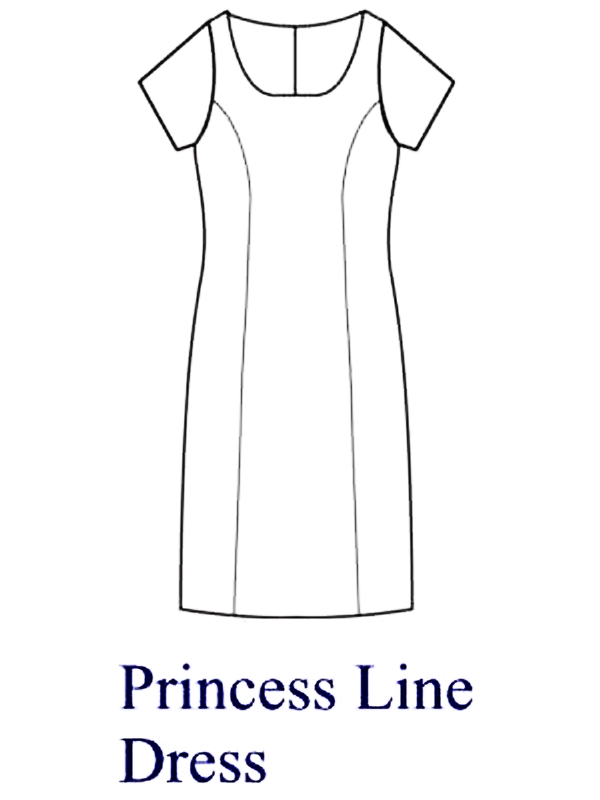
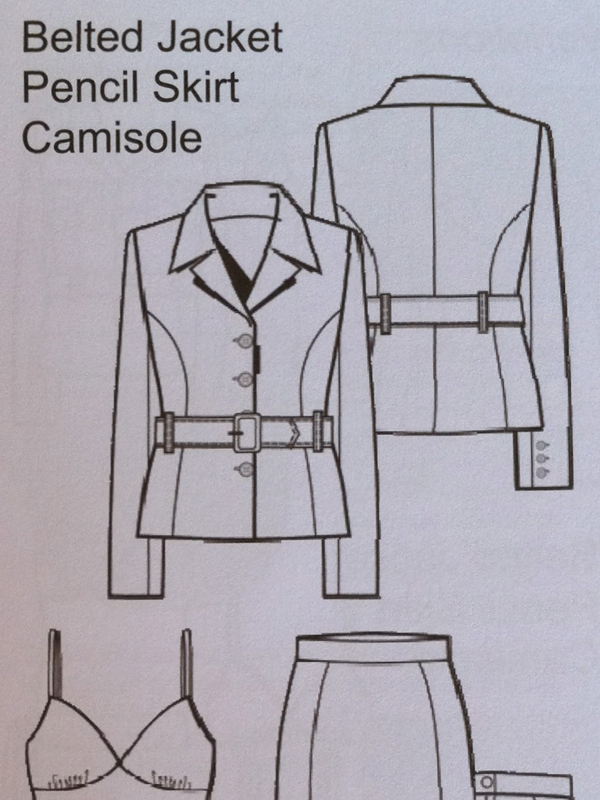
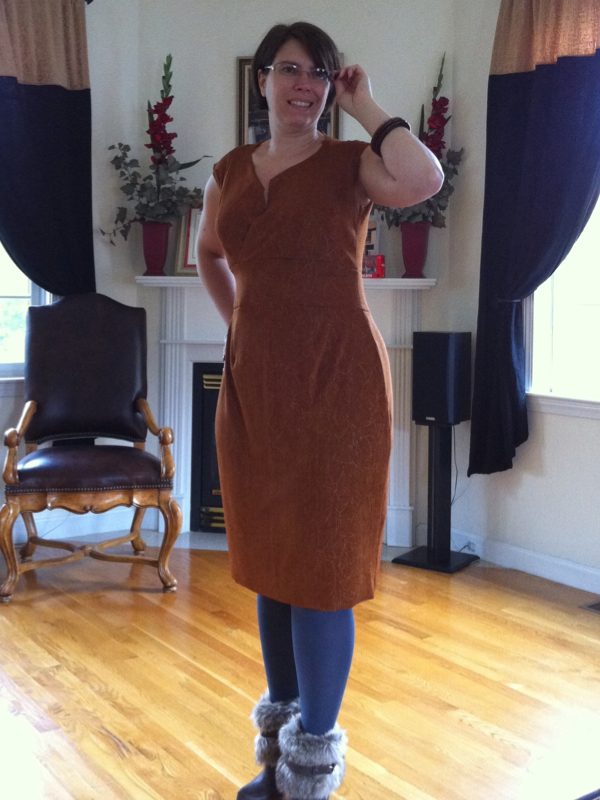 Here is a wearable mock-up of a Vogue pattern I have been itching to make. I used my Bernina My Label princess line dress pattern to help me fit the pattern. I think the fit is pretty good. The mock-up fabric is a moderate weight knit fabric. I bought a nice ivory knit from Waechter's Fine Fabics a while back. I plan to make this dress with a little Chanel inspired cropped jacket. For the trim on the jacket, I will use an Italian tropical wool that I plan to make pants from. If it comes out really well, I will also make a Linton tweed cropped Chanel inspired jacket. I may even make a second dress and jacket pair from a beautiful black cashmere knit I got from The Fashion Sewing Group last month. Such ambitious plans...
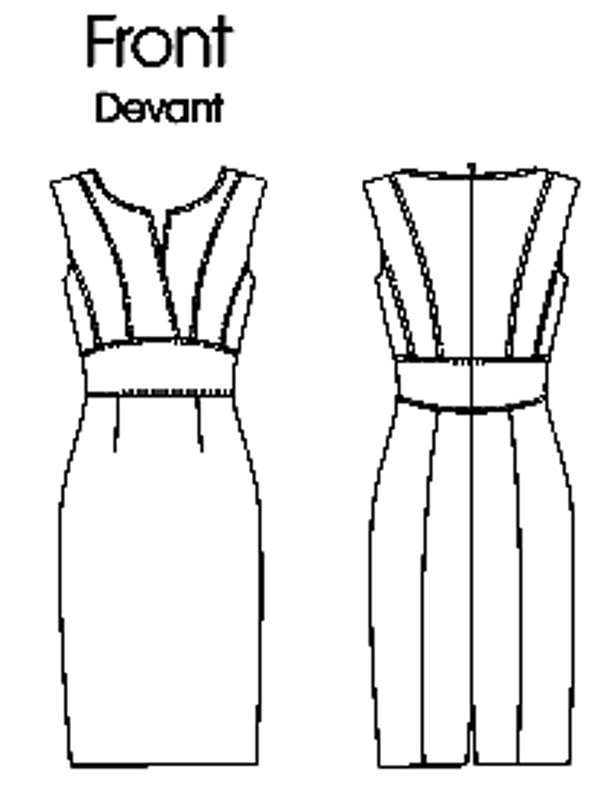
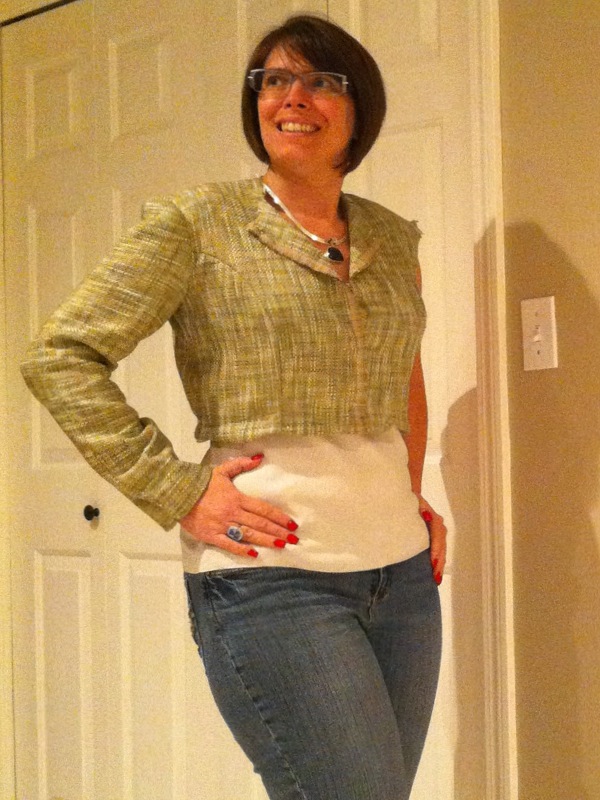
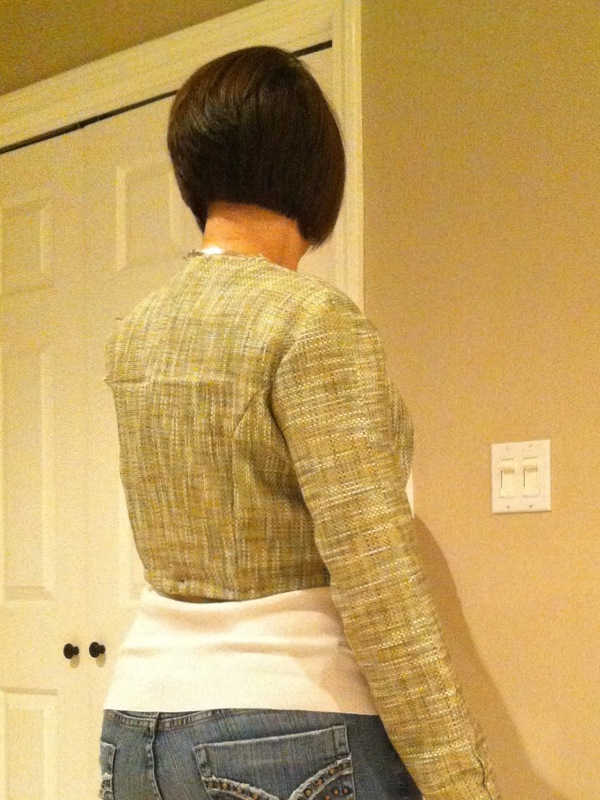
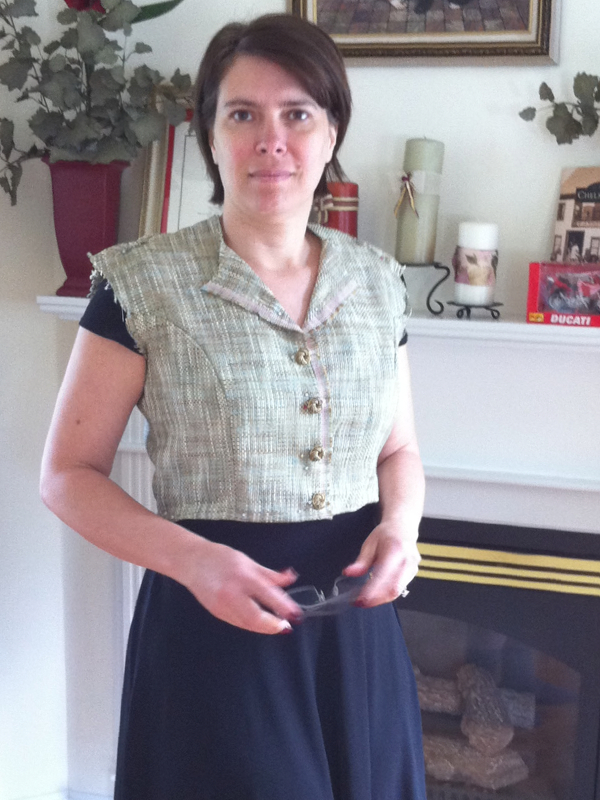
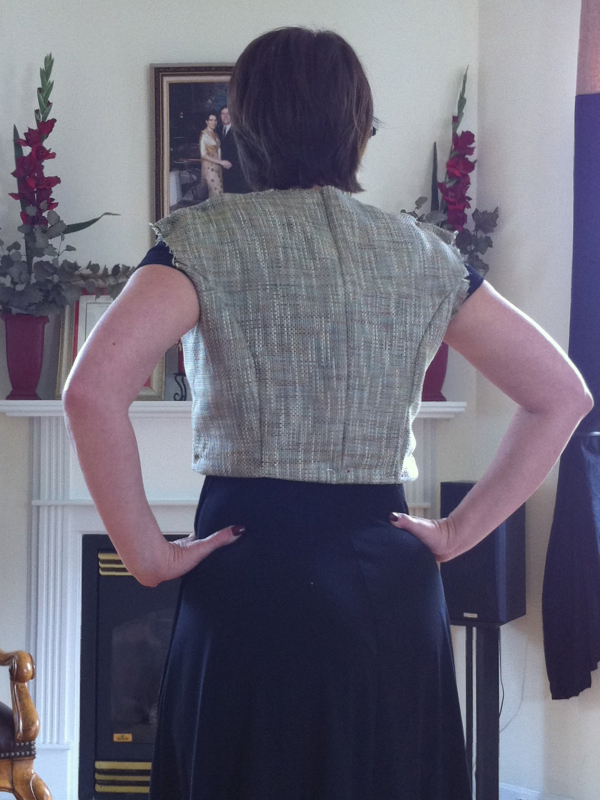
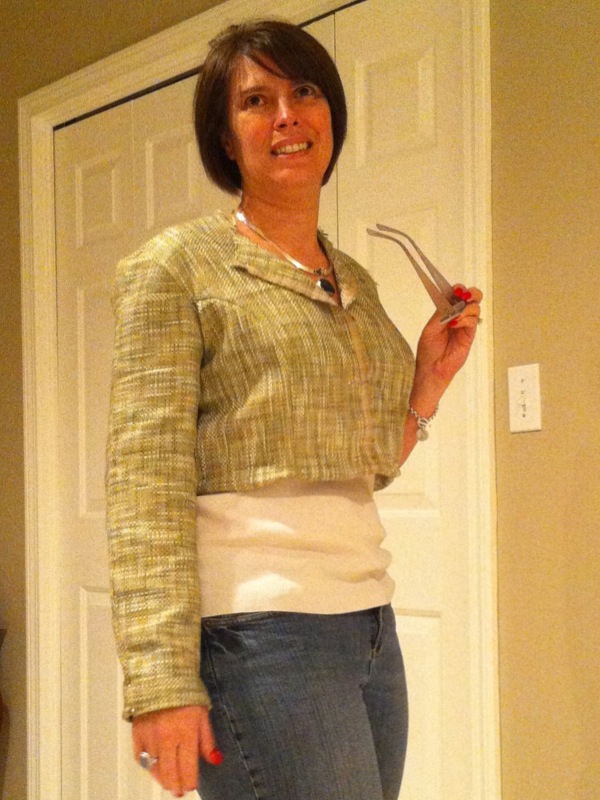 I know I am supposed to put BOTH sleeves in and have a look, but I got so excited after just one, I had to post pictures! Look how nicely it fits!!! If you click to expand the pictures, you will see I have pinned the sleeve vent shut. I can get my hand through the sleeve without opening the vent. I think I am going to make it tighter at the wrist and possibly all the way up to the shoulder. I have other alterations in mind as I morph this Bernina My Label jacket pattern into a cropped Chanel. I'll take pictures as I go and keep you posted. Here is a kind of before and after to whet your appetite.
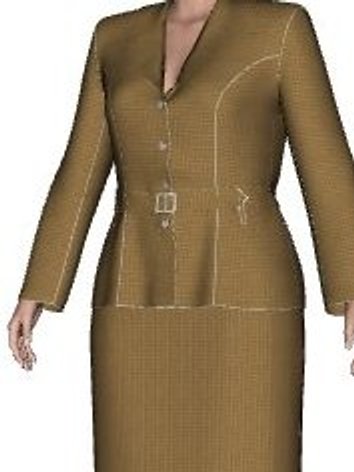
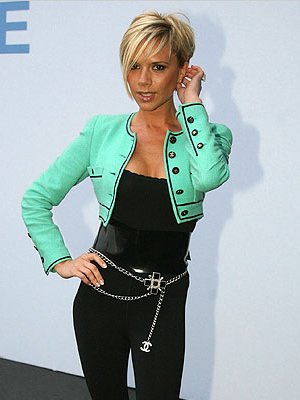
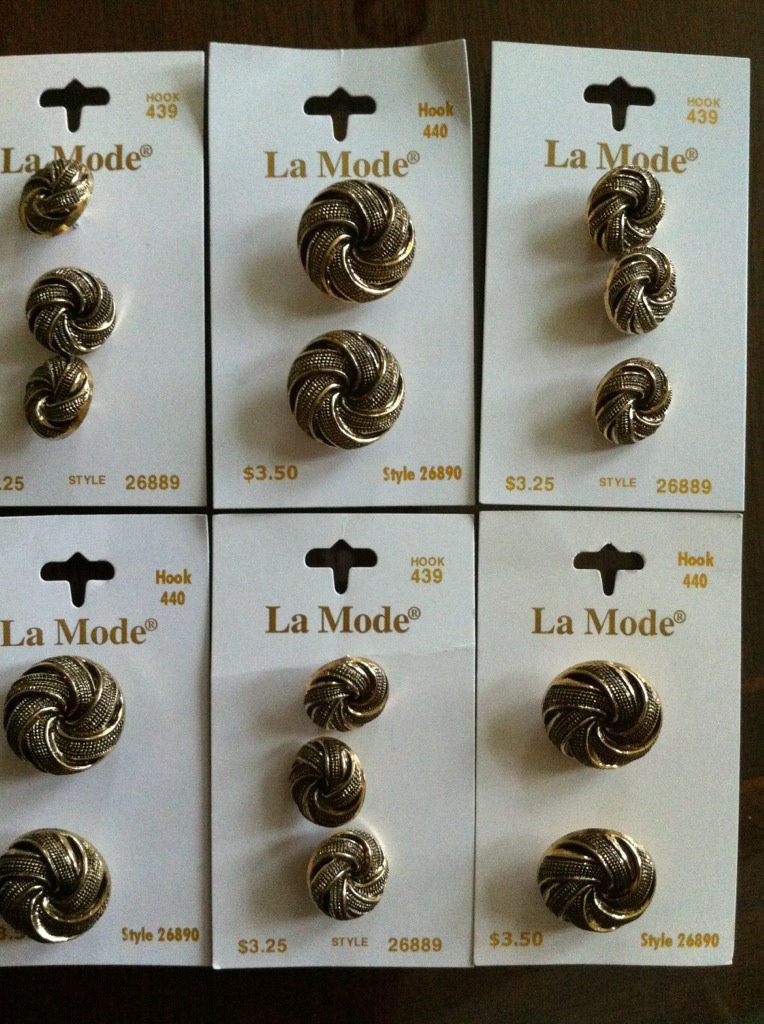
 I know there are some of you who have made Chanel jackets. I am a fan of
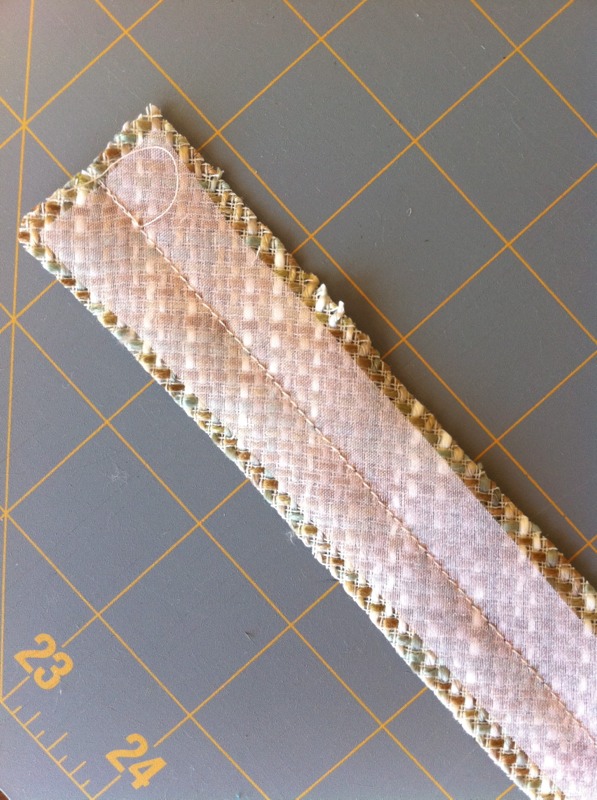
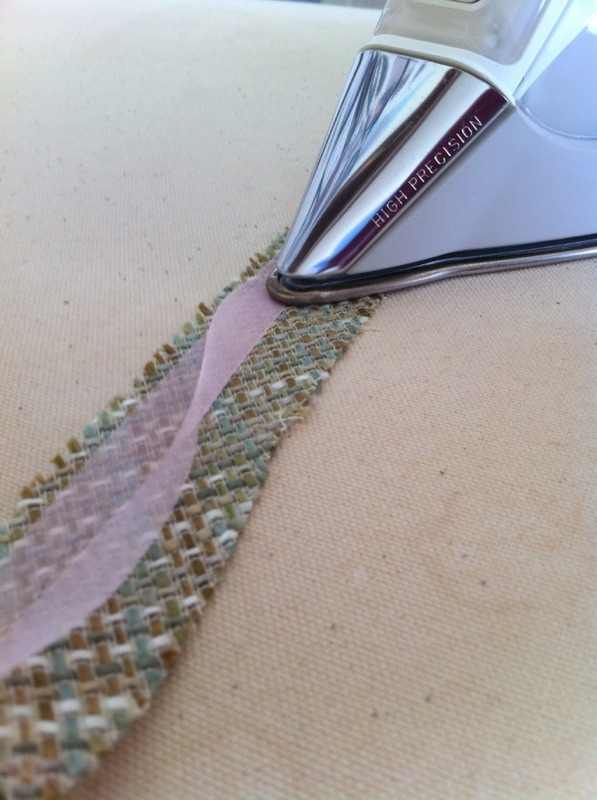
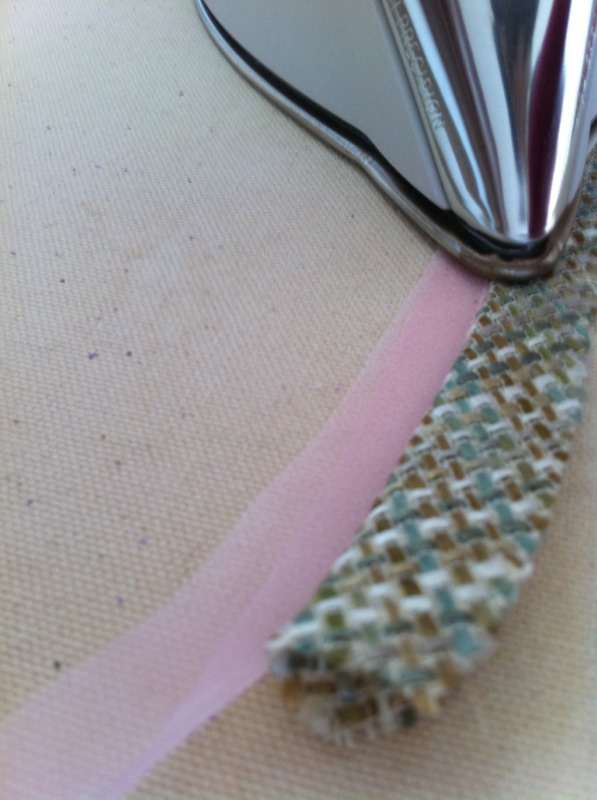
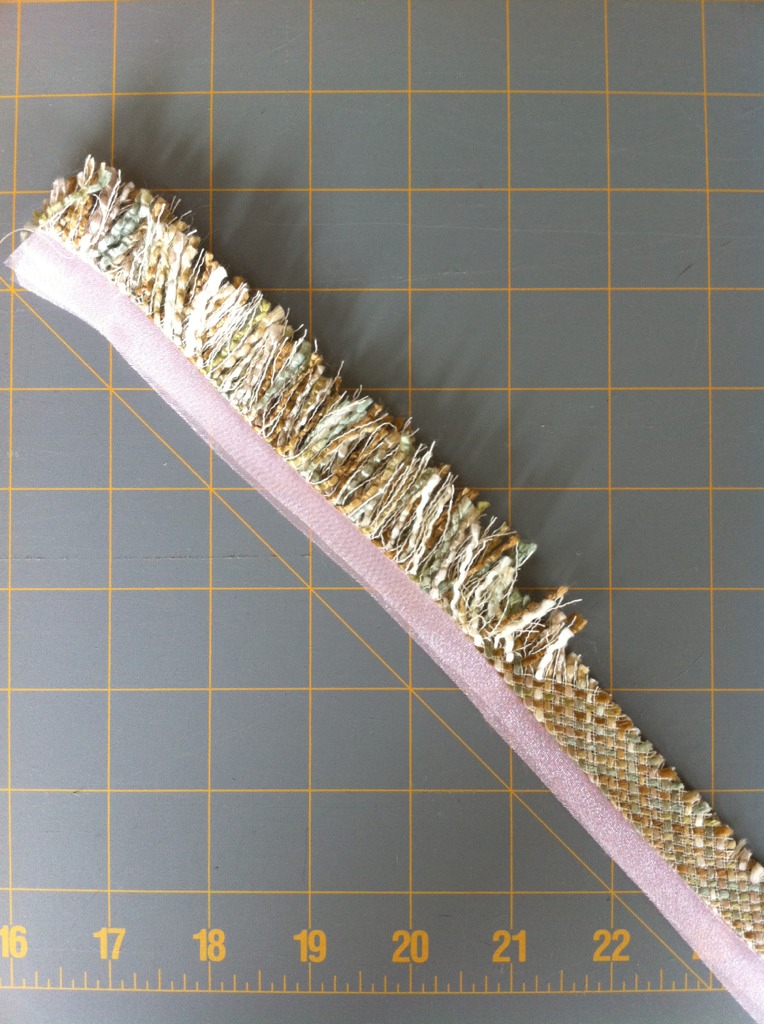 I made fringe this weekend. I cut bias strips of tweed and sewed them to bias strips of silk organza. I pressed the strips as shown and unraveled the tweed to make my fringe. I forgot that the hypotenuse of an isosceles right triangle is equal to the length of one of its sides times the square root of two. So my fringe was roughly 40% longer than I thought it was going to be. See how when I unraveled the fabric, the diagonal strands made the length of the fringe longer than the width of the fabric? It's a good thing I made a sample first. If I had cut enough to make 5 yards, I would have cut up 40% more fabric than I needed! That's an extra 40 cents for every dollar spent on the fringe. I think I should be making better use of my knowledge of trigonometry and geometry in my sewing. I wish I knew more about fluids and topography. I wonder what my sewing would look like if I thought of fabric as a fluid, instead of a rigid 2 dimensional material.