Showing posts with label My Label. Show all posts

Mommy and Me

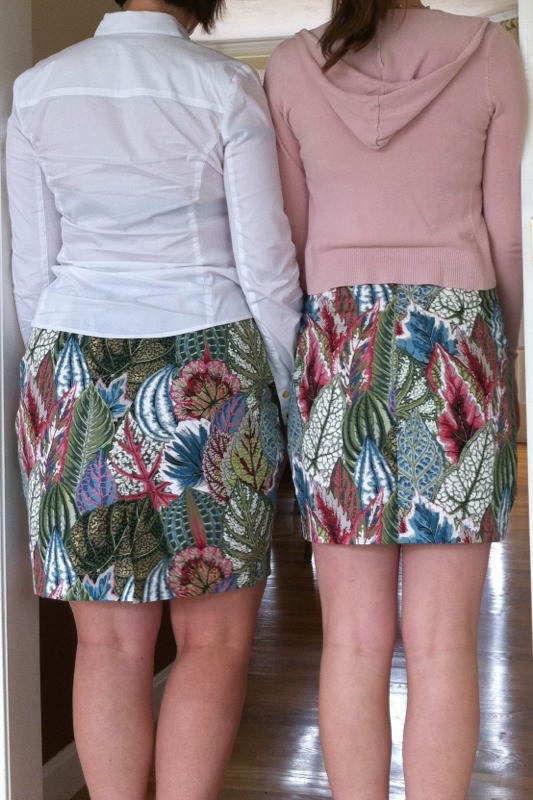
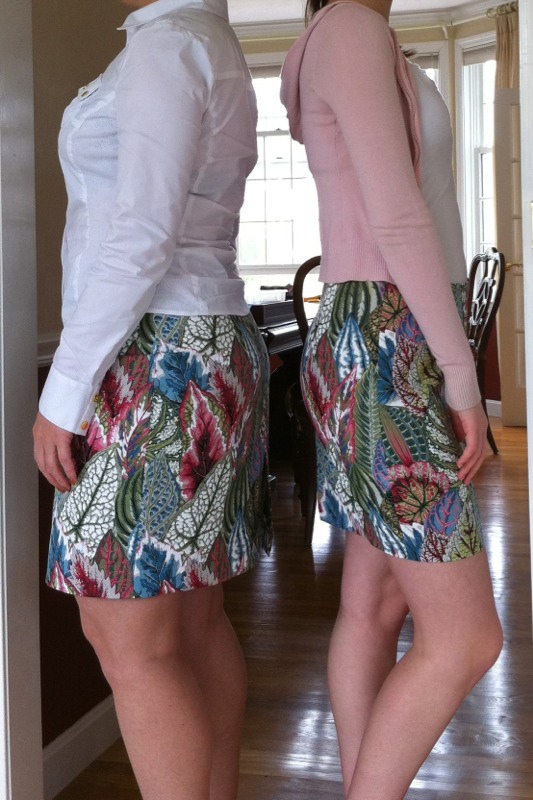
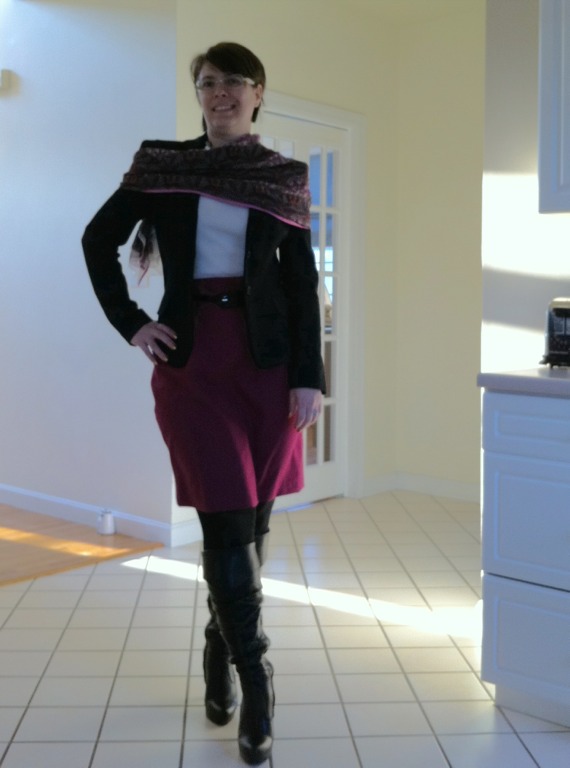
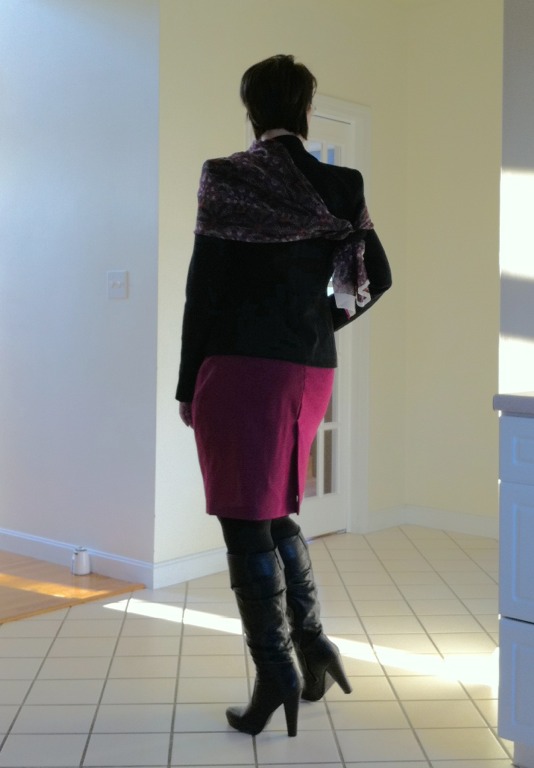
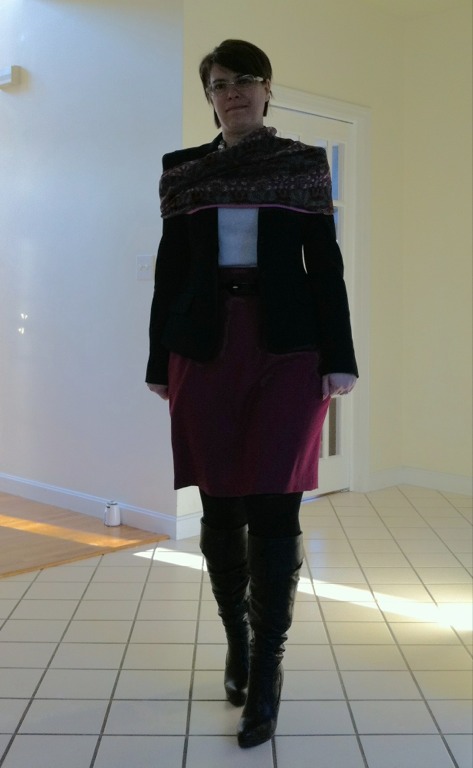
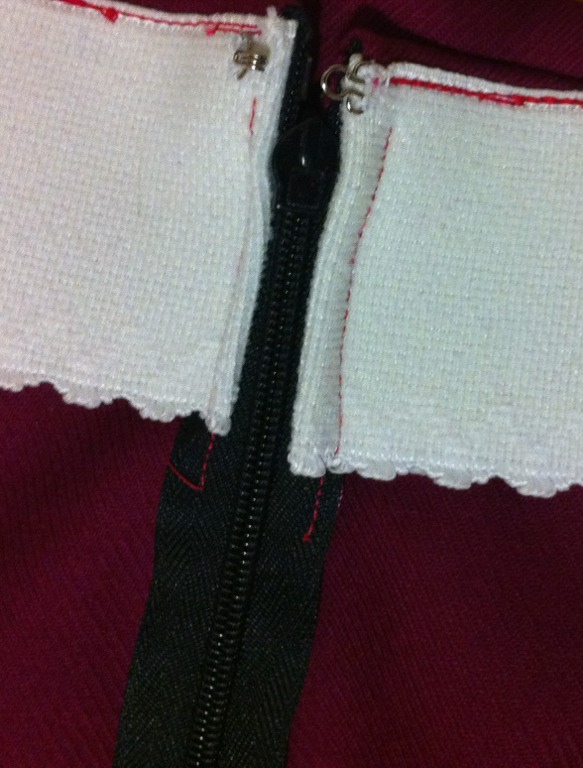
I interrupted my jacket project to make a little skirt for spring. My daughter loved it and said she wished she had one just like it. So I made one for her with the left over fabric. My first Mommy and Me sewing!

In other news, I have been busy learning fashion design! I have been working with some expensive Adobe software learning how to draw fashion flats and illustrations. I have been learning about flat pattern drafting and dart manipulation as well as pattern grading. All of this learning is fueling my passion for sewing in a way that has my head buzzing with a menagerie of creative ideas. When I figure out how to put it all together, I will have more to share.

Drafting the Zippered Jacket Pattern

Thanks to all who helped me choose which jacket to sew next. I started work on the zippered jacket this weekend. I decided to create my own pattern. First, I had to think about the fabric and the fit to determine what to do with the bust darts. The tweed is a loose weave with horizontal stripes of color and sequins, so I wanted a simple design. I like something with waist definition, so I decided on waist darts for shaping. I have a jacket pattern which fits me very well, but it has princess seams, so I needed to do some pattern manipulation.
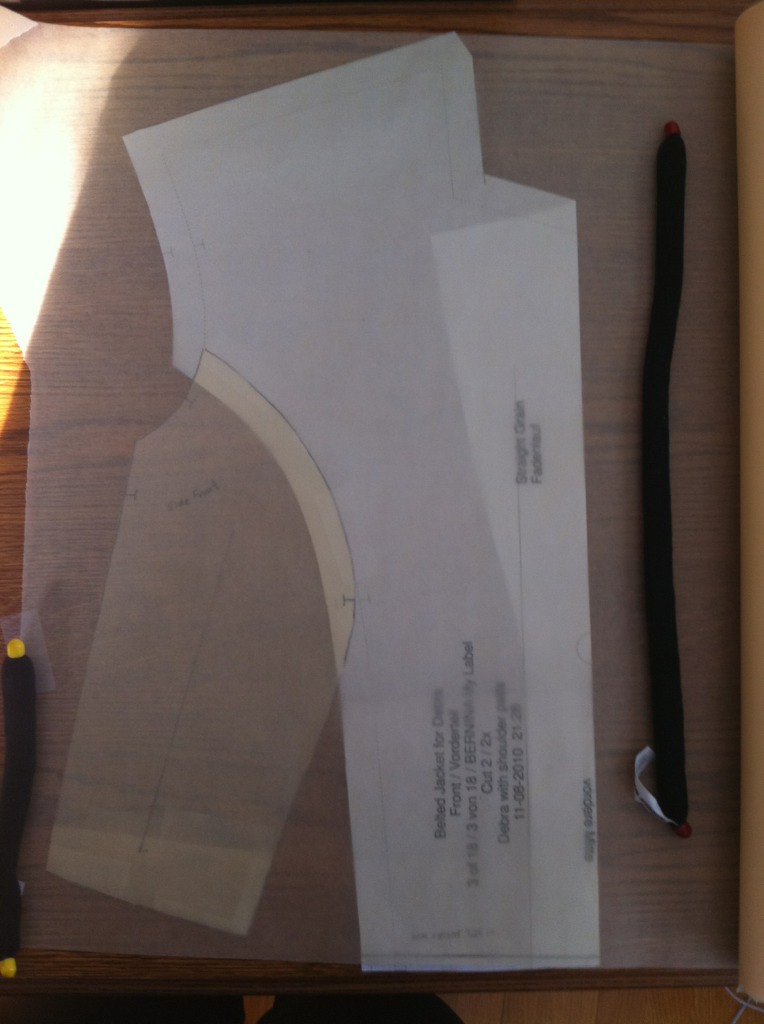
I began with the BML belted jacket pattern which I used for this jacket. I cropped the pattern at the waist and taped the side front to the front along the upper part of the princess seam. Then I covered the pieces with tracing paper.
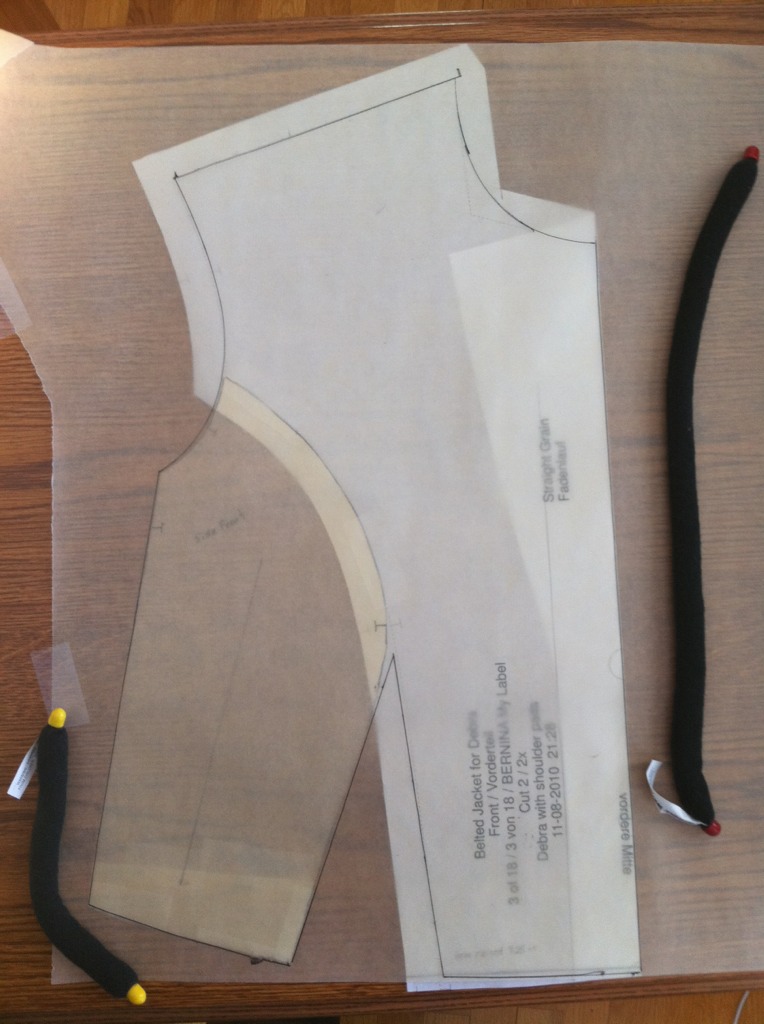
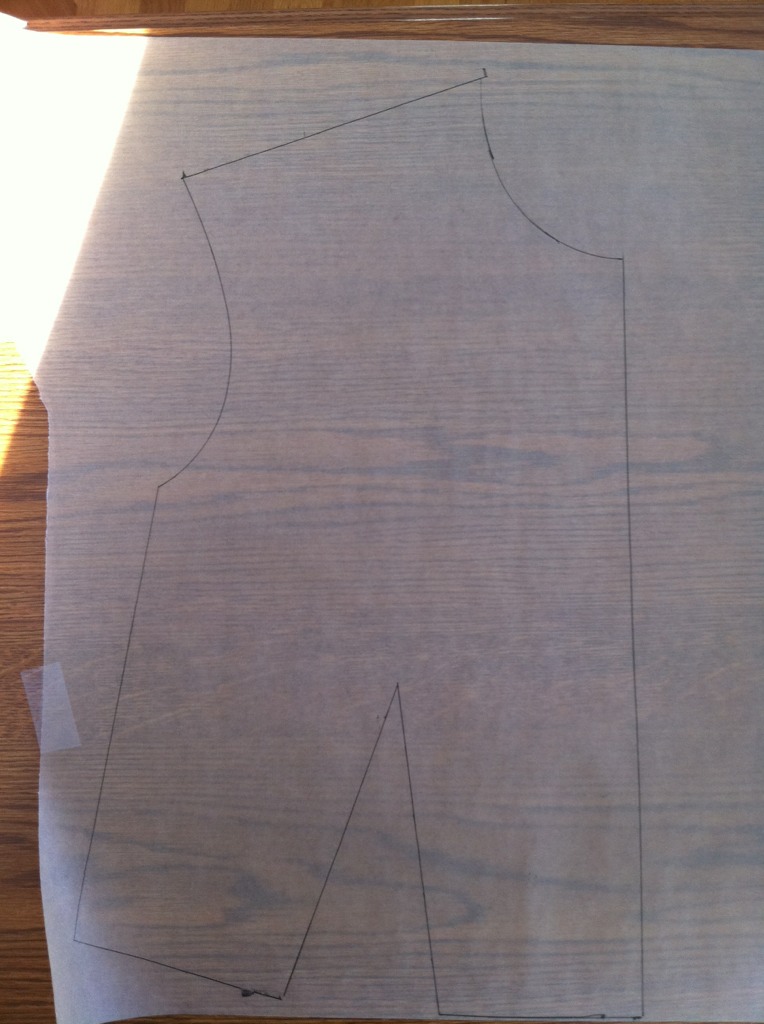
I traced the two pieces as one, converting the princess seam to a waist dart. I also redrew the neckline, using my french curve. For this pattern, I omitted the seam allowances. I find it easier to work with patterns when there are no seam allowances. I will add the seam allowances when I cut the fabric.
Here is what the half front looks like.
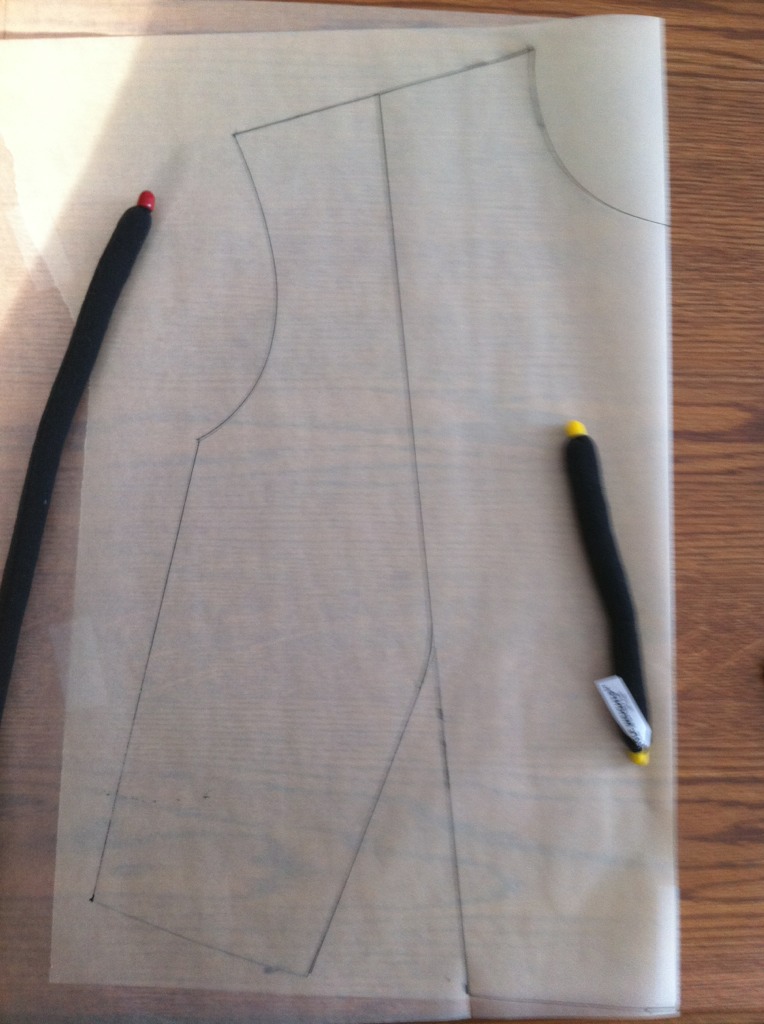
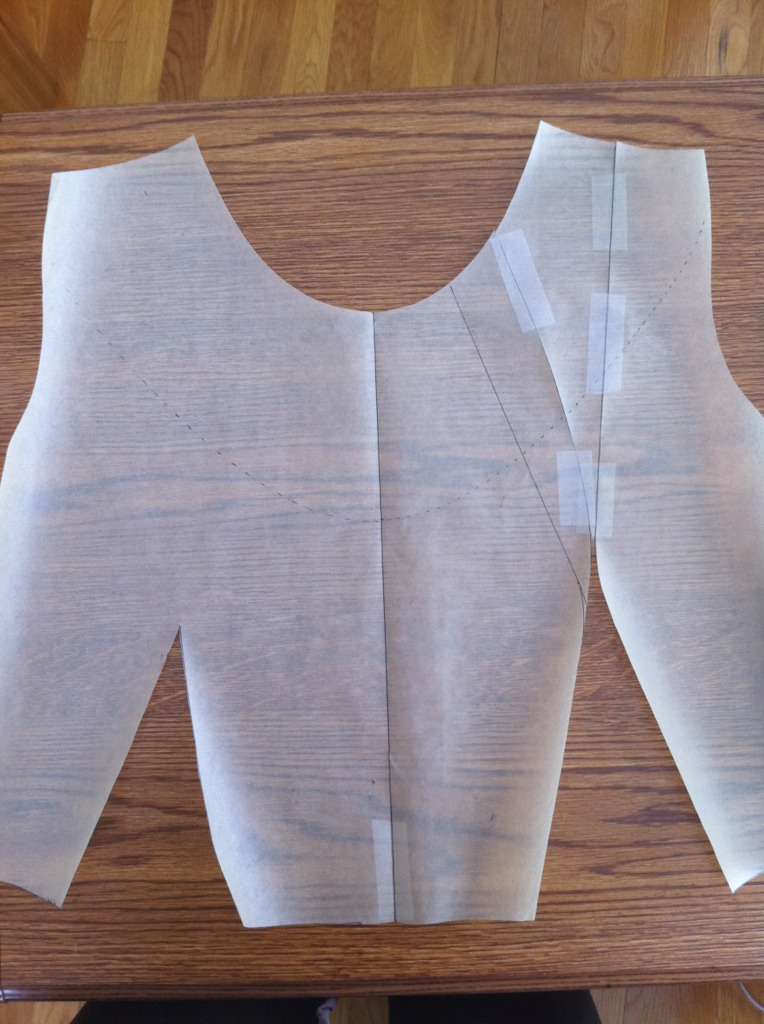
The jacket will have an asymmetrical front closure, so I will need to start with a full front pattern piece which I will later cut in two to make a left and a right side. Here I have folded the tracing paper along the center front line and traced the rest of the jacket front onto the folded tracing paper. I divided it by extending one of the dart legs up to the shoulder seam. (I later changed this when I determined where I wanted my neck opening.)
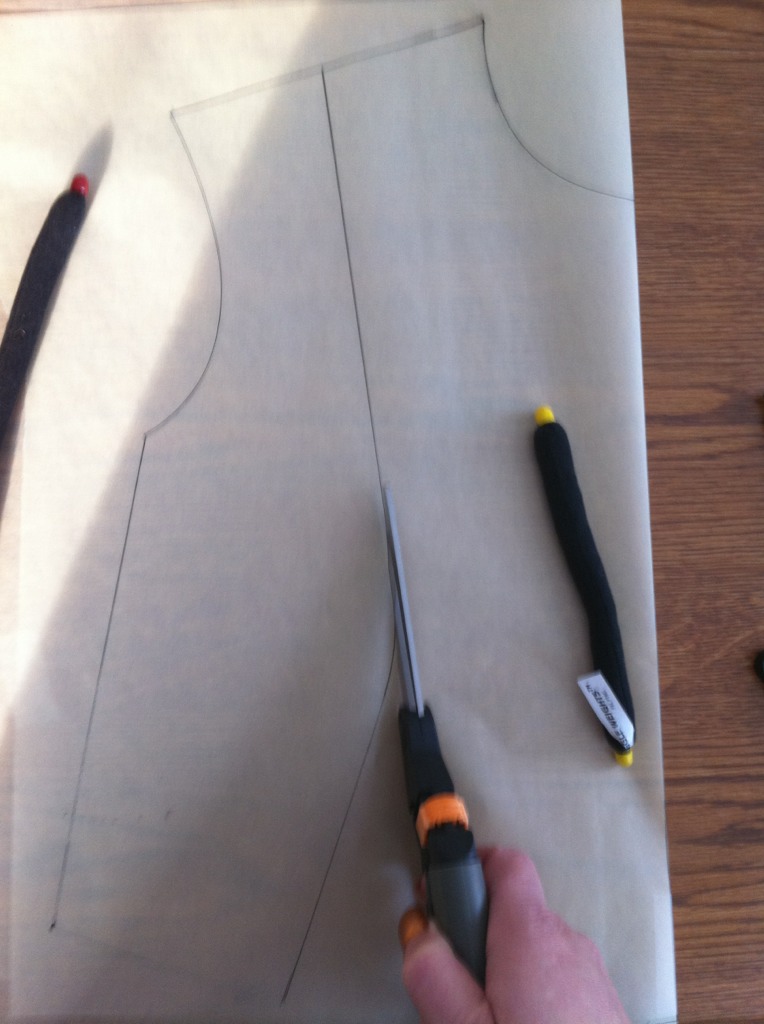
Next, I cut the new pattern pieces out, cutting the left and right apart along the dart leg and its extension.
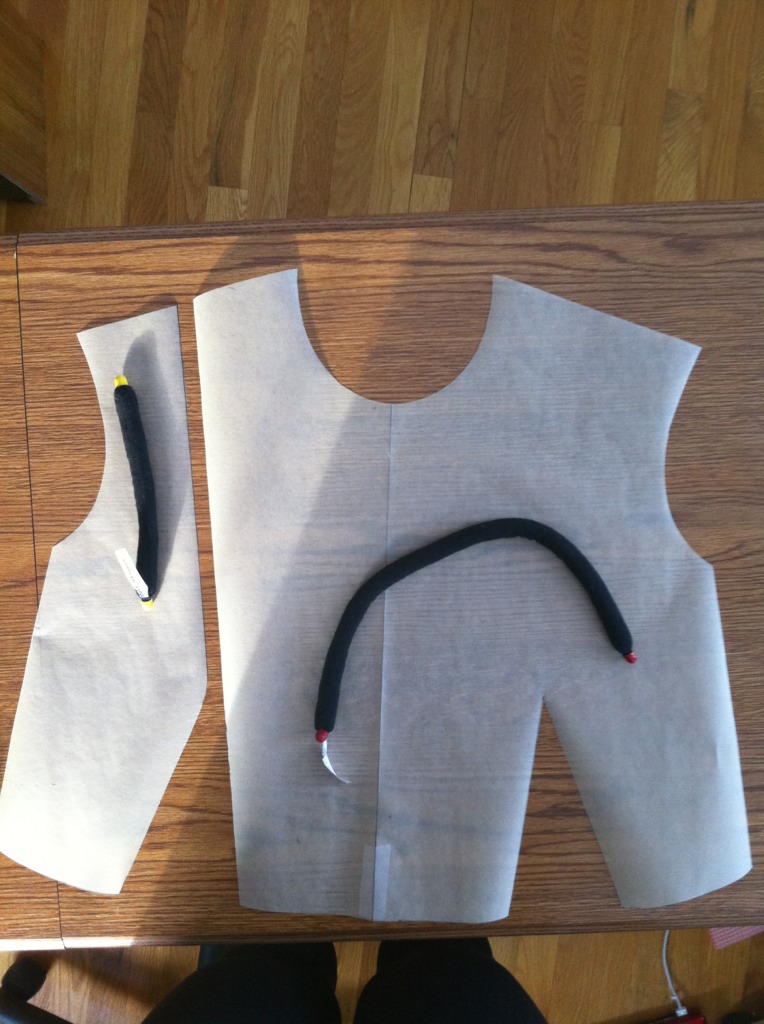
Here are the two pieces. When I wear the jacket, I would like the zipper to appear to anyone who sees it to go from the top left toward the bottom right. I find that diagonal line to be more appealing than one which goes from top right toward bottom left. That means that from the wearer's point of reference, the zipper will be on the right hand side. Therefore, the larger front piece will be the FRONT LEFT. I always find this confusing and even though I may mark a pattern, I never trust it and I will always double check as I cut. I have learned not to bother marking the pieces. (Does anyone else do this? - second guess yourself to death?? I can't tell you how many pattern pieces I have with markings that are crossed out, changed, crossed out yet again, and changed back to the original markings. I drive myself crazy.)
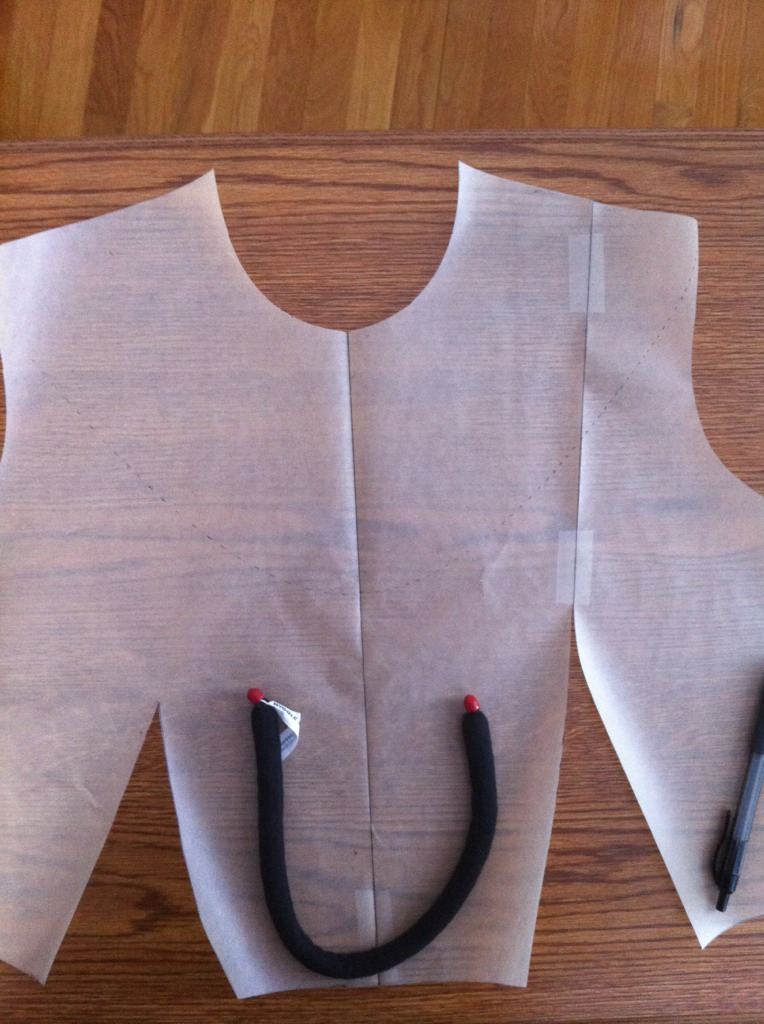
Here is where I decided on the neckline and the collar. I went back and forth in my mind over having a wider neckline as in my drawing, or a smaller one. I opted for the smaller one with more coverage as I am always cold, and it will look nicer when layered. I drew a dotted line to indicate where the edge of the collar will fall. At this point, I noticed the front opening will not intersect the neckline. That needs to be fixed.
Here, I taped the fronts together and redrew the opening. I am not convinced I like it as much as my original idea with the wider neckline. Also, that diagonal line I had in my mind for the zipper is not going to work out. I think I need to let this marinate a little before I cut any fabric... I may redo it and go with my original sketch.
Adding Color to my Wardrobe

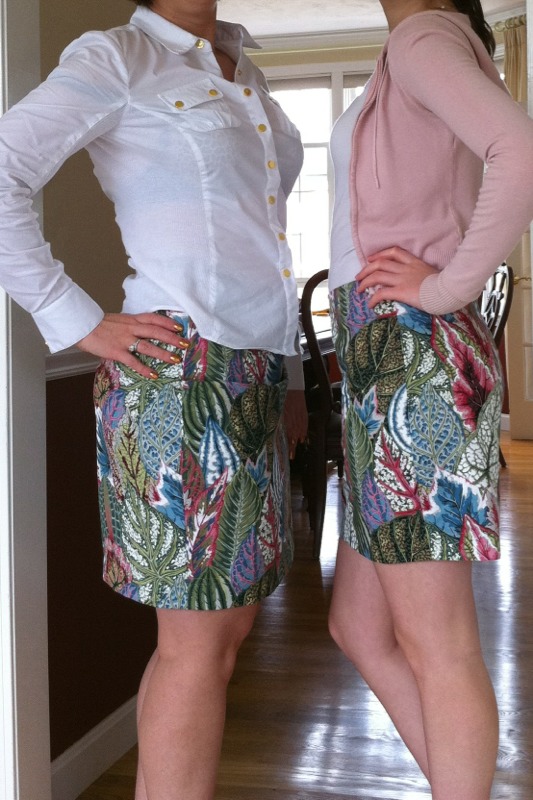
I normally do not wear this many colors together. My inclination would be to wear a black jacket instead of the blue cardigan, but I am trying to add more color to my wardrobe. I just love the raspberry wool fabric I used for this skirt. The pattern is the Bernina My Label basic skirt. The top is Cache - just got it this weekend. The cardigan is Ann Taylor 2009.
I am so ready for spring. I bought sandals and a yellow bag this weekend as well. I am rethinking my sewing queue. I want to have more color and pattern. Do you think the design lines need to be simpler as the color and pattern get bolder? I am trying to wrap my brain around a more contemporary style.

Bernina My Label Princess Dress - Another Wearable Muslin!

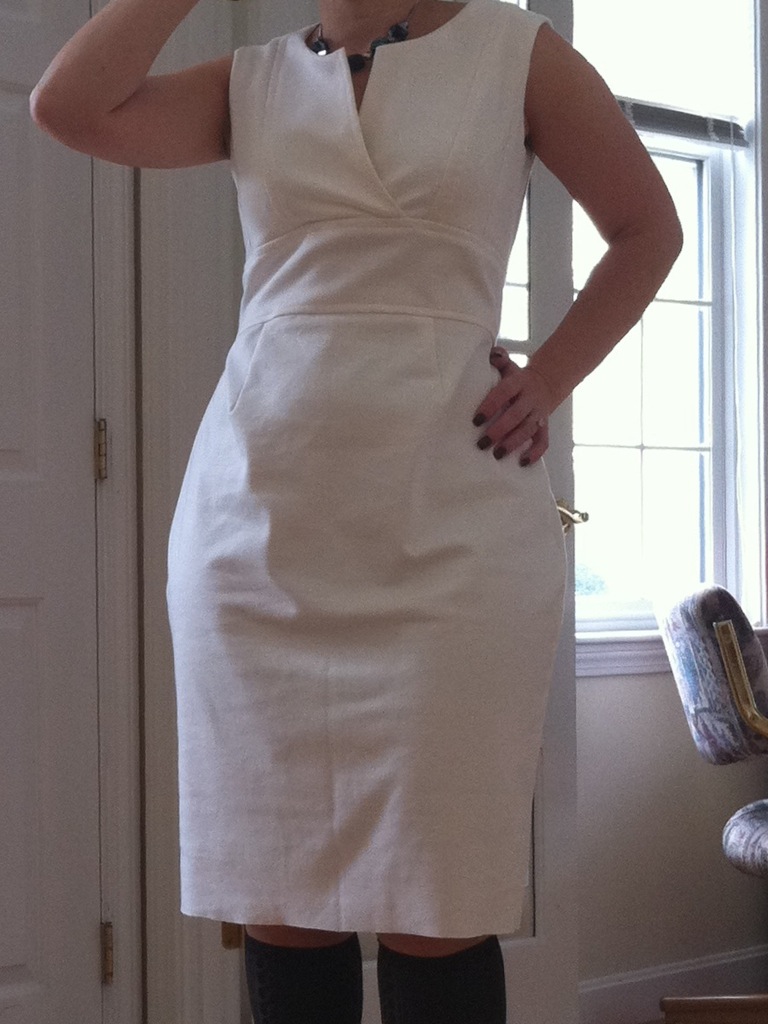
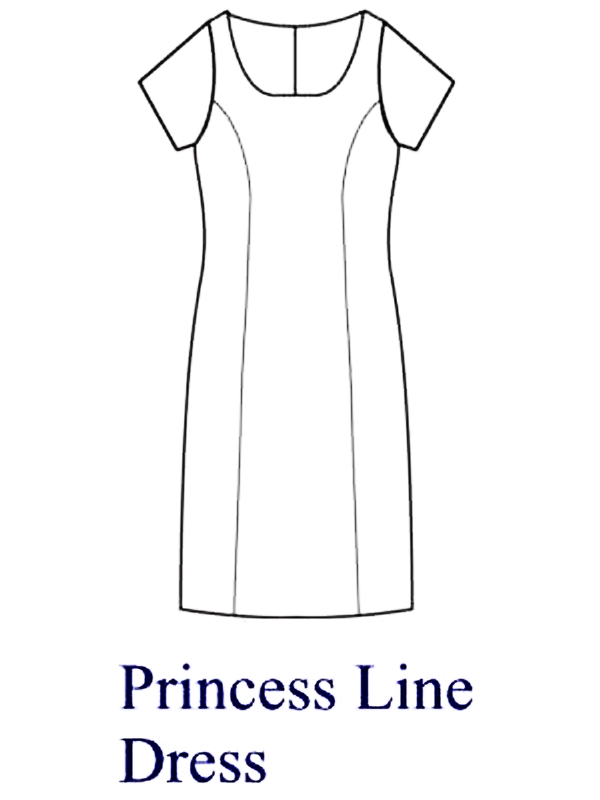
Look at this fantastic fit! I am blown away!! This is a mock up of the Bernina My Label Princess Dress without sleeves. Another wearable muslin. Since I started using this program six months ago, the only garments I have made that I do not wear are the two qualification muslins I made - because I used actual muslin and marked the waistline. I wasn't sure about this one - the princess dress - since it is so fitted. I didn't want to take any chances so I used this rayon print from my stash to test the fit before cutting into the cashmere I want to use. I widened the hem circumference. The pattern is for a pegged dress, but I made it straight so I can redraft the side seams to my liking. I made two changes to the style measurements. I increased the hip to equal my hip at crotch measurement because that is my largest hip measurement. I also increased the waist to hip measurement and made it equal to my waist to crotch measurement. I did not increase the hem circumference with the software. I did that when I cut the pieces by changing the side seams so they were parallel to the grainline from the widest part of the hip (at crotch level) down to the hem. My original plan was to pin a nice slightly pegged side seam and measure it with a French curve. Then I could make a side seam template for future use. But I decided not to bother since I will probably want to customize the side seams on a garment by garment basis. And I think I prefer more of an A line on my body anyhow, so it wouldn't be necessary to make a template. Here is the back. What do you think? More of an A line???

Some Things Just Need A Little Time...

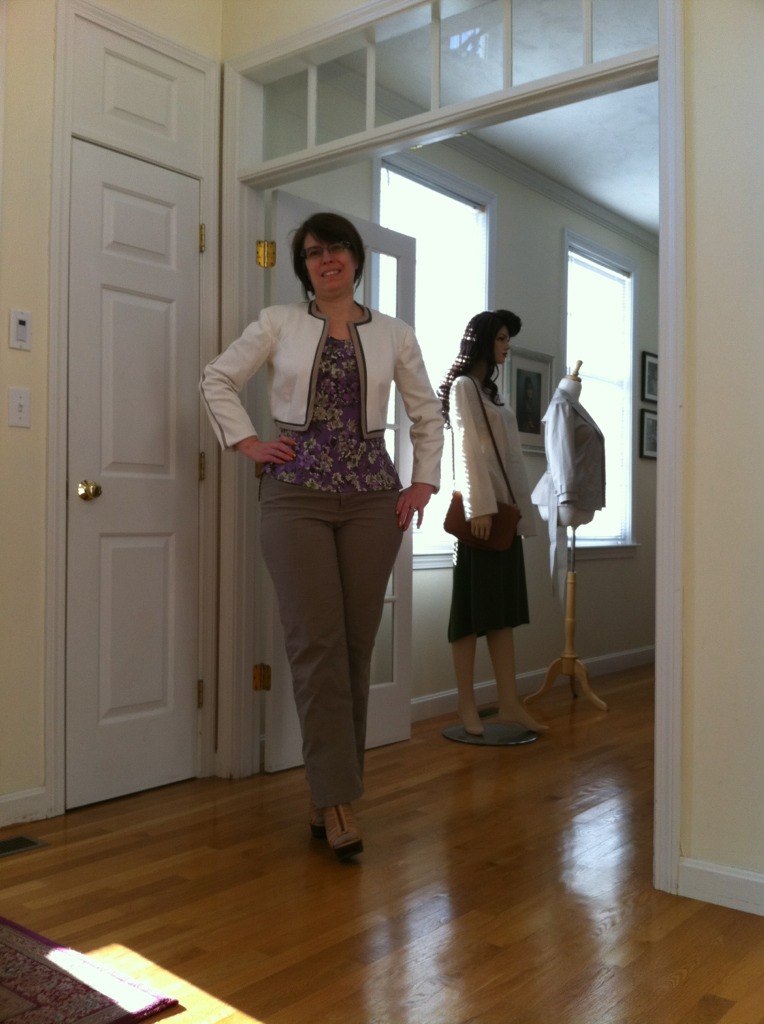
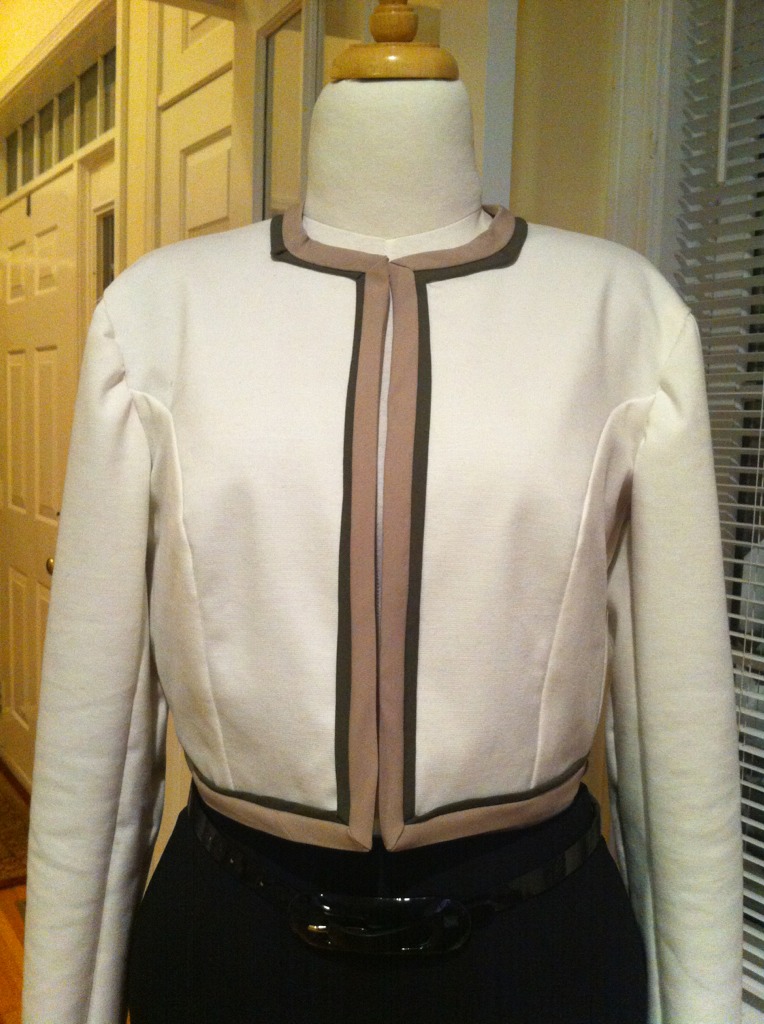
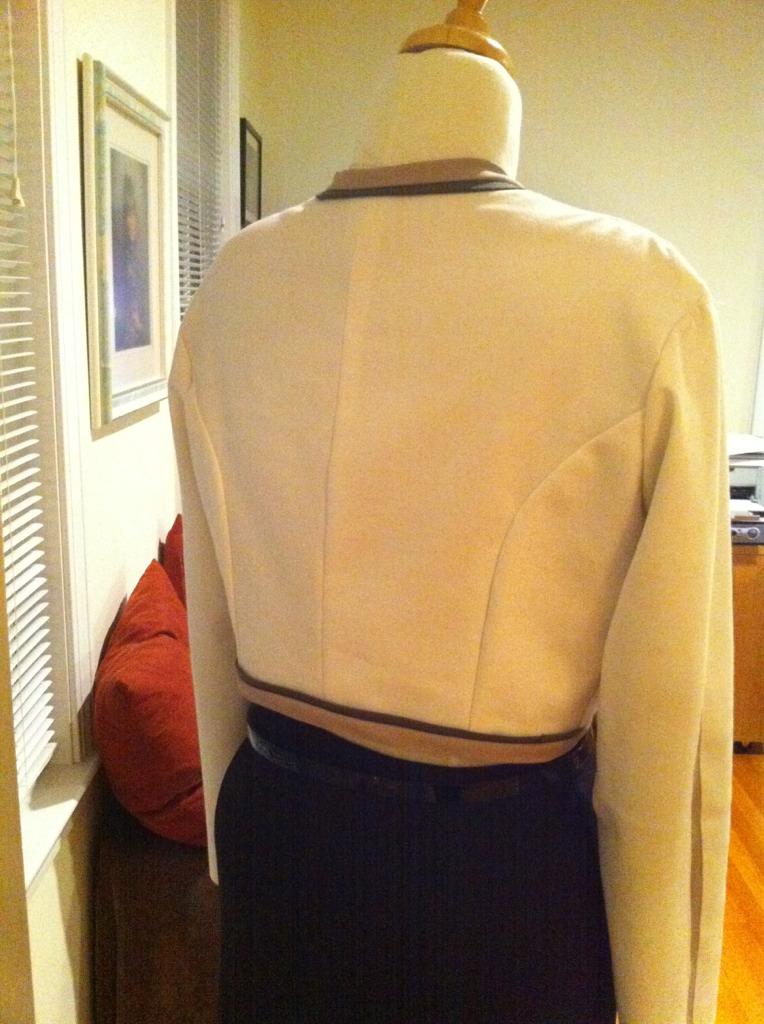
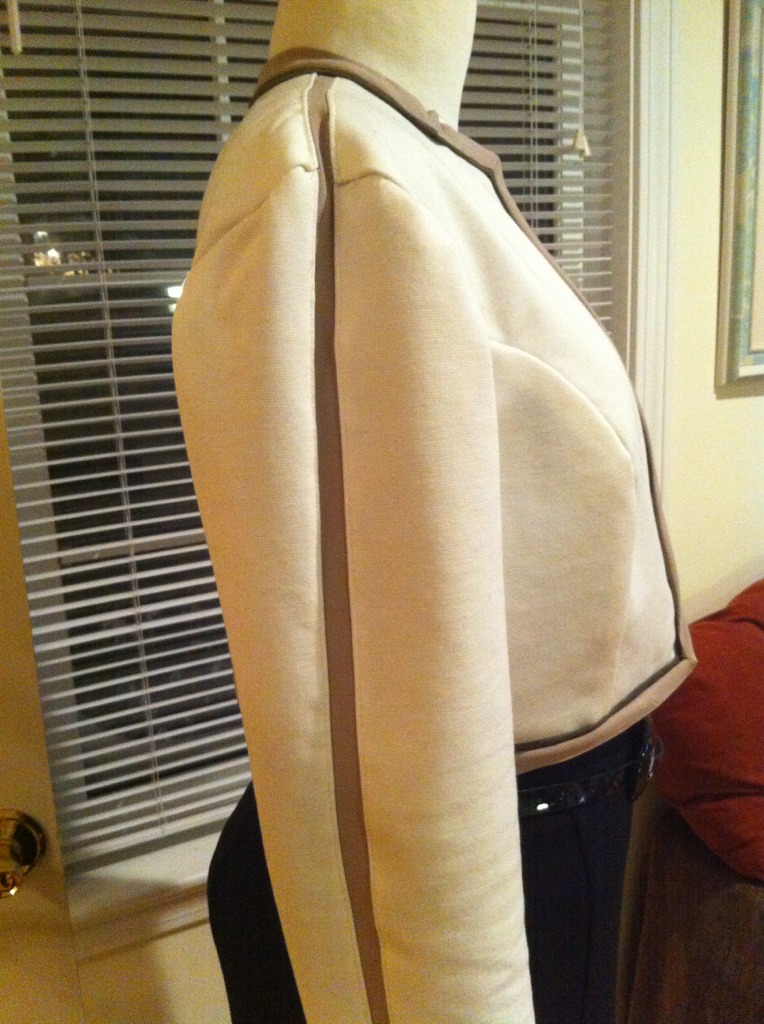
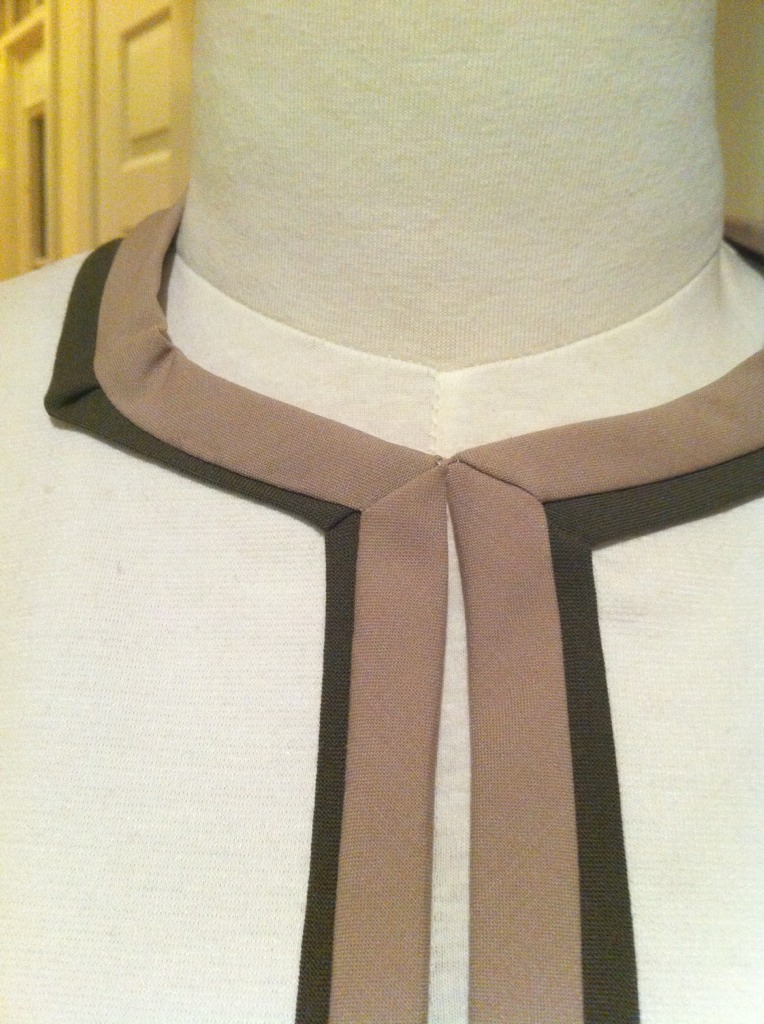
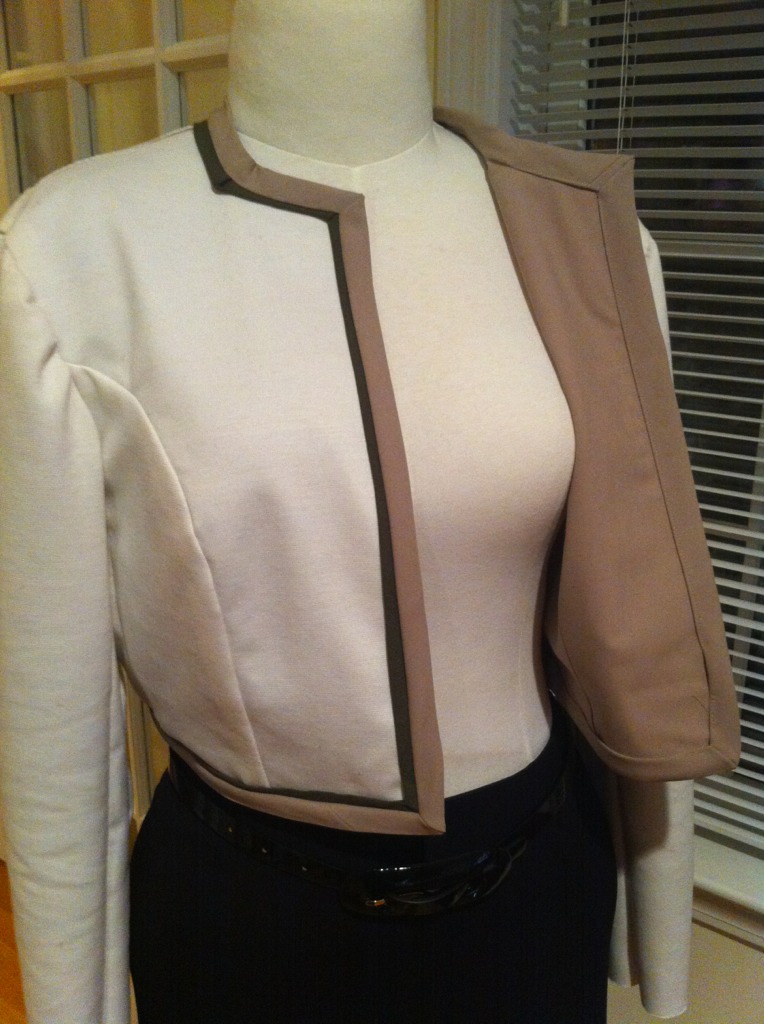
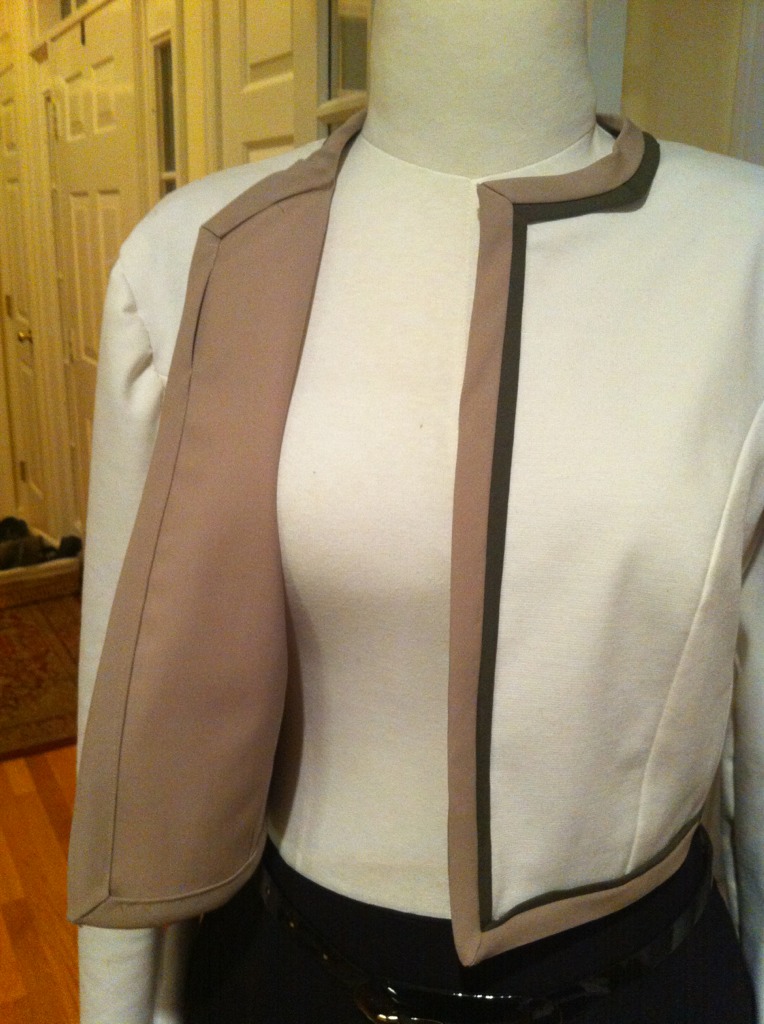
Although I wish this jacket had turned out nicer, I guess it isn't so bad afterall. I like the way the fabrics coordinate with the silk shell I made to go with it. Both items were made with redesigned BML patterns. I have a pair of pants made from the same fabric I used for the olive colored piping and I am in the process of making a pair of pants from the same fabric I used for the binding, so I will have lots of options to make outfits with this jacket. I am in the process of rearranging my sewing room, and my dining room is now a disaster, but in time, it will also be better.

Bernina My Label Basic Skirt

I did a little sewing over the weekend. In an effort to keep my sewing enjoyable, I made a decision to include some simple projects in my sewing queue. I made this skirt in record time - for me anyway. I could not be happier with it! The fabric is a gorgeous raspberry wool from my stash which I have been afraid to cut until recently. With all the success I have had with Bernina My Label, I finally have the confidence to work with some of the better fabrics I have collected. The only change I made to the pattern was to lengthen the skirt an inch and a half. It is described as a 22 inch knee length basic skirt, but the finished length is not based on the model's waist to knee measurement. It is 22 inches no matter what the model measures. I also added an extra inch of wearing ease from the hip down to the hem. I used one inch side seam allowances and basted the skirt together at the drafted seamlines and the fit was perfect, but I wanted a little extra room, so I stitched the side seams a quarter inch out from the basting, tapering to nothing from the waist to the hip.
For the facing, I used a really nice knit elastic which I bought from JoAnn's a few years ago. This stuff is absolutely perfect for any fabric like medium weight wool or Sophia knit. When you see it, buy the whole roll. It is gold! It gives a nice, professional finish and looks and feels great when worn. I did not line the skirt. I finished the seam allowances with hug snug rayon using a binder attachment foot. I have to say I love this finishing technique. It doesn't add bulk and it looks pretty. For the finish on the kick pleat, I used the selvage. I just cut the pattern pieces so that the edge of the kick pleat was on the selvage. My plan is working. This skirt was easy to make. The wool fabric sews like a dream. The finishing techniques weren't complicated or difficult. And most important, the pattern really fits me! I think I will continue to include quick and easy projects in my sewing plans. Happy Sewing All!!

I Hate It

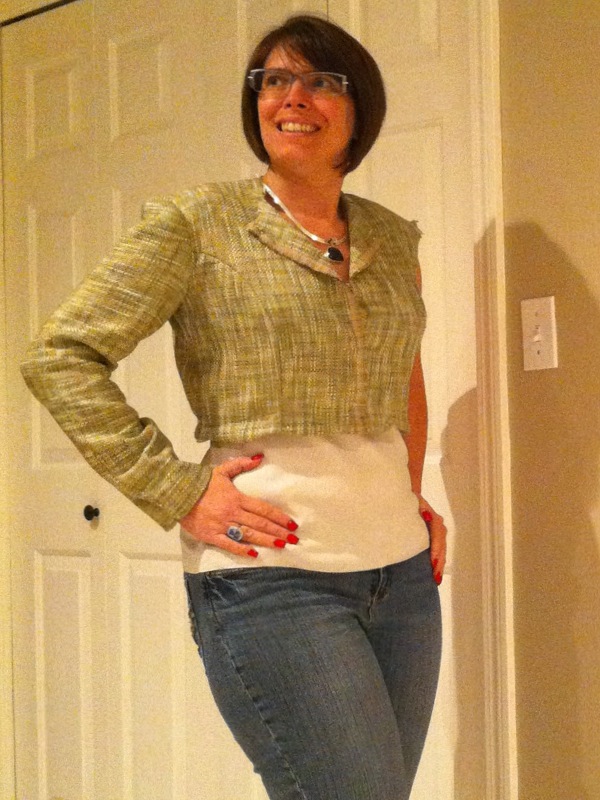
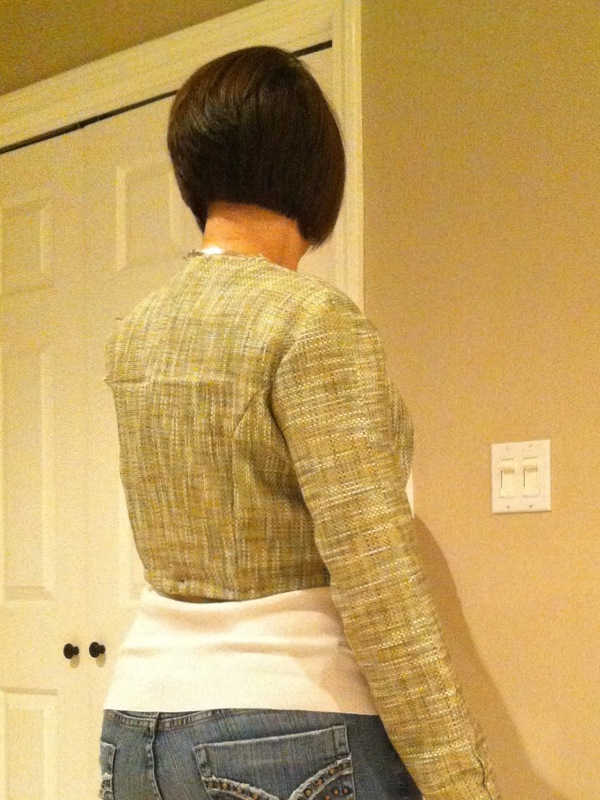
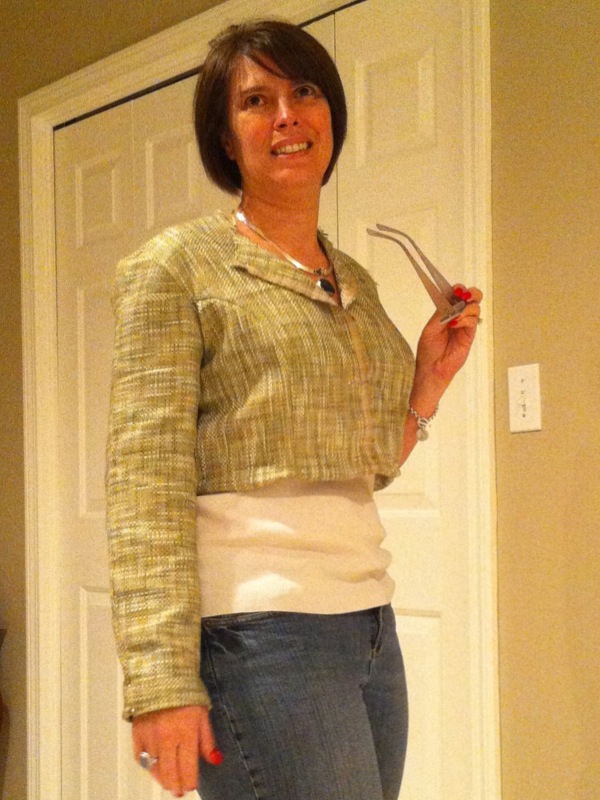
My little cropped jacket has been a learning experience. I started by redesigning one of my Bernina My Label patterns. I experimented with drafting a three piece sleeve from a two piece sleeve. Then I stitched a muslin and finally this jacket. There are several things I will do better next time. I will still wear it, but not as proudly as I had hoped. I enjoyed sewing it. The fabrics are all stretch fabrics and my Pfaff IDT really came in handy. I have been sewing with my Pfaff Creative Vision for a year and a half and I have not used the embroidery arm yet. I am really looking forward to incorporating machine embroidery in my future creations. I'm a bit disappointed, but it's late and tomorrow I'll feel better I am sure. I really wanted this jacket to be perfect...
V1183 - the back

Vogue - V1183
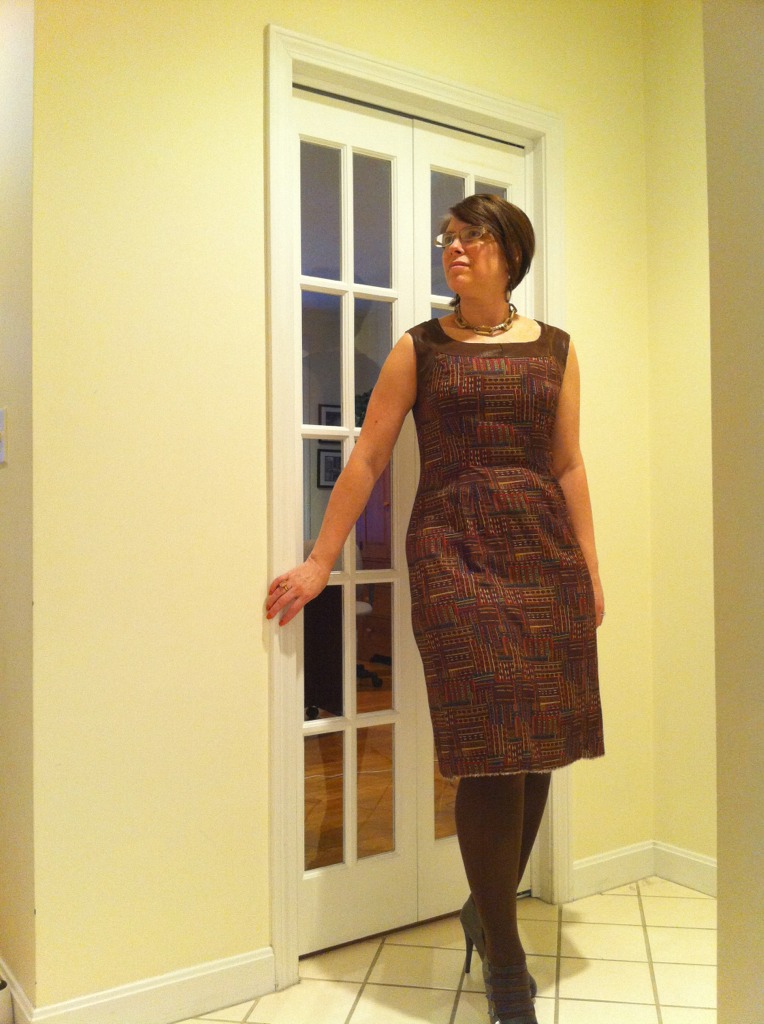
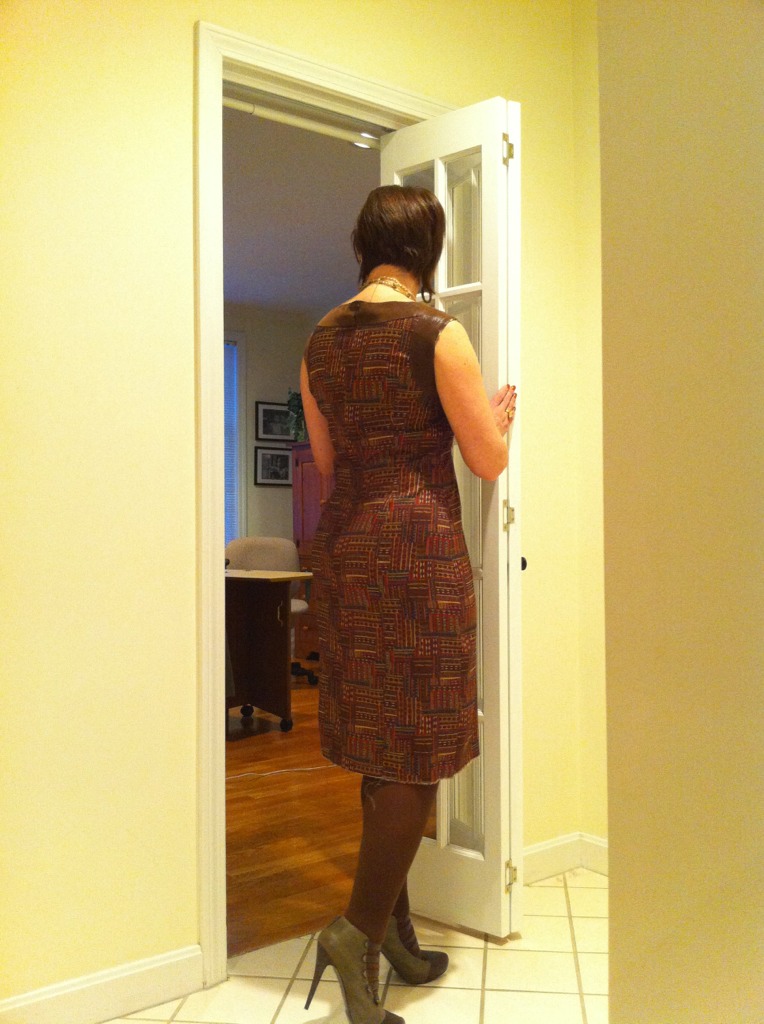
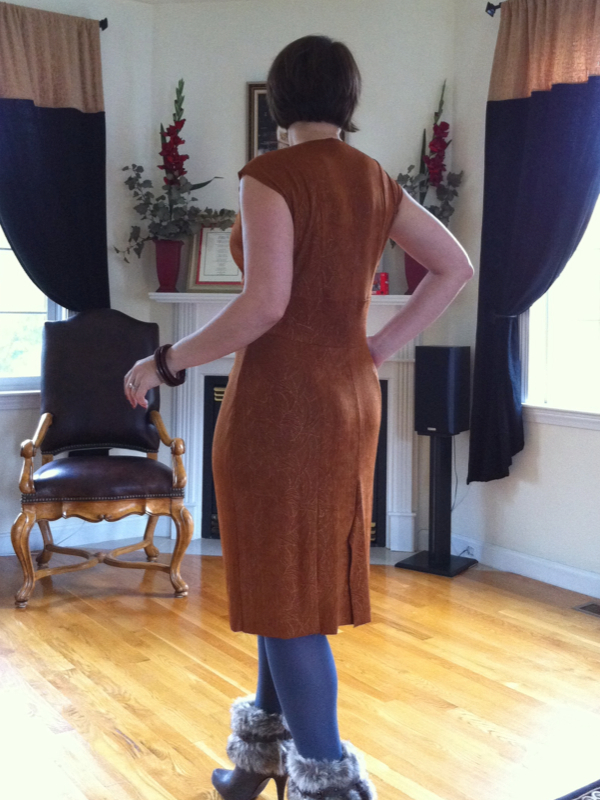
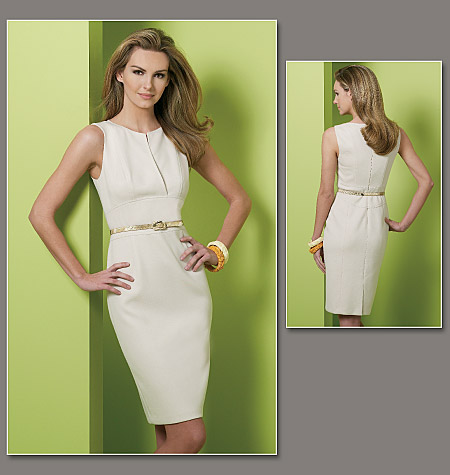
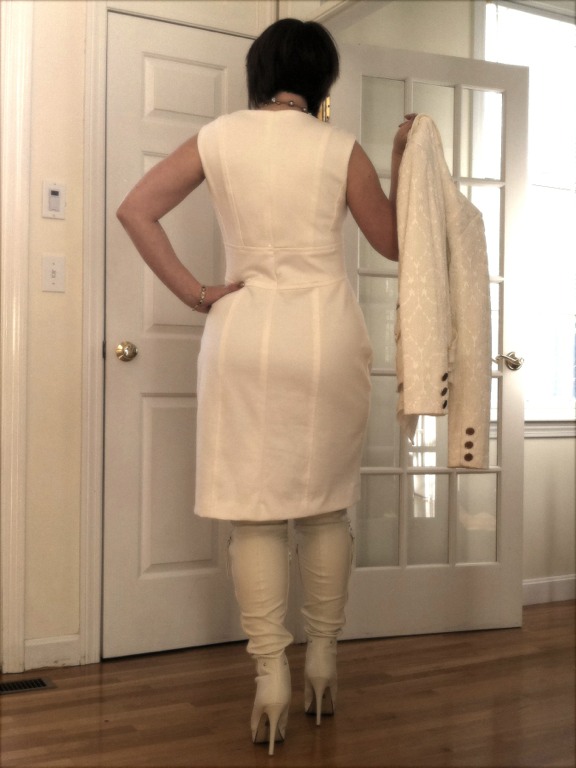
Here is a picture of the back of the Kay Unger dress I finished recently. I love the fit of this dress.  My husband took this picture before we left for work this morning.  I am still working on a cropped jacket to layer over the top.   The fabric is a delight to work with.  I do not usually sew with knit fabrics, but I am quickly learning to love sewing knits!  I can't wait to show you the little jacket!  Soon.....

Vogue V1183


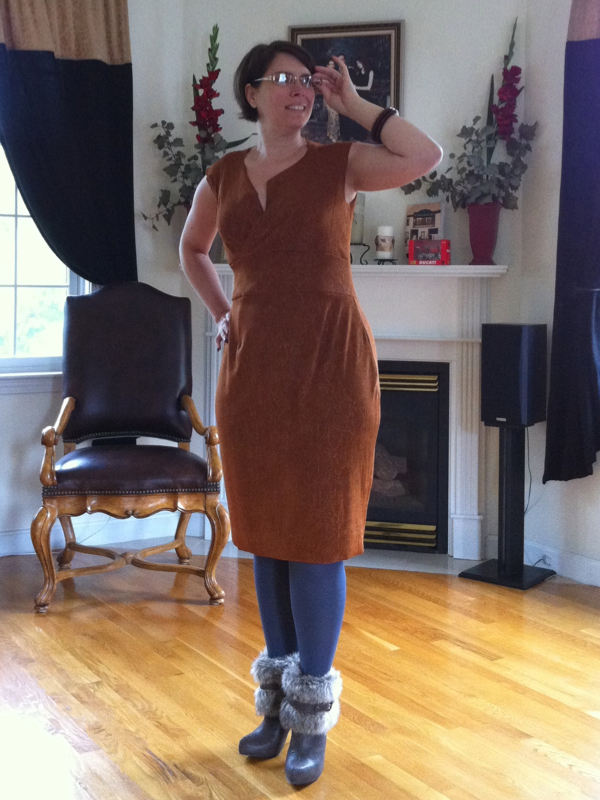
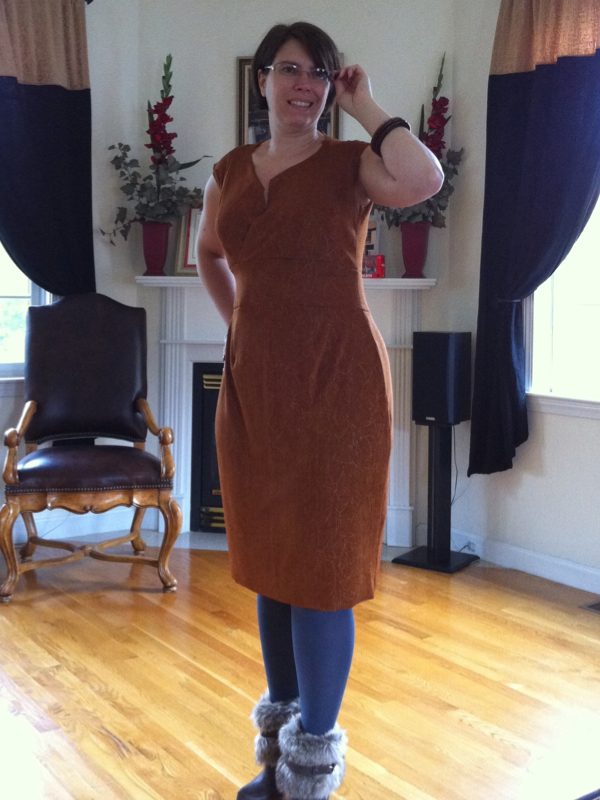
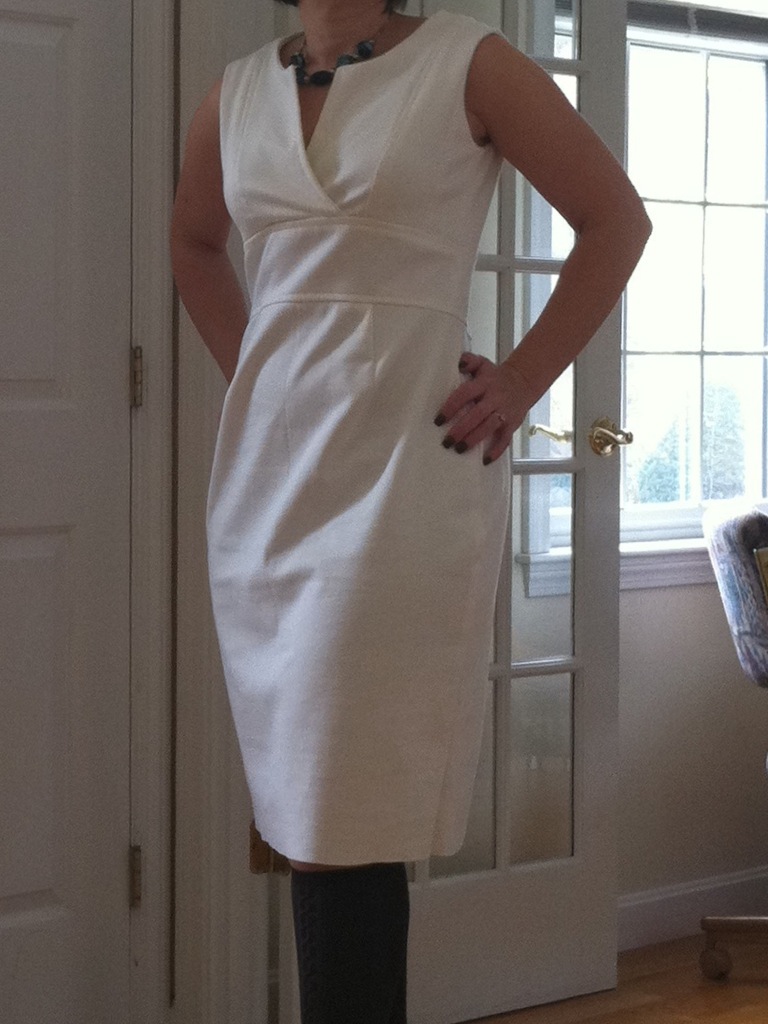
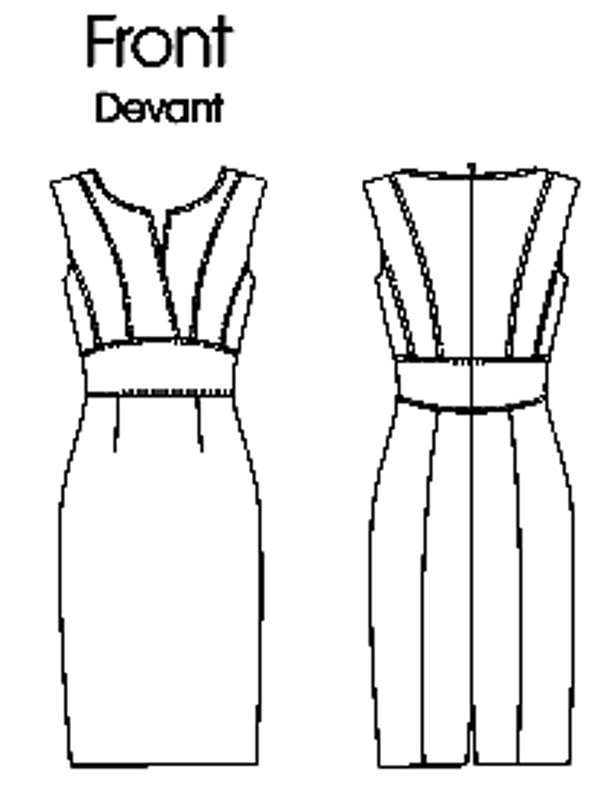
I went on sewcation last weekend! I made Vogue pattern V1183 designed by Kay Unger. I used my Bernina My Label princess dress pattern to help me fit a mock-up. I did a post about it here. My dress is not quite finished, but I am wearing it anyway.
I still want to custom fit the skirt. I think the darts are unnecessary, but it's too late to take them out, so, I will lengthen them instead. Also, the hip curve needs tweaking. I did not use the Bernina pattern to fit this portion of the dress. I only used it to make sure I would have enough fabric to cover my body. I think the hip curve on a fitted garment needs to be custom fit for each garment. I may decide to use my French curve to record my changes, but I am sure each new garment will require its own tweaking to adjust for fabric drape.
Most of my sewcation was spent doing hand work. I used tricot to line the bodice and finish the neckline and armscyes. I used machine stitching to thread mark the lining pieces along the front and back princess seam lines. Then I assembled the lining in three pieces, leaving the princess seams unstitched. I machine sewed the three pieces into the dress right-sides-together along the armscyes and the neckline. I pressed, graded and clipped the seam allowances and turned the three lining pieces to the inside. Next, I understitched the lining in place at the neck and armscyes using hand backstitches to tack the lining to just the seam allowances. Then I slipstitched the tricot lining together on the inside along the princess seams. I did this by folding one side under and butting the fold against the other seamline. The machine stitching made this easy since the fabric wants to fold around those threads. I left the bottom unattached for now. I will finish it with a ribbon and secure it with thread chains to the midriff seam allowances after my final alterations.
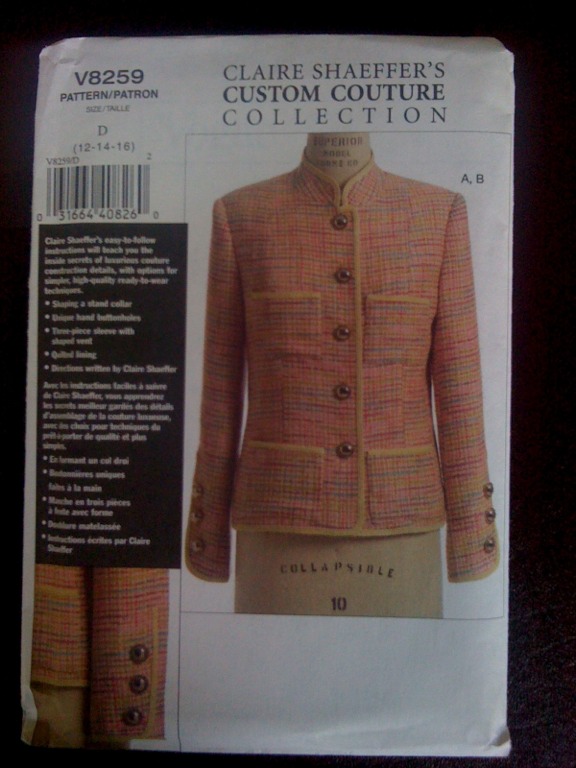
Next up is a matching jacket! I have done the mock up already. You can read about it here. I decided to use two fabrics for the trim, both of which I will have pants made from. One is a sand colored Italian tropical wool, and the other is the olive colored wool fabric used for these pants. I cut bias strips of the olive wool to use as flat piping, and I cut wider strips of the tropical wool to use as binding. I have already sewn the overarm seam on the sleeves. I inserted strips of the tropical wool in the seam. I am psyched that this jacket will match a dress and two pairs of pants when it is finished. I can't wait to post pictures! I really like what is happening to my sewing now that I have pattern drafting software that is working for me.

ETA (December 07, 2010): Click here for updated picture of the back view after alterations. 

Another BML Success

Here is a wearable mock-up of a Vogue pattern I have been itching to make. I used my Bernina My Label princess line dress pattern to help me fit the pattern. I think the fit is pretty good. The mock-up fabric is a moderate weight knit fabric. I bought a nice ivory knit from Waechter's Fine Fabics a while back. I plan to make this dress with a little Chanel inspired cropped jacket. For the trim on the jacket, I will use an Italian tropical wool that I plan to make pants from. If it comes out really well, I will also make a Linton tweed cropped Chanel inspired jacket. I may even make a second dress and jacket pair from a beautiful black cashmere knit I got from The Fashion Sewing Group last month. Such ambitious plans...
Three Piece Sleeve Mock Up

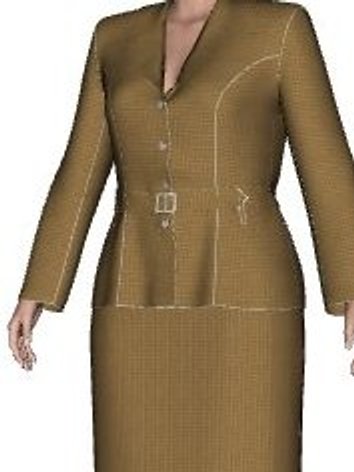
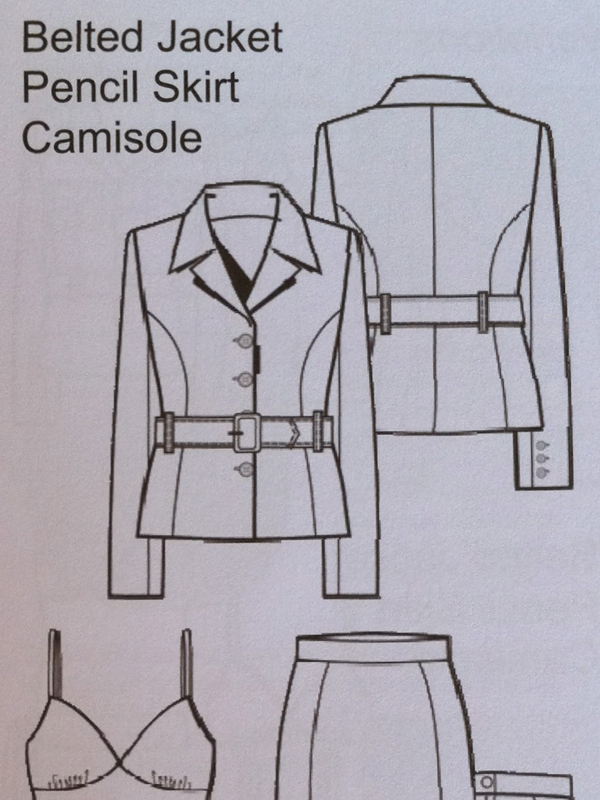
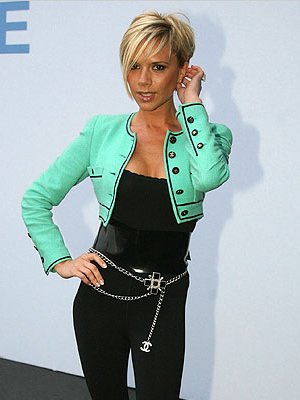
I know I am supposed to put BOTH sleeves in and have a look, but I got so excited after just one, I had to post pictures! Look how nicely it fits!!! If you click to expand the pictures, you will see I have pinned the sleeve vent shut. I can get my hand through the sleeve without opening the vent. I think I am going to make it tighter at the wrist and possibly all the way up to the shoulder. I have other alterations in mind as I morph this Bernina My Label jacket pattern into a cropped Chanel. I'll take pictures as I go and keep you posted. Here is a kind of before and after to whet your appetite.
Drafting a Three Piece Sleeve


I am pretty sure I want to use a 3 piece sleeve for my Chanel jacket, but the problem is I have a custom drafted two piece sleeve and I am not sure how to convert it to three pieces. I searched my pattern stash, and it turns out, I have Vogue 8529 which has a three piece sleeve. I examined the pieces, and the three seam lines appear to go along the outer arm and about an inch to either side of the underarm. Perfect. Now, I just have to make my two piece draft into a three piece draft.

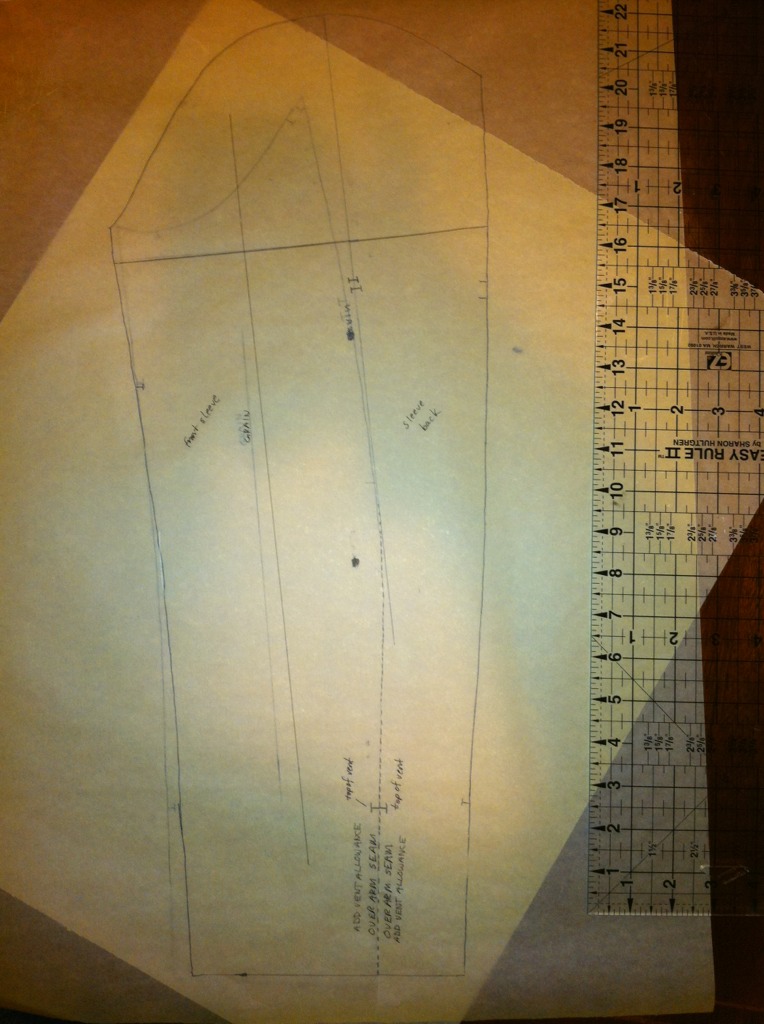
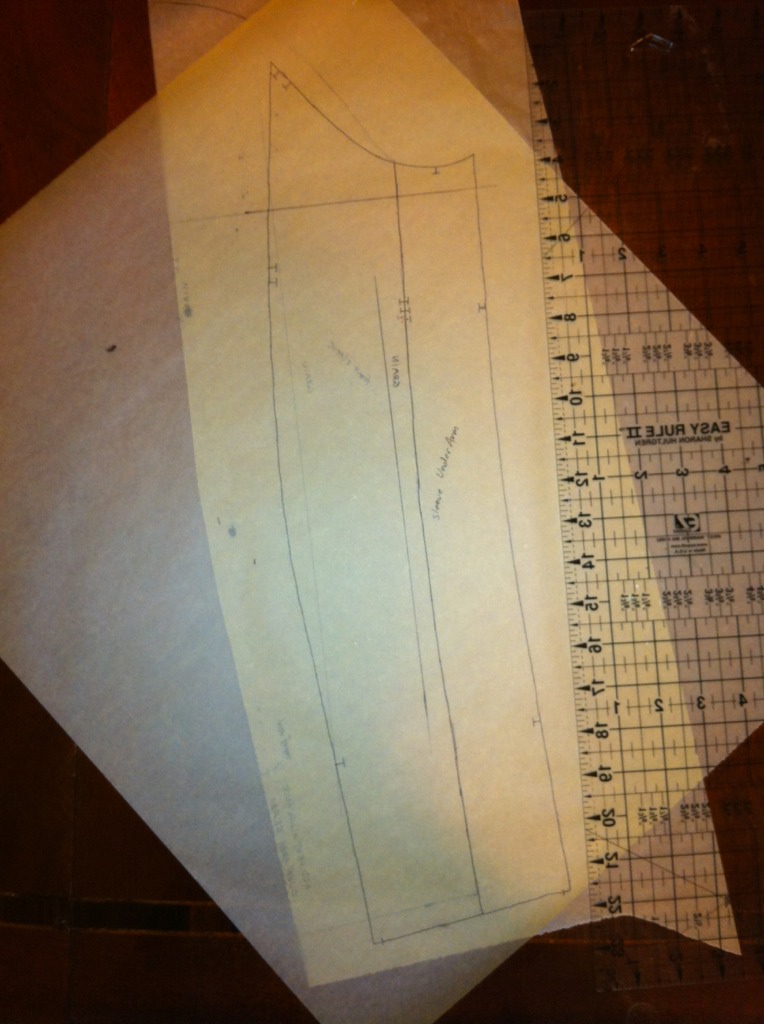
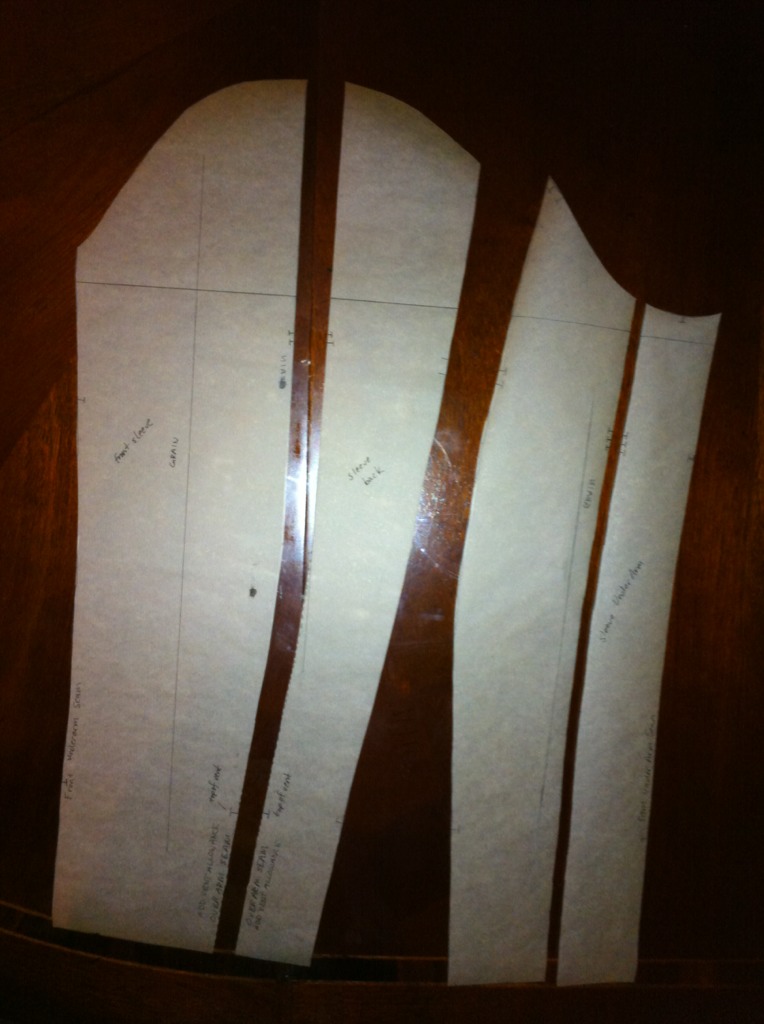
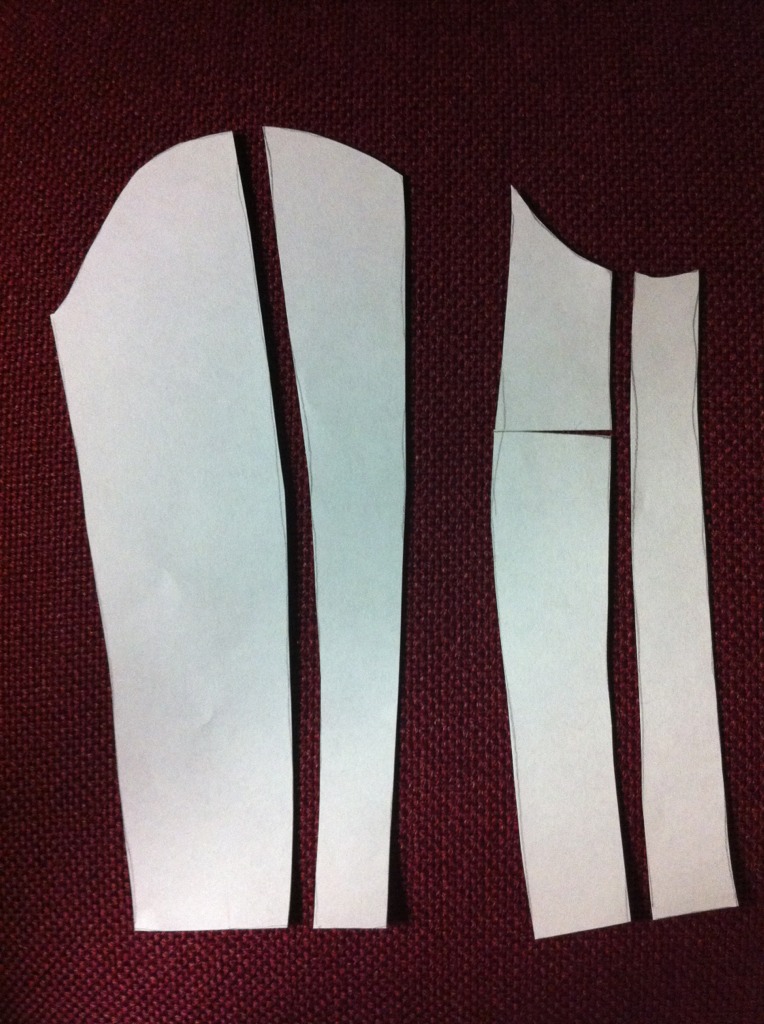
Here is what I did last night. I started with my Bernina My Label jacket sleeve which is a two piece sleeve. I traced it without seam allowances onto tracing paper and marked the grain line. Next, I marked a line perpendicular to the grain line on each piece a little below the curved section at the top of the pieces. I laid the overarm piece on top of the underarm piece wrong sides together and used the angle to help me add a seam line down the outside of the arm.

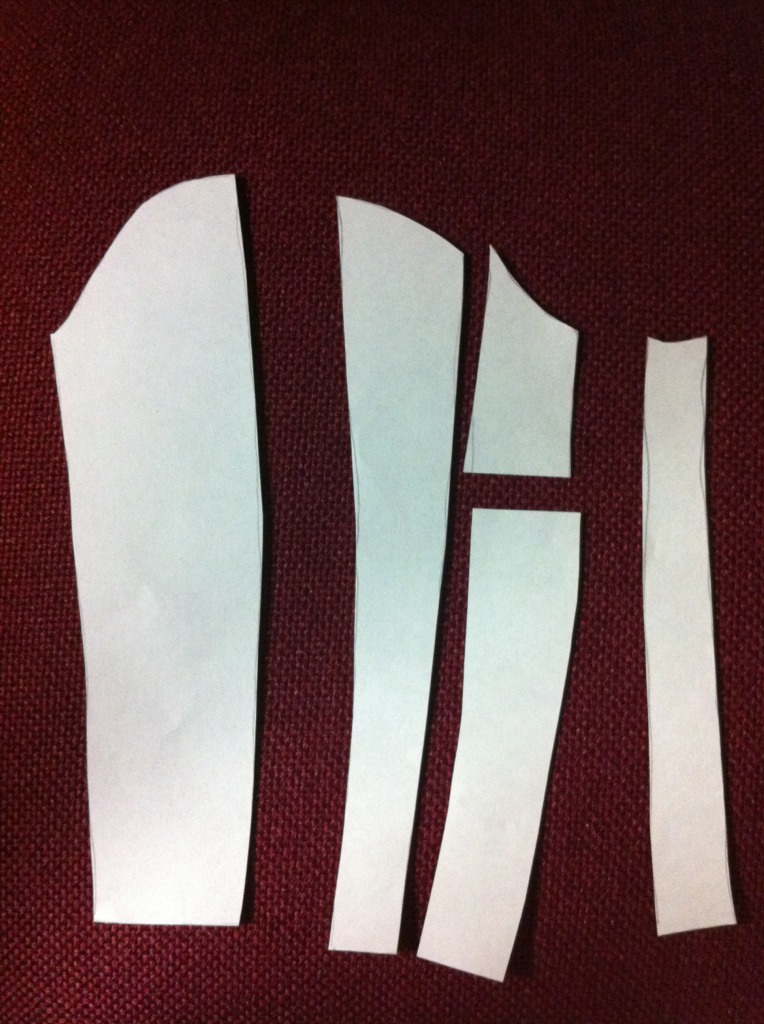
Next, I split the underarm piece so that my new underarm piece is only two inches wide - the same width I will use for my side panels when I alter the jacket side-front and side-back pieces. This left me with four pieces. The next step is to combine the overarm back piece with the underarm back piece.

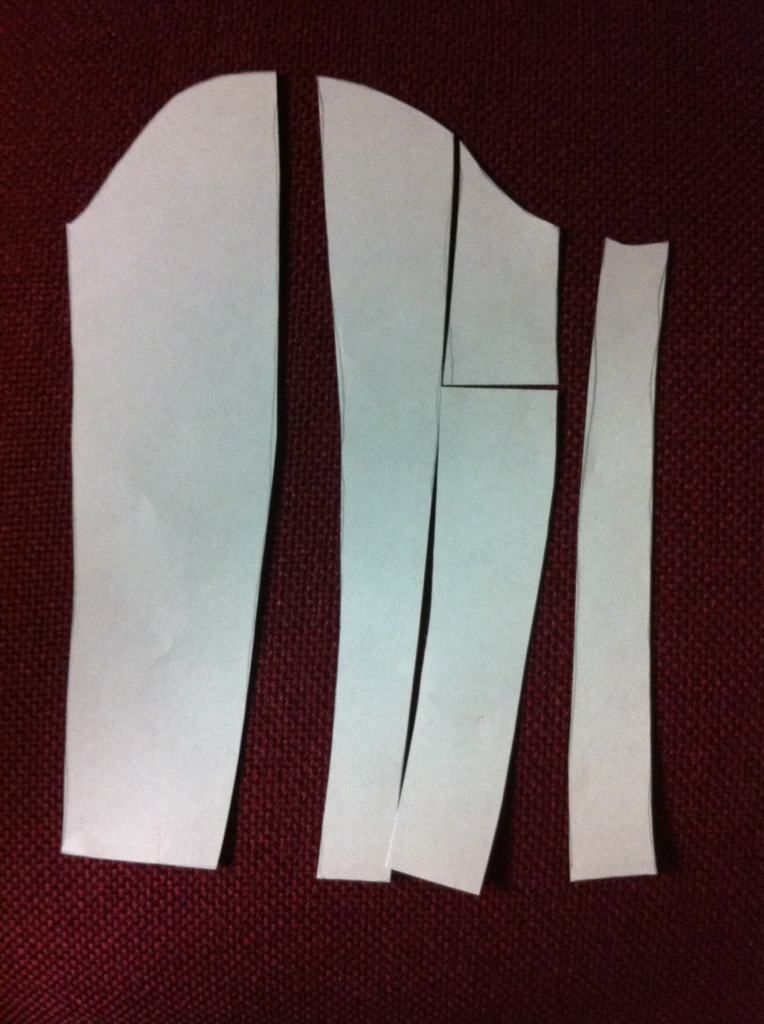
This is where I got stuck. How do I combine the middle two pieces? What happens to the sleeve dart? I am thinking it converts to ease at the underarm seam and the top of the sleeve where it is set in. I think I am going to cut that third piece at the perpendicular line and flip the bottom portion from left to right so that the dart leg becomes the underarm seam when I merge the pieces together.
I think that looks right. I will make a sample and report my results. In the meantime, my daughter has asked me to make her a pair of jeans. I am trying to decide whether to go with the Jalie 2908 pattern that everyone loves so much, or use Bernina My Label. She's 17 with no figure problems. Any advice?