Here is how I petite a BURDA pattern.
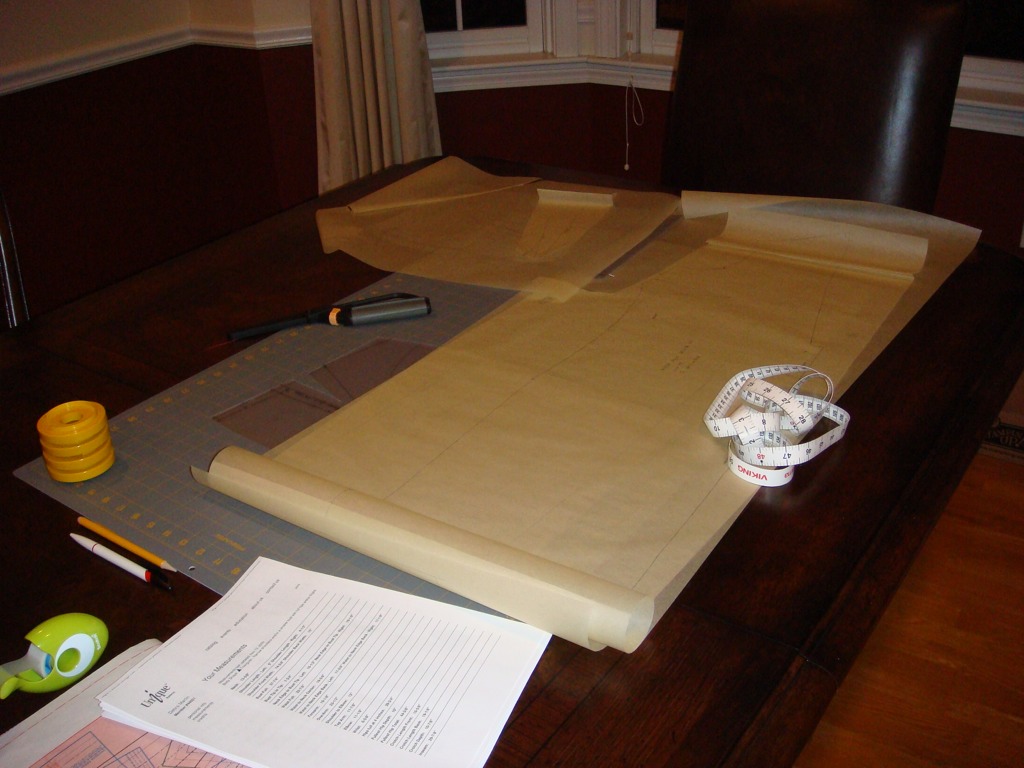
I have a copy of my measurements, my pattern traced on tissue paper with no seam or hem allowances, a tape measure, a pen, some adhesive tape, and a French curve handy on my drafting (dining room) table. I also use a gridded mat and a TNT (tried and true) skirt pattern cut from a plastic quilter's template sheet.
In my case, I only need to petite the front piece, but the technique is the same except for the sleeve piece which I will explain later. First, I compared my bust tip to waist measurement. The waistline is marked on my pattern, but the bust point is not marked. I extend the center line of the dart about 1/2 inch and that is what I use for the bust point. My bust span is about 8 inches, so I check to make sure the bust point is about 4 inches from center front. I usually need no petite adjustment in the area from bust to waist, but I check it anyhow. In this case the pattern was a match so I made no adjustment. If you need to adjust this area, you would pinch a fold just above the waistline to make the bust to waist measurement of the pattern match the length of your body. You would do this for both the front and the back, pinching the same amount on the back piece so the side seams would be equal.
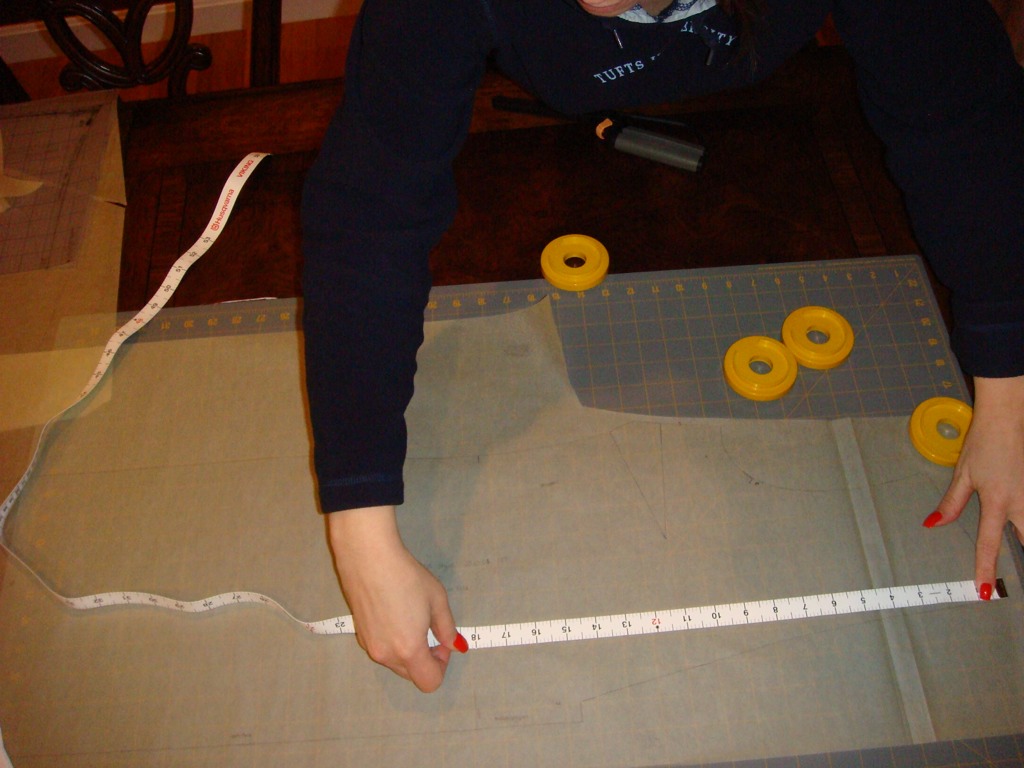
Next, I measured the pattern from the neckline at the shoulder seam to the waistline, and compared with my measurements. (I could also have used neck/shoulder to bust point - either would have been fine - but since the waistline is more clearly defined, I chose that method.)
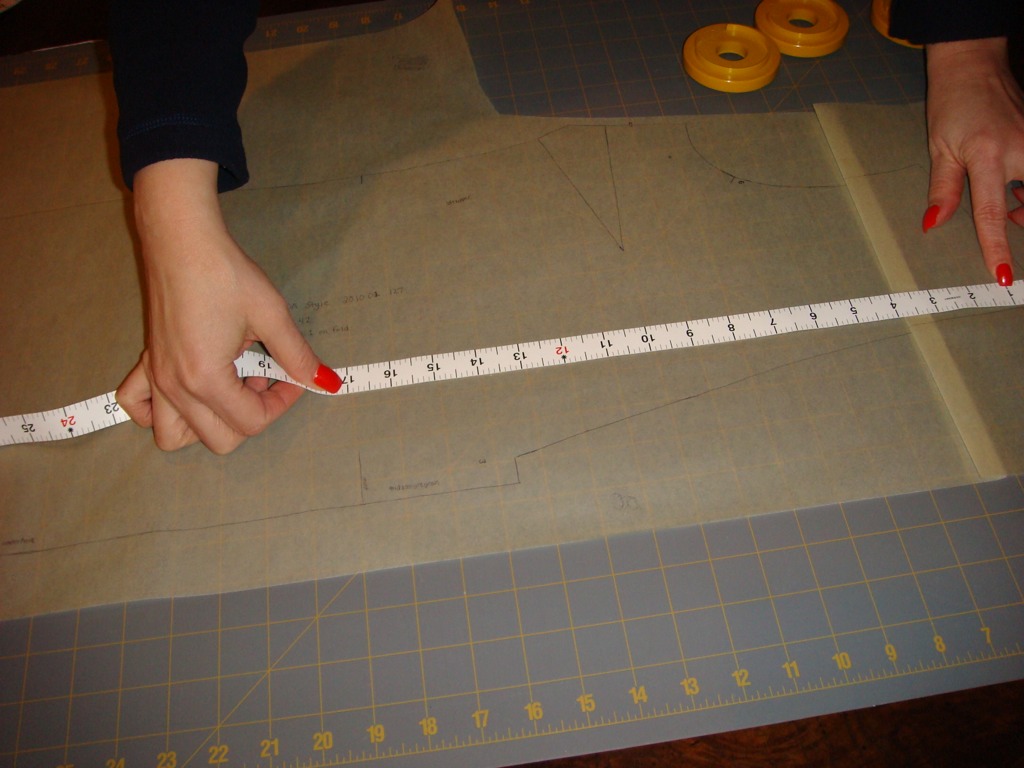
The pattern is too long, so I made an adjustment by pinching a fold above the bustline, and smoothing out the seamline at the armsyce and the neckline. If I needed a petite adjustment in the back, I would pinch the same amount from the back pattern piece and smooth the center back and back armsyce seams, but this is not necessary for me, so no adjustment was made to the back. The lapel and sleeve pattern pieces needed corresponding adjustments after this alteration.
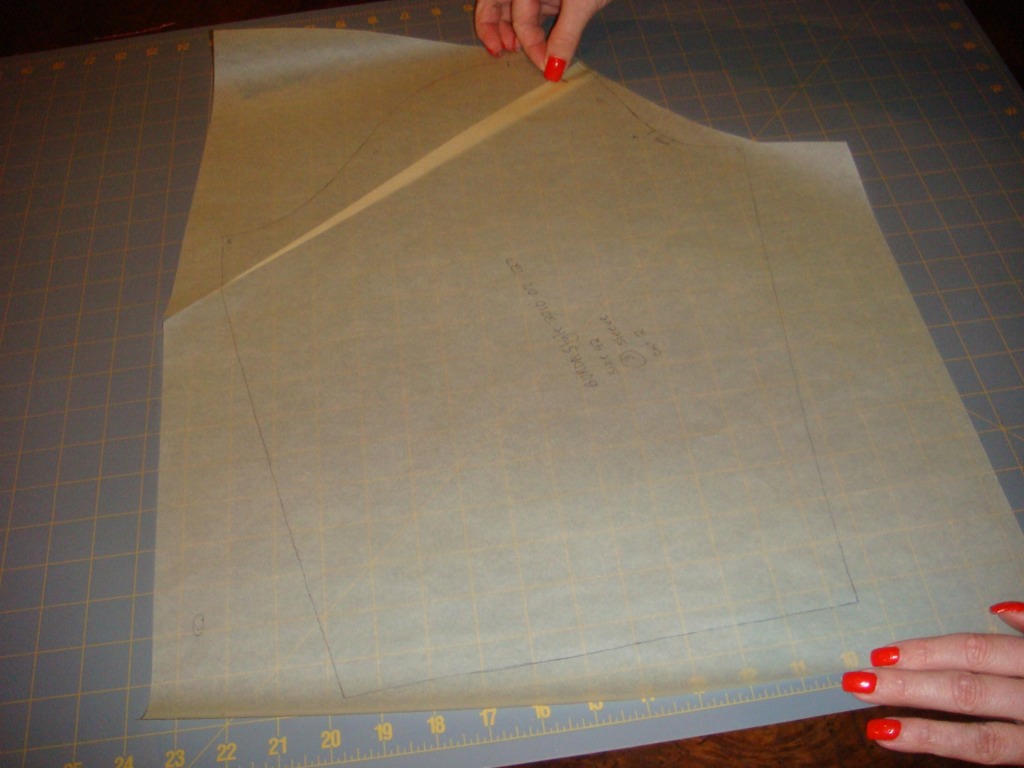
To adjust the sleeve pattern piece, I lined the sleeve seamline up with the armsyce at the front match point and rotated the sleeve along the seamline until I reached the fold on the front piece. I pinched an identical fold on the front side of the sleeve, tapering to nothing at the back of the sleeve (since I made no adjustment to the back piece). Now the shortened sleeve pattern piece will fit the adjusted (smaller) armsyce. If your petite adjustment affects both the front and the back pattern pieces, you will pinch a horizontal fold all the way across the sleeve piece to fit your new smaller armsyce.
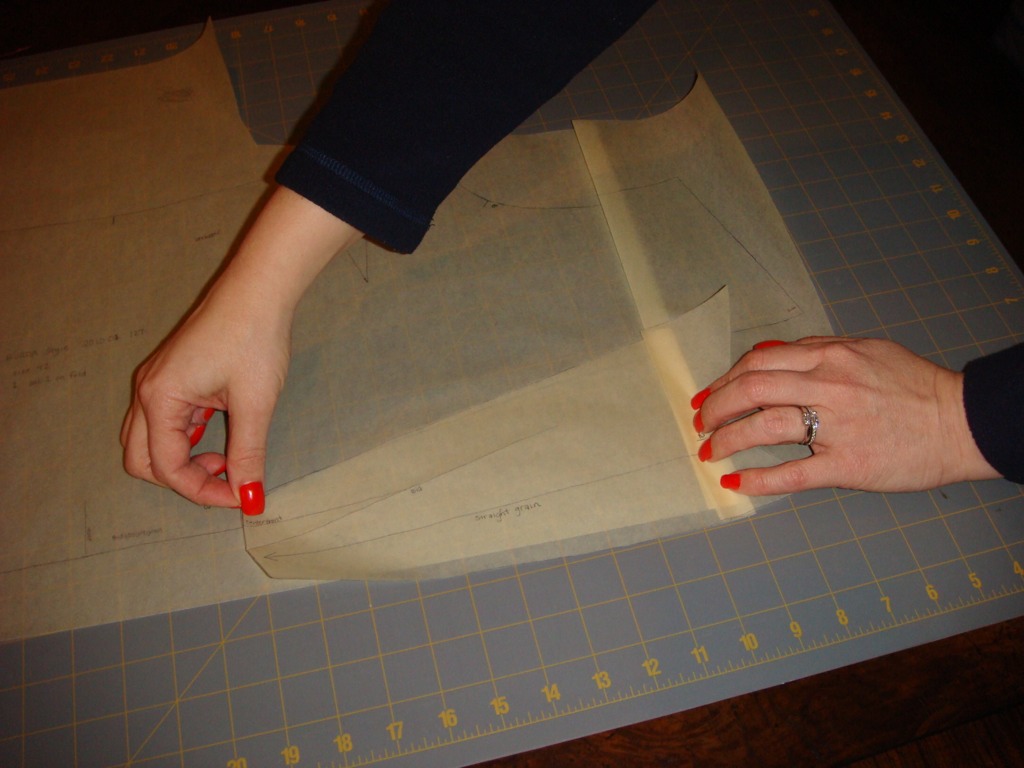
Next, I adjusted the lapel pattern piece. I laid the lapel pattern piece on the front pattern piece along the neckline opening matching seamlines. I pinched a corresponding amount out of the lapel in the same place where the neckline was shortened by the petite adjustment on the front pattern piece. Now the shortened lapel will fit the new altered (smaller) neckline.
Other adjustments made to this pattern:
I find BURDA patterns are drafted with shoulders which are an inch wider than my shoulders. Also, my shoulders slope a little more than normal, causing unflattering wrinkles in the front and back of ready to wear clothes. So I integrate two adjustments in one step - shortening the shoulder seam and adjusting the shoulder slope.
I took a fitting class taught by Cynthia Guffey at the Sewing and Quilting Expo which has helped me to identify and fix my shoulder slope problem. If you ever have an opportunity to attend a class or a workshop by Cynthia, do it! She is meticulous. You may not always want to bother making perfectly fitting clothes for yourself, but you will know how to do it when you DO want to bother. (Personally, I ALWAYS want to bother, but I am picky picky picky.) Everything she teaches is available on DVD, so you can relax, put your pencil and notebook down, and just pay attention,learn, and enjoy. She is really fun in class, as well. You will laugh, and I promise, you will have several "ah-HAH" moments. She showed me how to figure out what she referrs to as shoulder slope. In order to fit me perfectly, the shoulder seam on my back pattern piece needs to have a slope to it which allows the shoulder point to be 1 1/8 inches lower than the neckline at center back. No matter what I make, a jacket, a blouse, a t-shirt, if there is no shoulder pad, I need this same slope on that back pattern piece! (If the pattern has a different shoulder seam as in a tank top that does not go from jewel neckline to shoulder point, the slope or angle is still the same.)
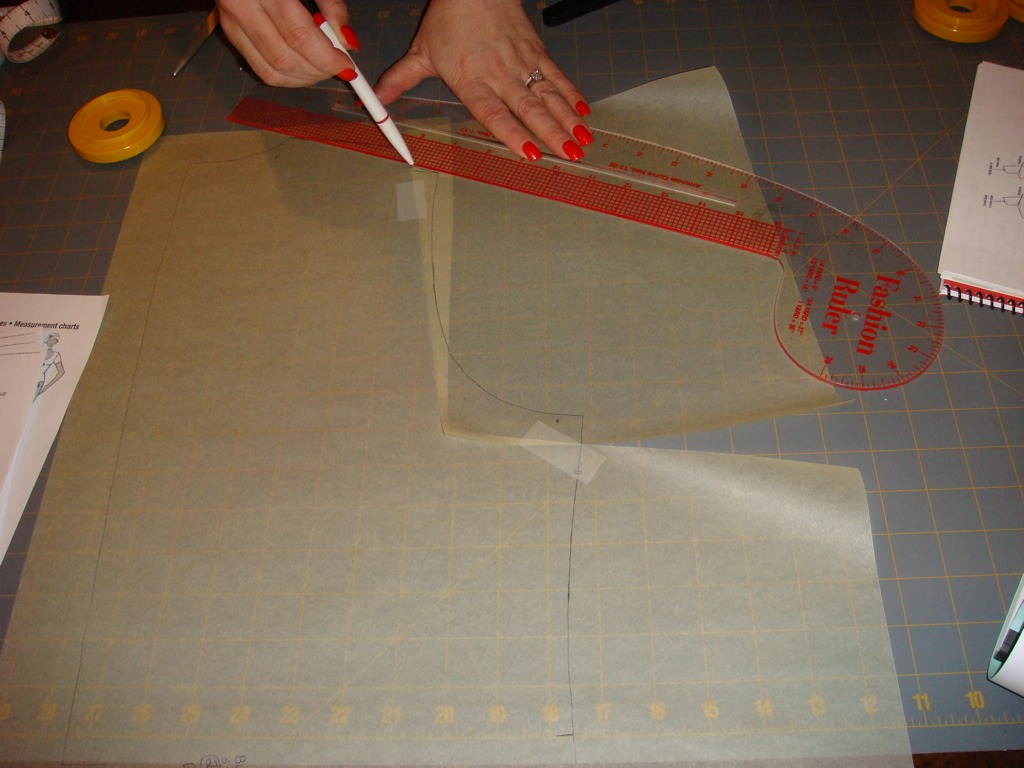
Whatever I have to do to my pattern piece to get that slope in the back, I repeat it for the front. In this case, I had to lower the shoulder. I started by cutting the pattern piece from close to the shoulder point to just below the armsyce. I dropped the shoulder point to 1 1/8 inches below the neck seamline at center back, matched the side seam, and slid horizontally until my shoulder seam measurement matched my body measurement of 4 3/4 inches. Then I held that shoulder point down and pivoted until the side seams matched up so I would not alter the side seam. Next, I redrafted the shoulder seam.
The final pattern adjustment involves redrafting the side seams along the hip line. I slipped my TNT skirt front pattern underneath the dress front pattern tissue and matched up the waistlines. Then I redrafted the side seam to match the TNT.
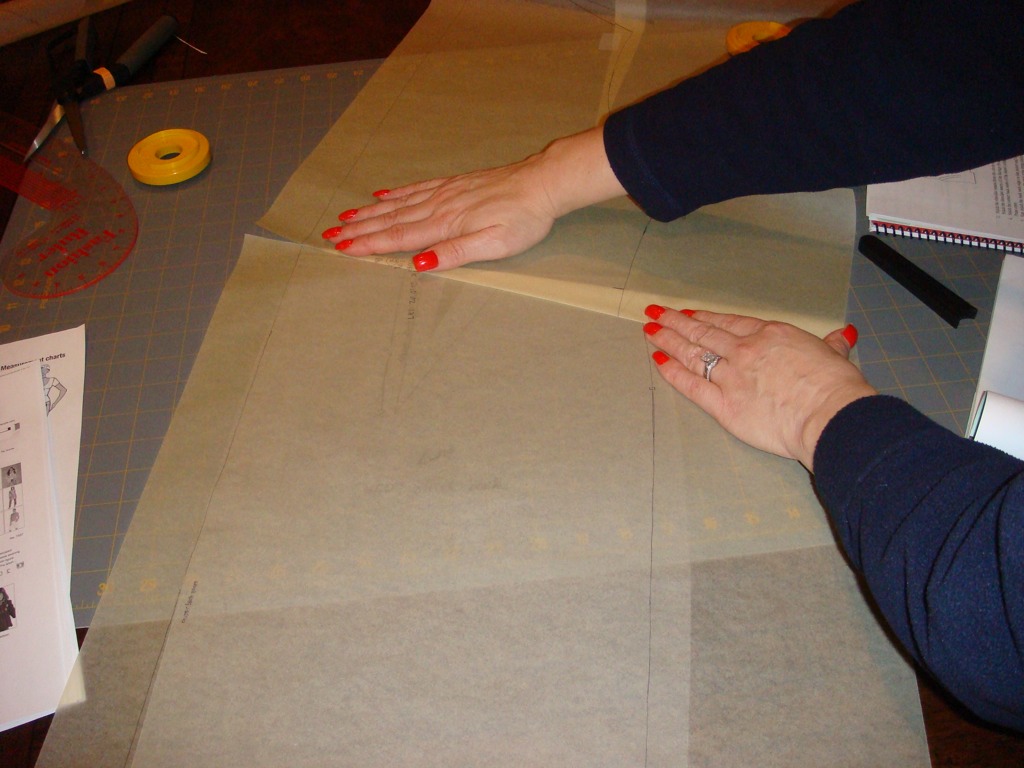
For the back, I need a sway back adjustment. It looks like this if I
use a one piece back. In order to keep the grain line straight, I cut
the pattern apart at the waist and keep the upper part of the pattern.
I use my TNT skirt back for the lower part of the dress. I will pin fit the dart with help from a DD or DH during the final fitting.
There you have it - my pattern alterations for the suit dress :) Now, do you see why I have reservations about MARFY patterns? I do love the designs, but I am challenged when it comes to alterations. I guess I could rationalize that I *need* the practice...
What are your alterations?
No comments:
Post a Comment