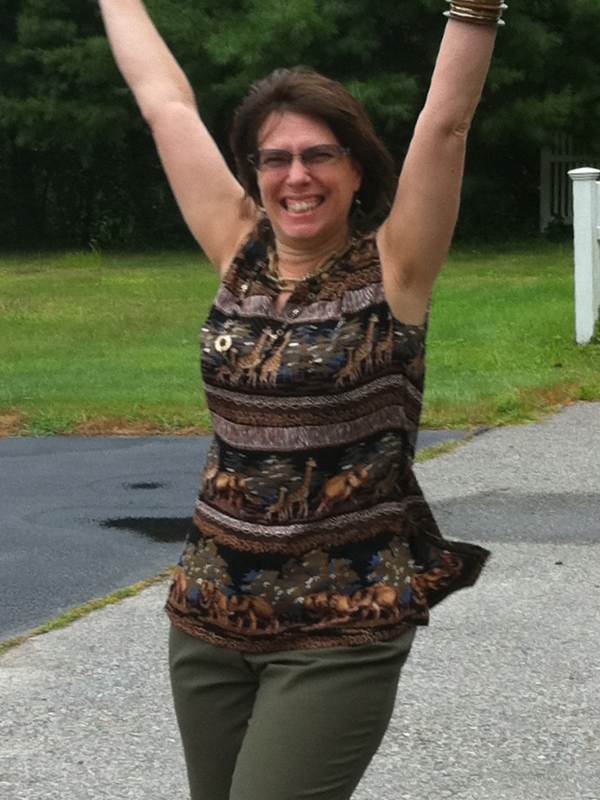
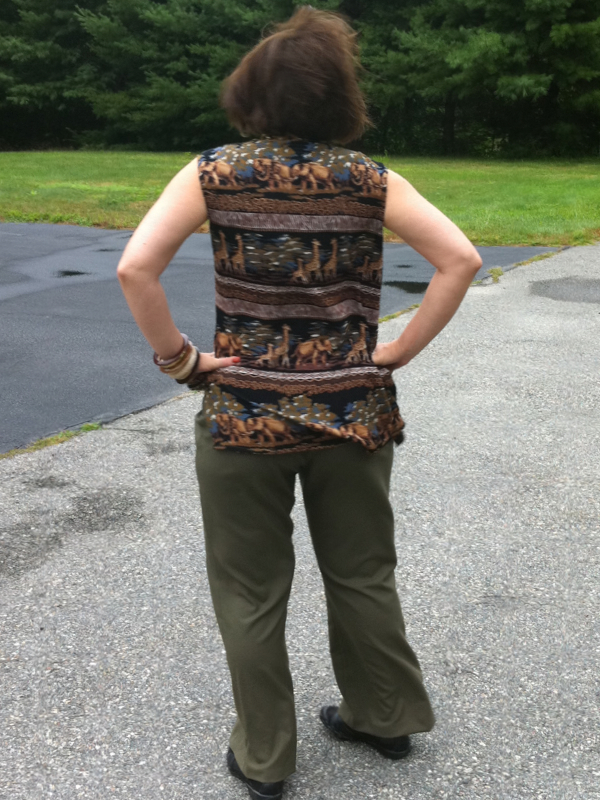
 I sewed this weekend. Here is my first outfit made with Bernina My Label. I took my time with the construction of the pants since I was confident they would fit. I have to say I am thrilled to have pants that fit me well, These are drafted to have the waist be a half inch below the natural waistline in the back with a 5/8 inch pitch. That means the front is 1 - 1/8 inches below the natural waist in the front. I used a wider waistband on this pair because I wanted to use this way cool waistband facing technique that I copied from Ann Taylor RTW. I would have lowered the waistband edge on the front and back pattern pieces, but I forgot and by the time it occurered to me, I had already completed the pockets in the front. Live and learn... The pants are still very wearable with the high waist because I am long waisted. It has been a long time since I had pants with a waistband that sat right at my waistline. The style looks a little dated if I tuck my top in, so I won't be tucking anything into these. Even though the high waisted style doesn't look good on me, they feel so comfortable and secure that I don't think I will lower the waist on the next pair. It's nice to know I can wear a top with a hemline that sits at my high hip and I won't expose my mid section if I raise my arms.
Here is a detailed image of the waistband facing. You can read more about it here. I will be using this treatment on all future pants.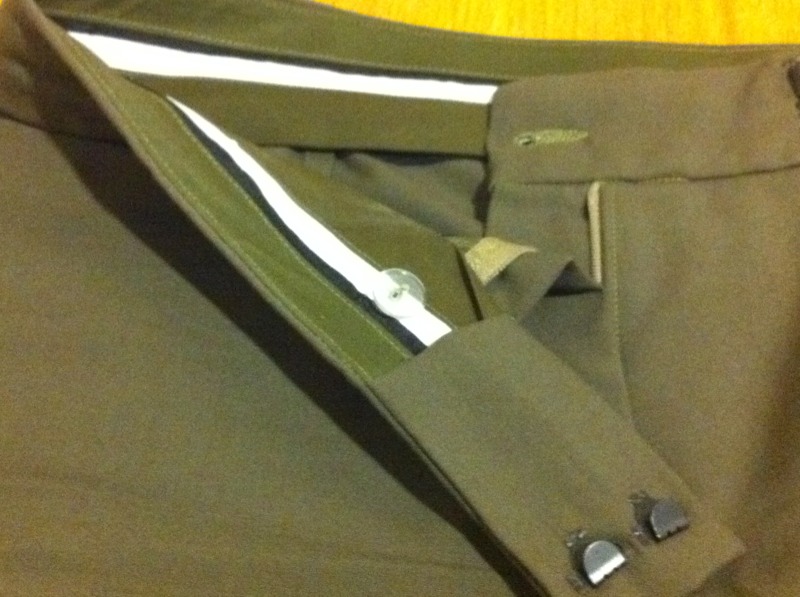 The buttonhole was made using a built in stitch on my machine with a sensormatic buttonhole foot. I have always been afraid of buttonholes, but this one has really changed all that for me. It was a breeze to get the perfect size and position. I hand sewed the button and the hooks and eyes as well as the hems, but the waistband was done entirely on the machine.
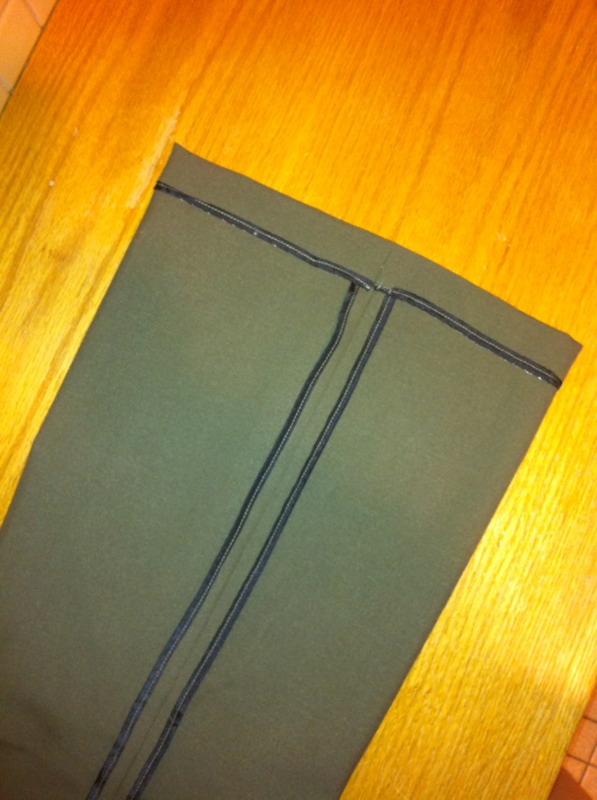
 For the seam finishes, I used Hug Snug, a rayon seam binding which I discovered recently. I love using it. It's machine washable and dry cleanable. It is not bulky. And with this neat foot, it goes on so easily. It gives such a nice looking professional finish to the inside of my clothes. It is now my preferred method of finishing all seams that will show on the inside. I apply the seam binding to the flat pattern pieces before stitching the seams. Then stitch the seam and sandwich press. Press open and bam - done.
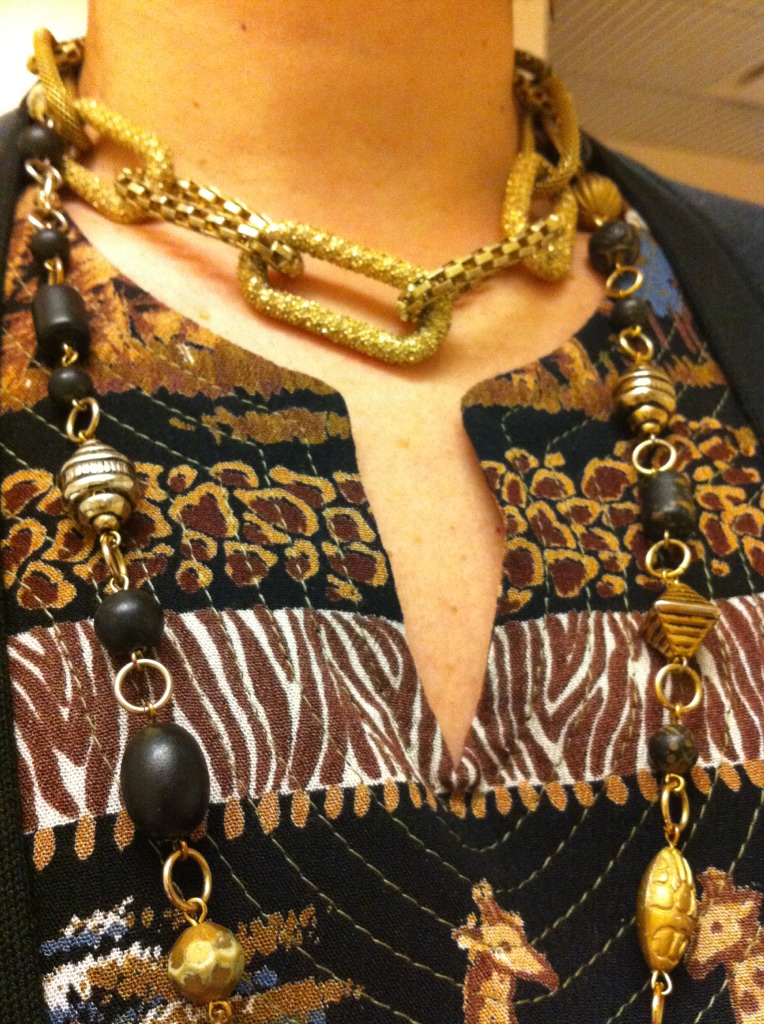
The tunic was a breeze. I did not have enough fabric to make sleeves, so I left them off. The fabric is a knit and it stretches quite a bit. I am sure I stretched the seams and the hem while I was constructing it. I steamed the crap out of it while I was making it. I wonder what it will look like once I wash it. I used a facing, fusible weft, and multiple rows of topstitching to give the neckline some body. I am sure I stretched it while I was sewing. I felt it grownig in my hands. I wonder what it will look like once I wash it. The armholes got bigger. The neckline got bigger. The side seams grew. But I still love it. In fact, I think my wrap pants are going to be repurposed into a tunic soon.
Tomorrow, I will post some more notes about the Bernina My Label program. These notes are mostly for me, but anyone interested in the program may find some utility in the post. Happy sewing!!
Yayyy!!! Those look great! Congratulations Deb!
ReplyDeleteCongratulations! I am so happy for you- I know how fun BML is. And the top-stitching on the tunic adds a nice touch.
ReplyDeleteTerrific outfit. Congrats on your success with BML.
ReplyDeleteI never thought of using a binder for Hug Snug. Thanks for the tip!
That is awesome! I love the animal print, and the waistband is very smart.
ReplyDeleteLook at you! Lovely outfit and the animal print and topstitching are great!
ReplyDeleteSo cute! You look great in your perfectly fitting outfit! Now I must go check out Snug Hug.
ReplyDelete